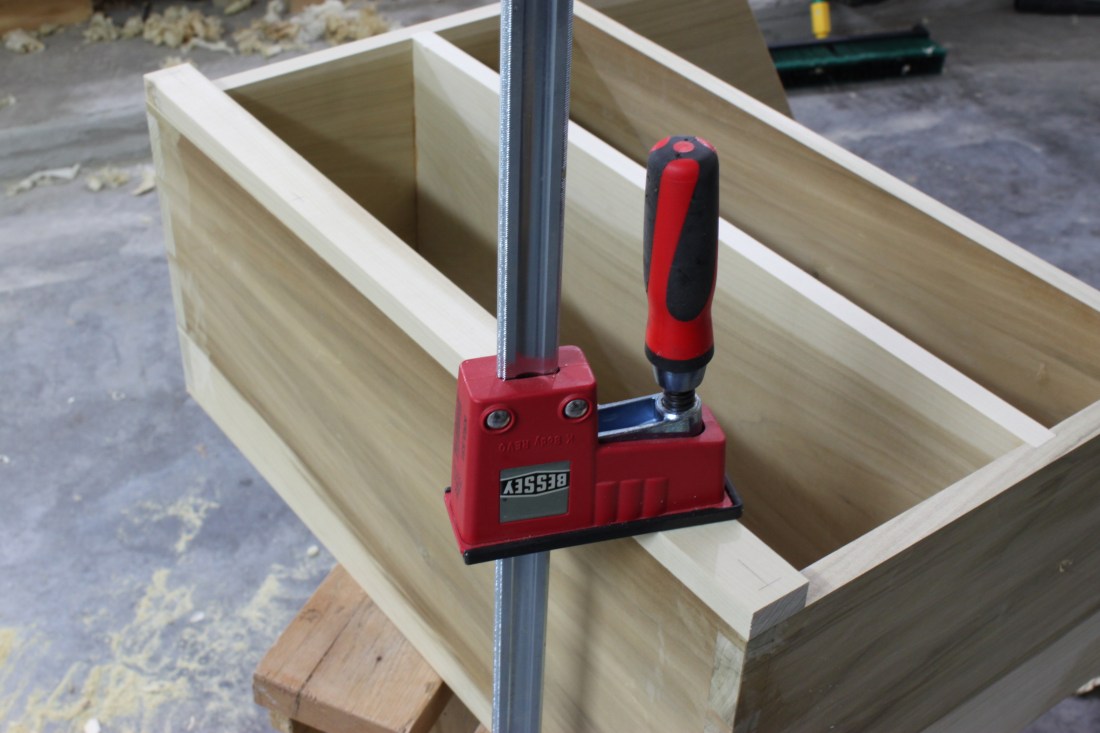
In the past couple of days I’ve been able to make some real progress on the tool chest. Let’s start from where I left off.
After I took the carcase out of the clamps I jumped a little ahead of myself and attached the lower lip.
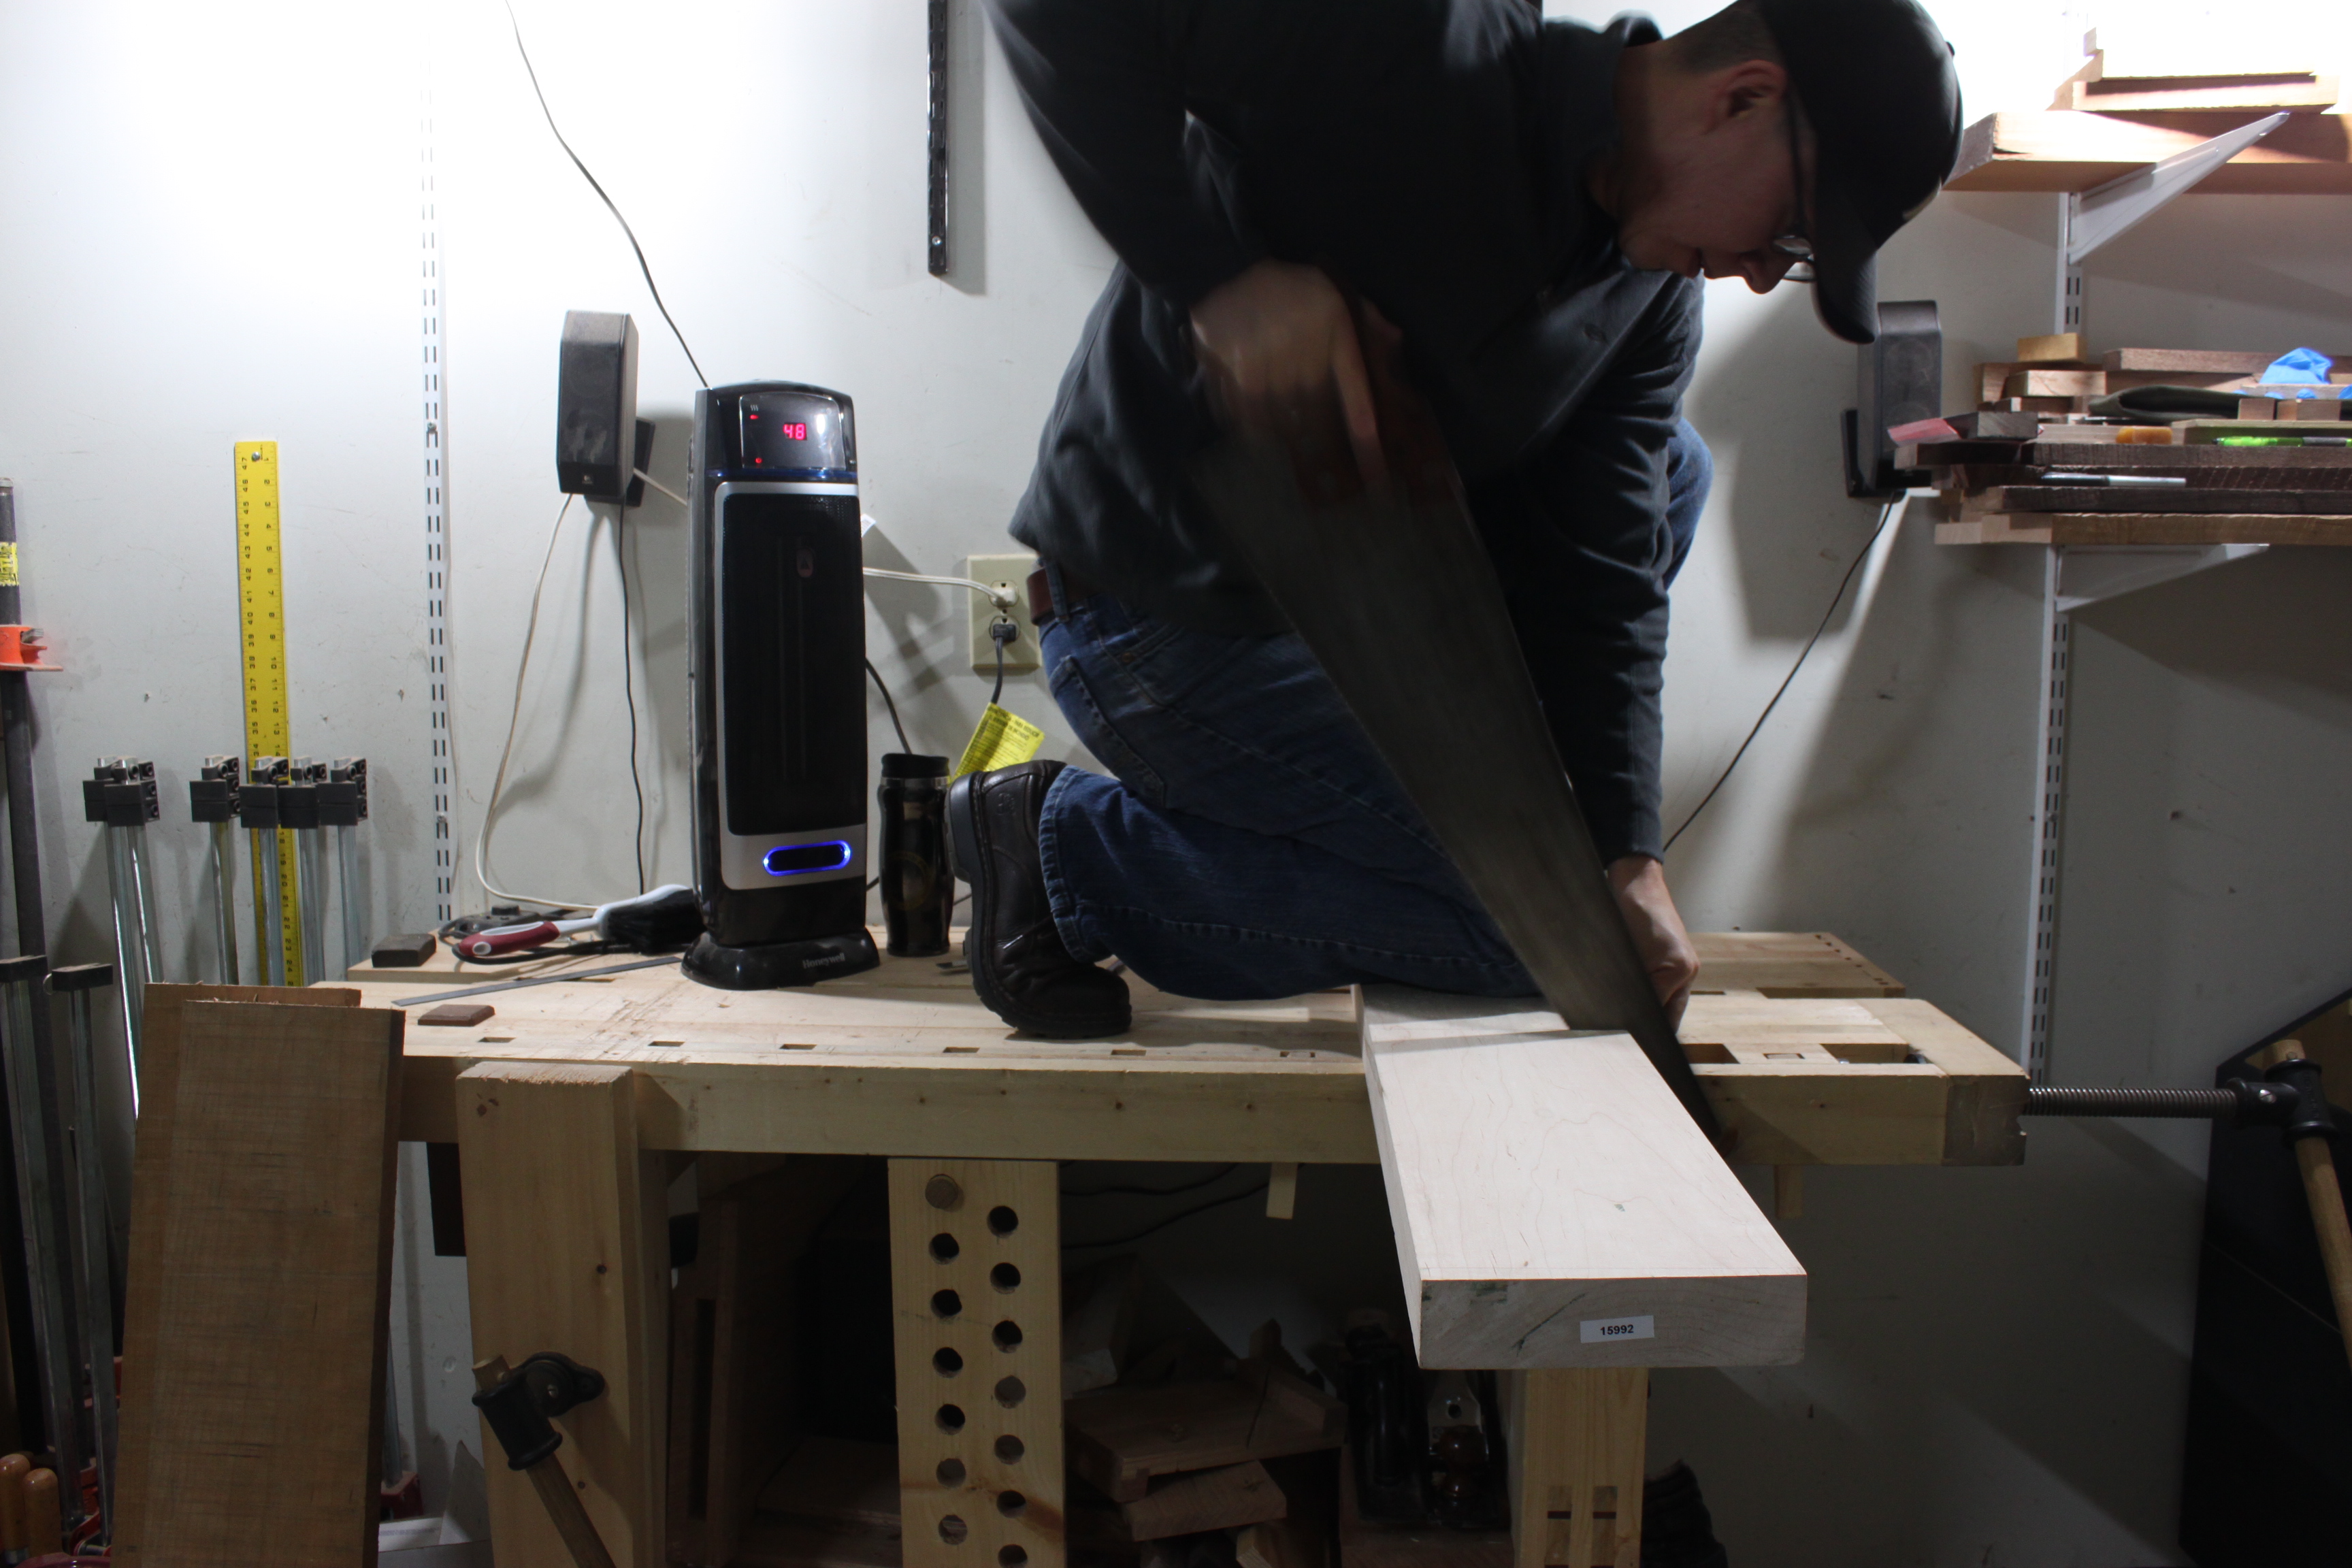
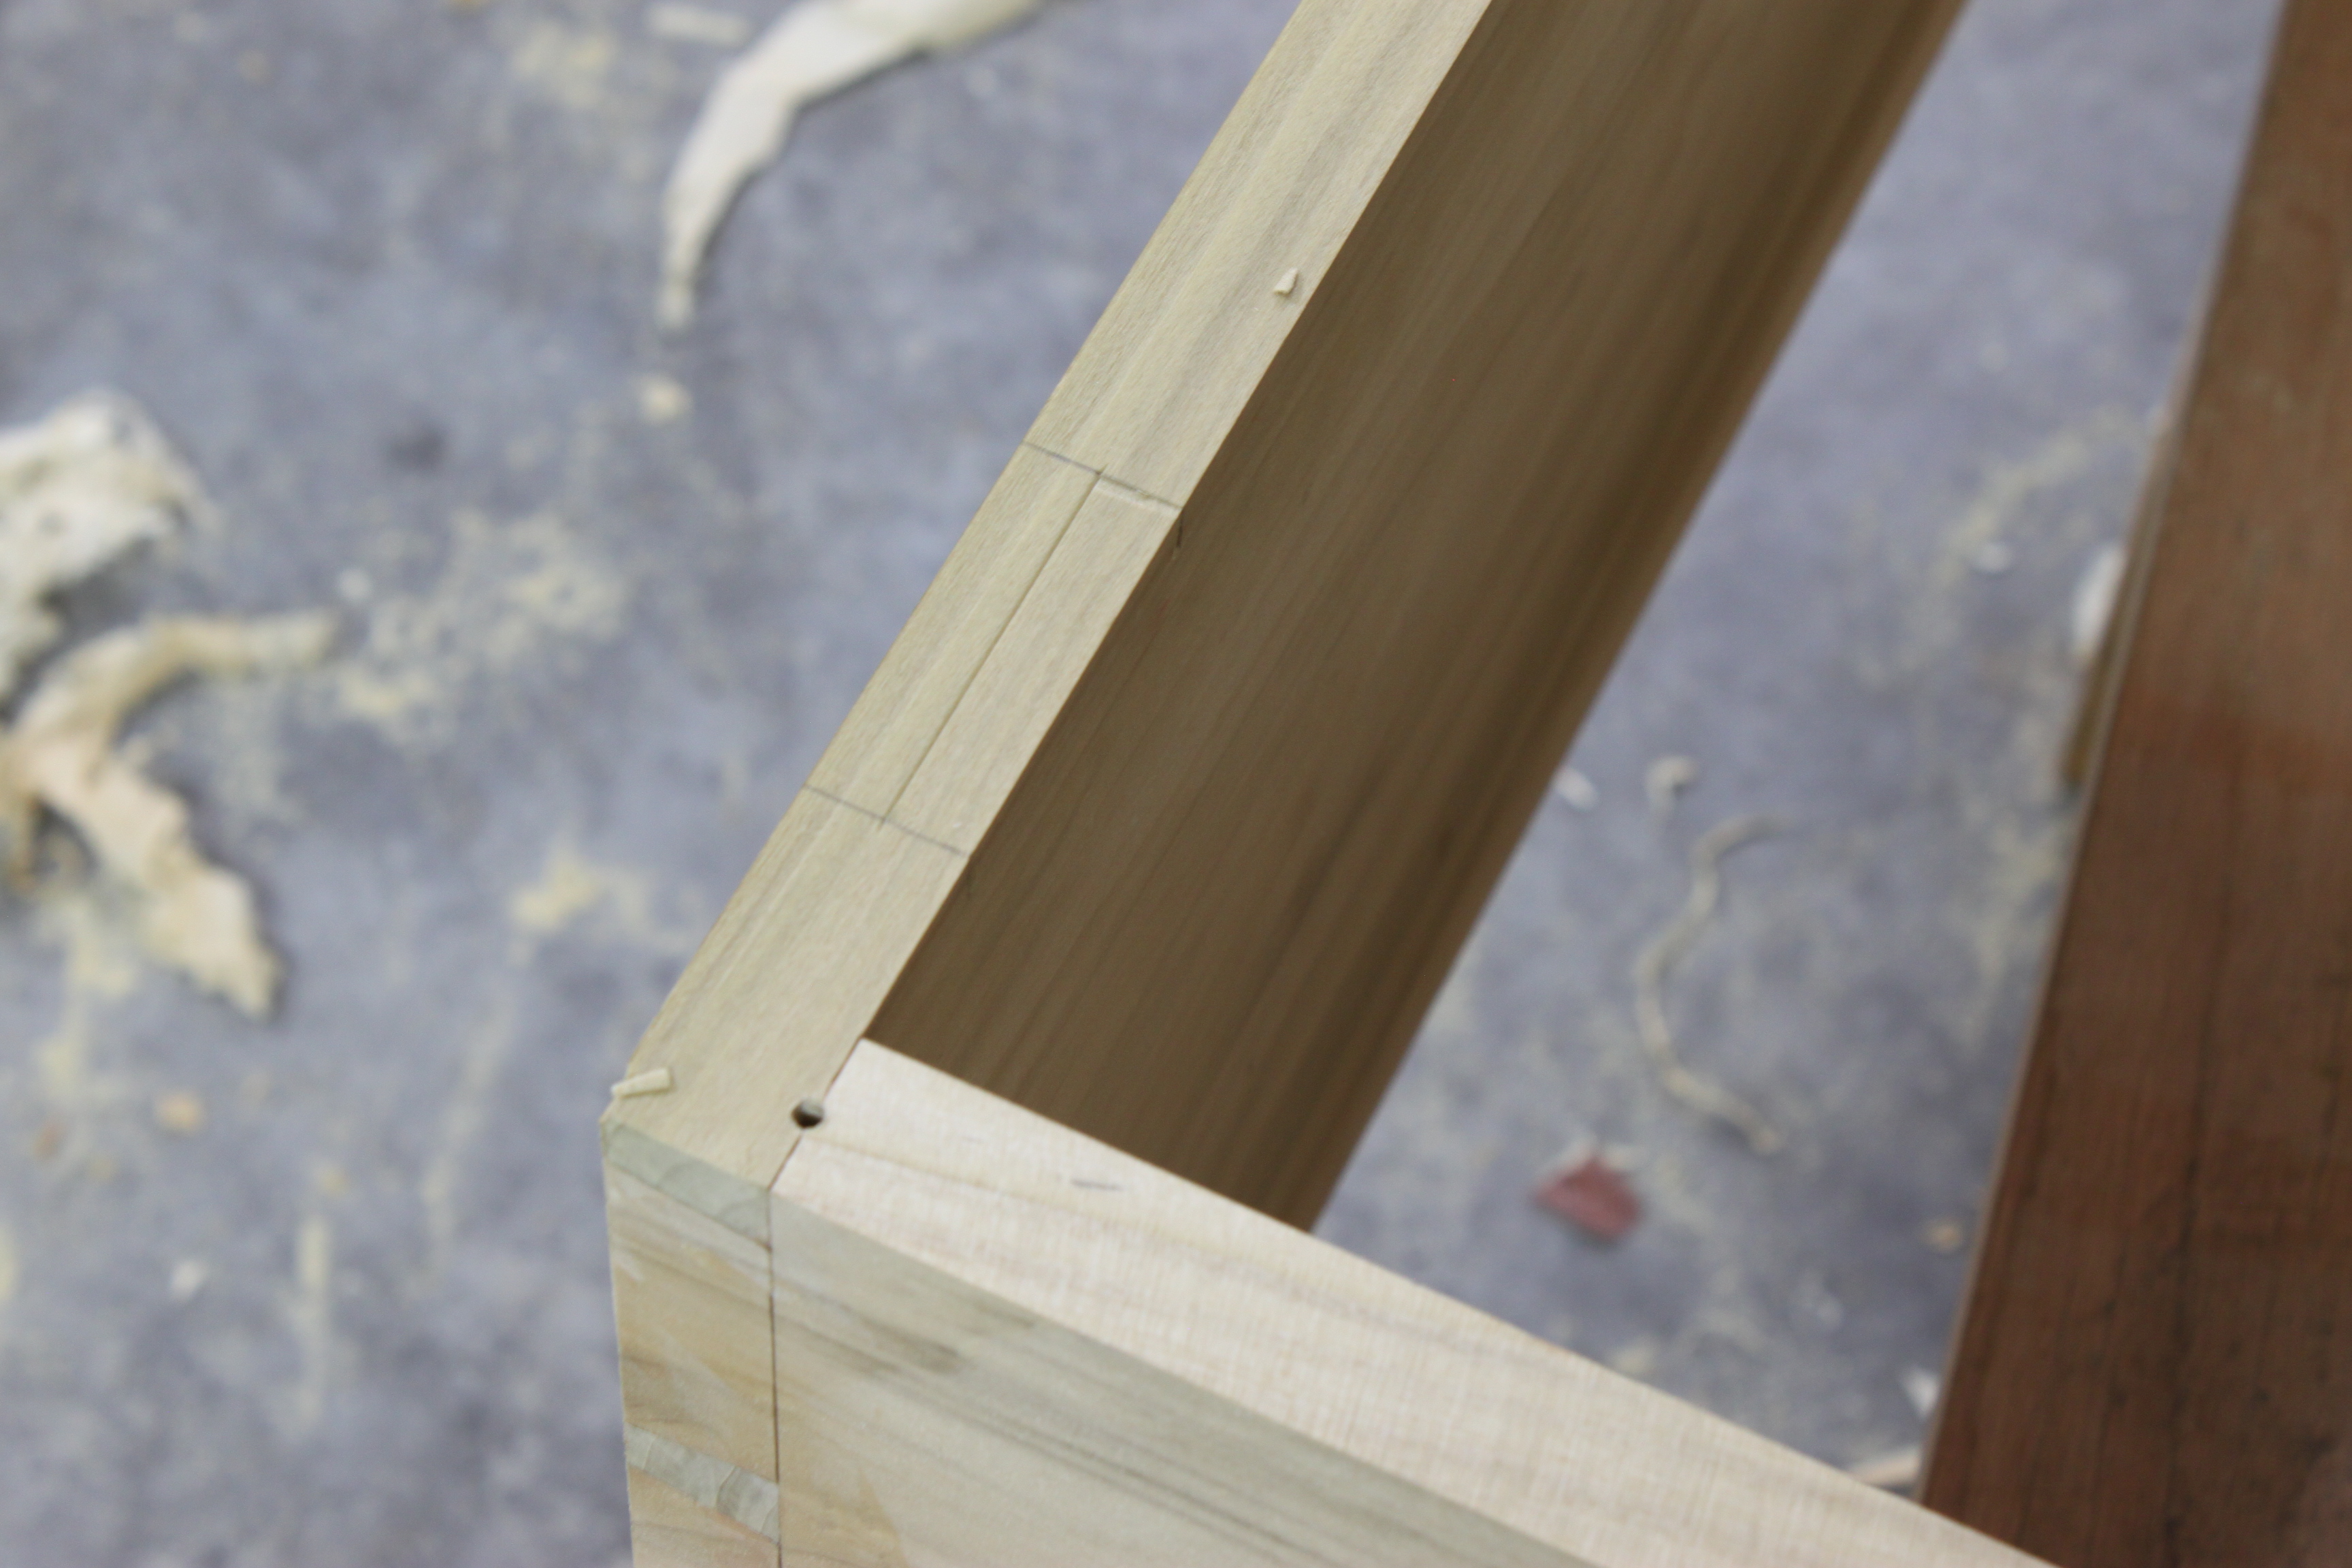
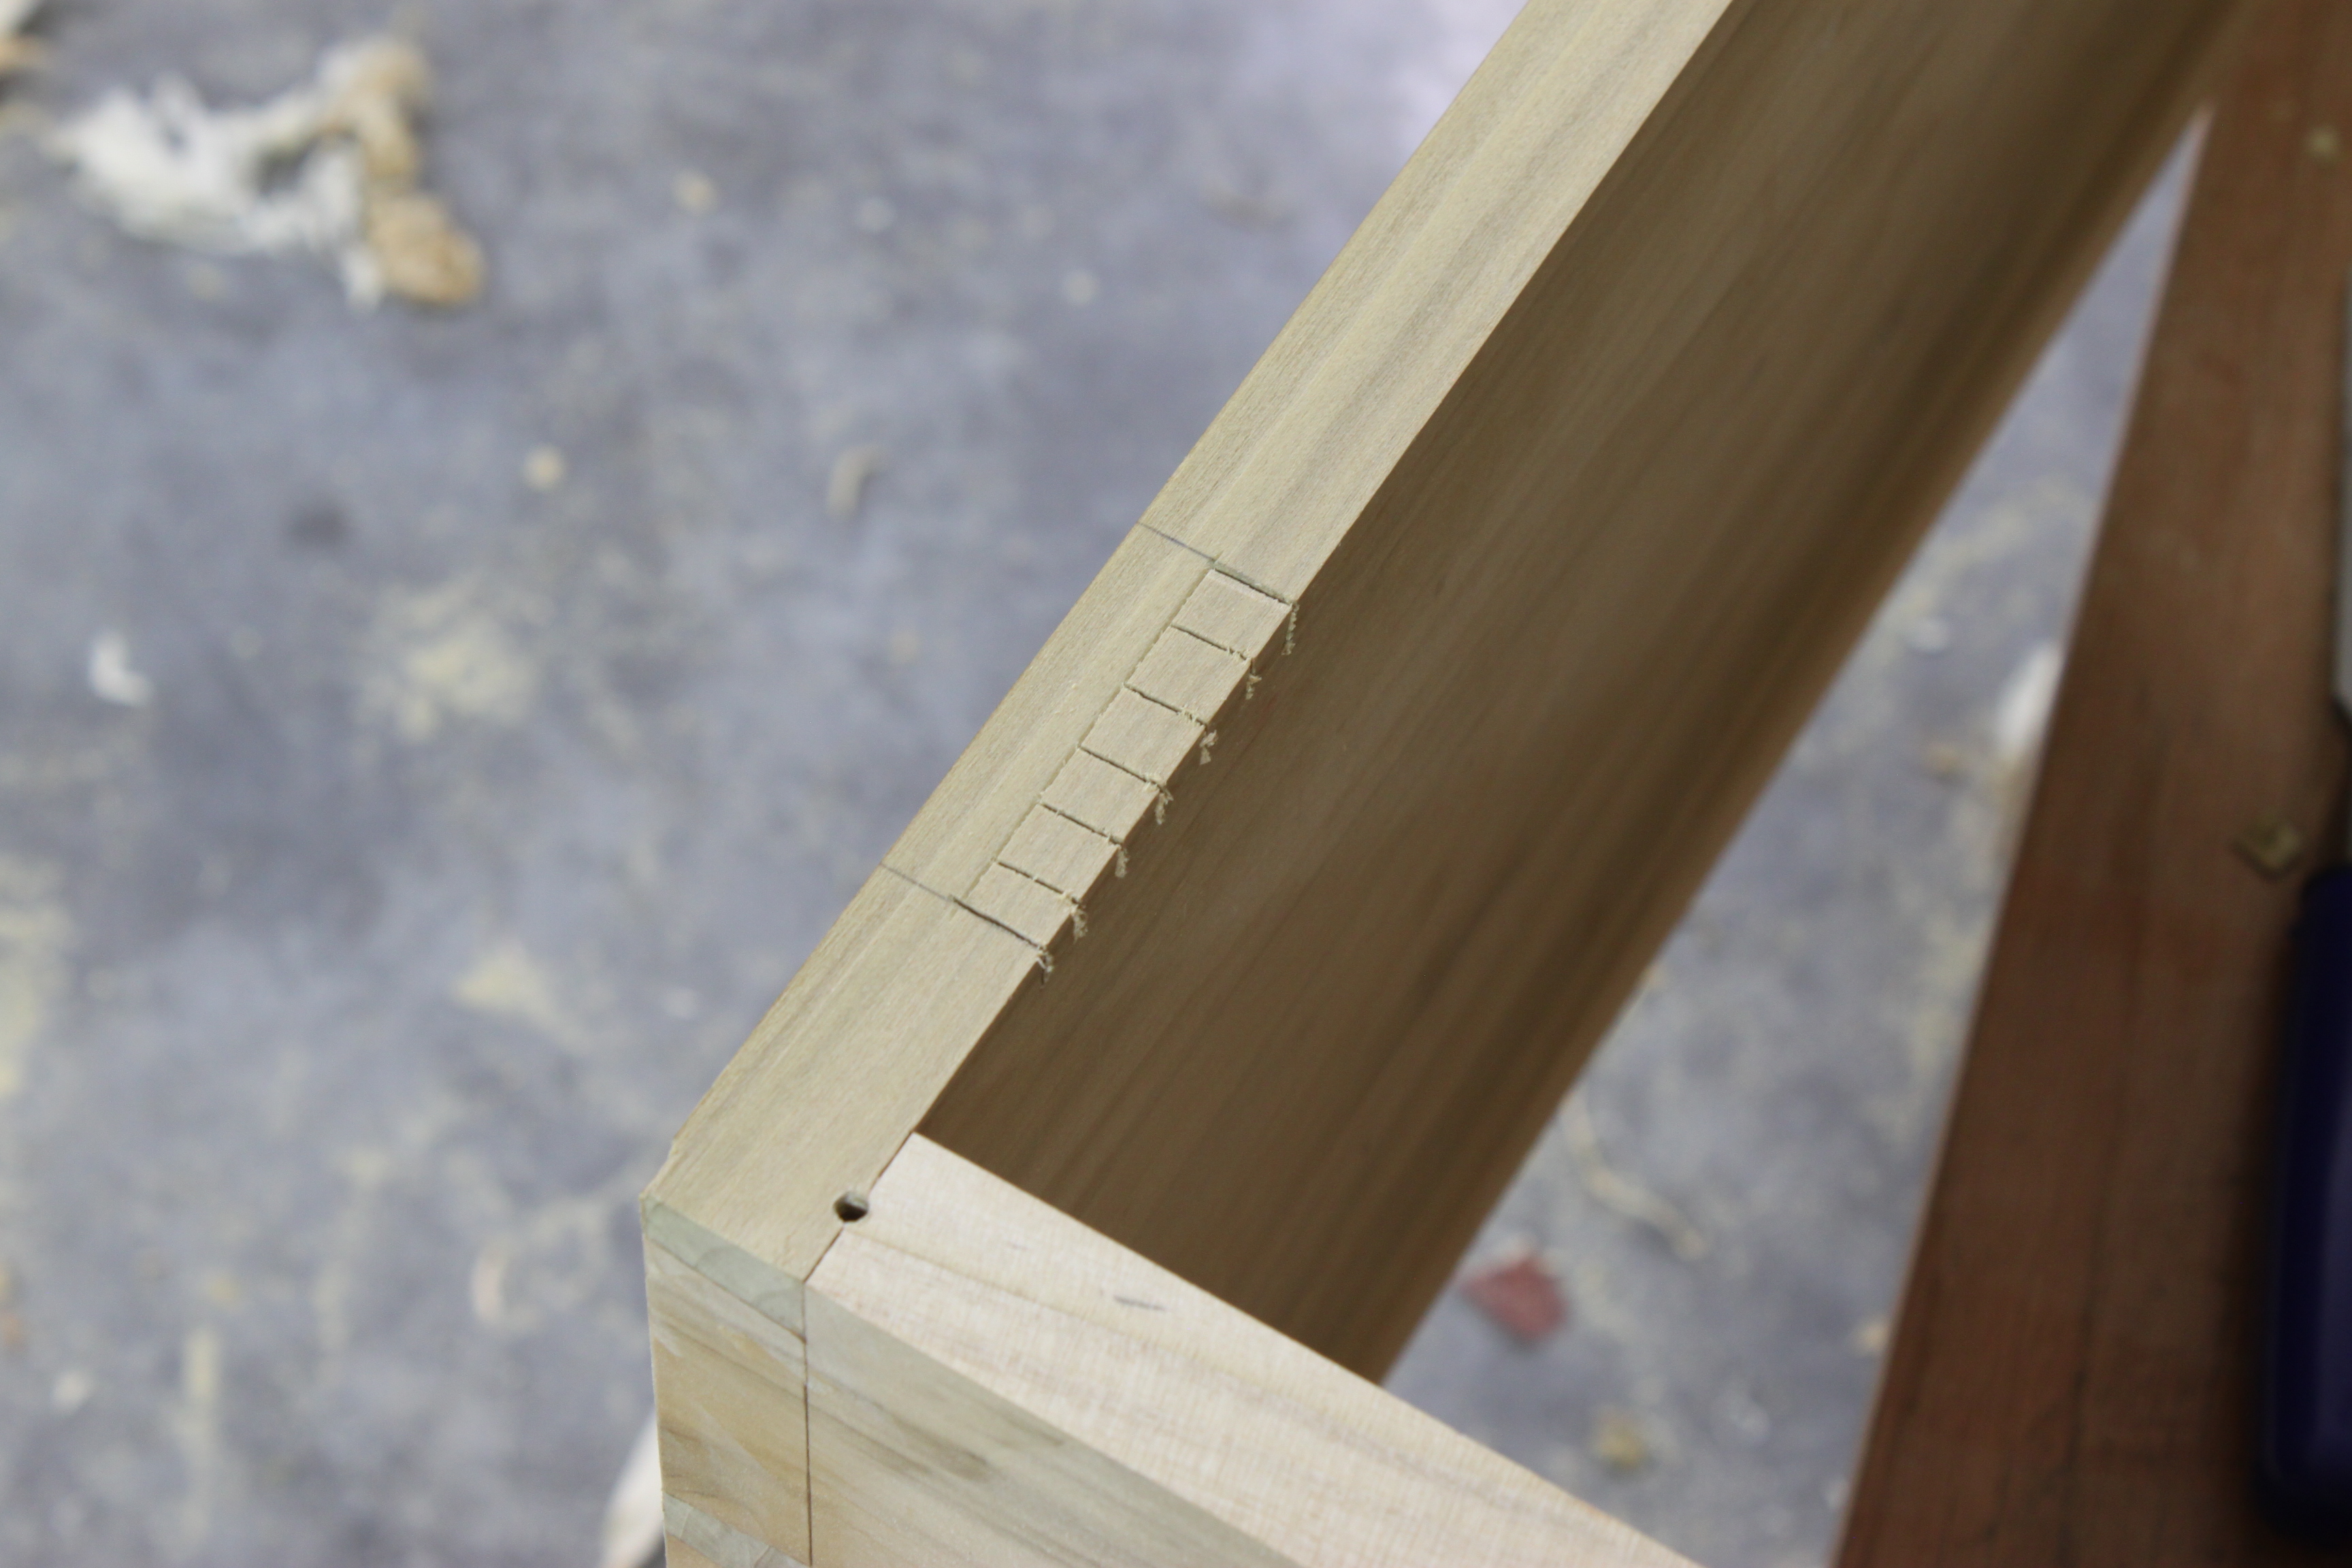
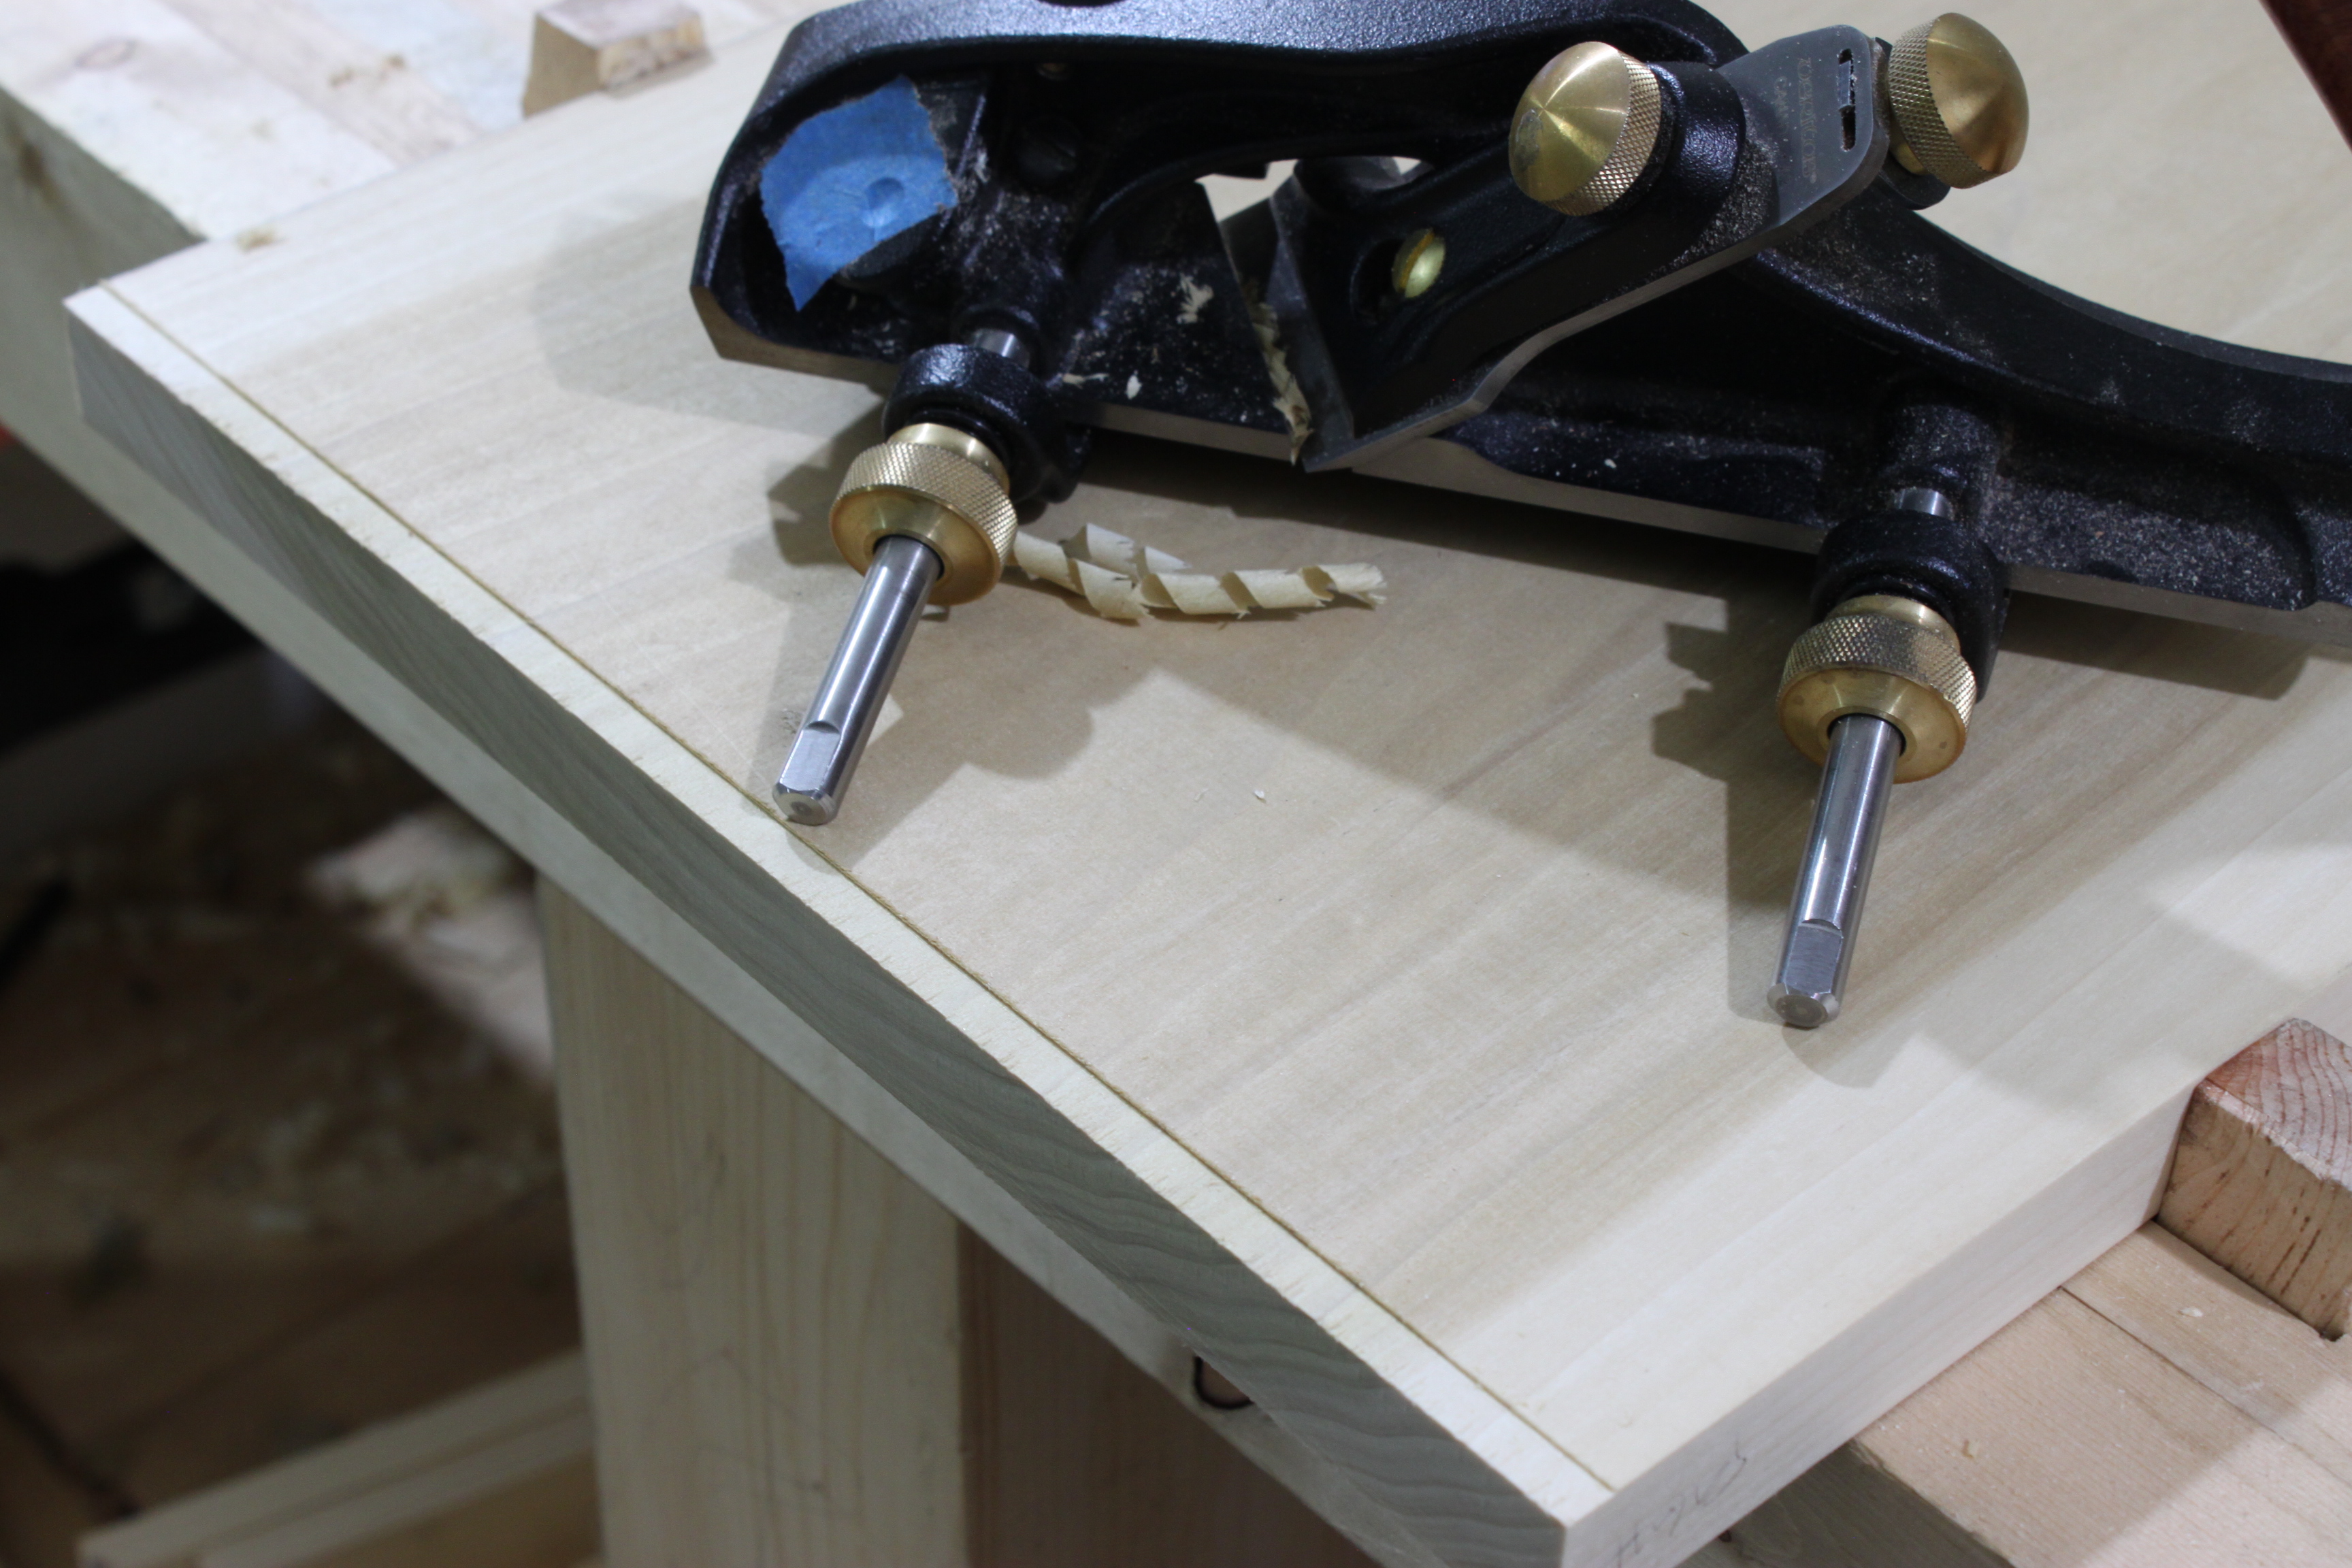
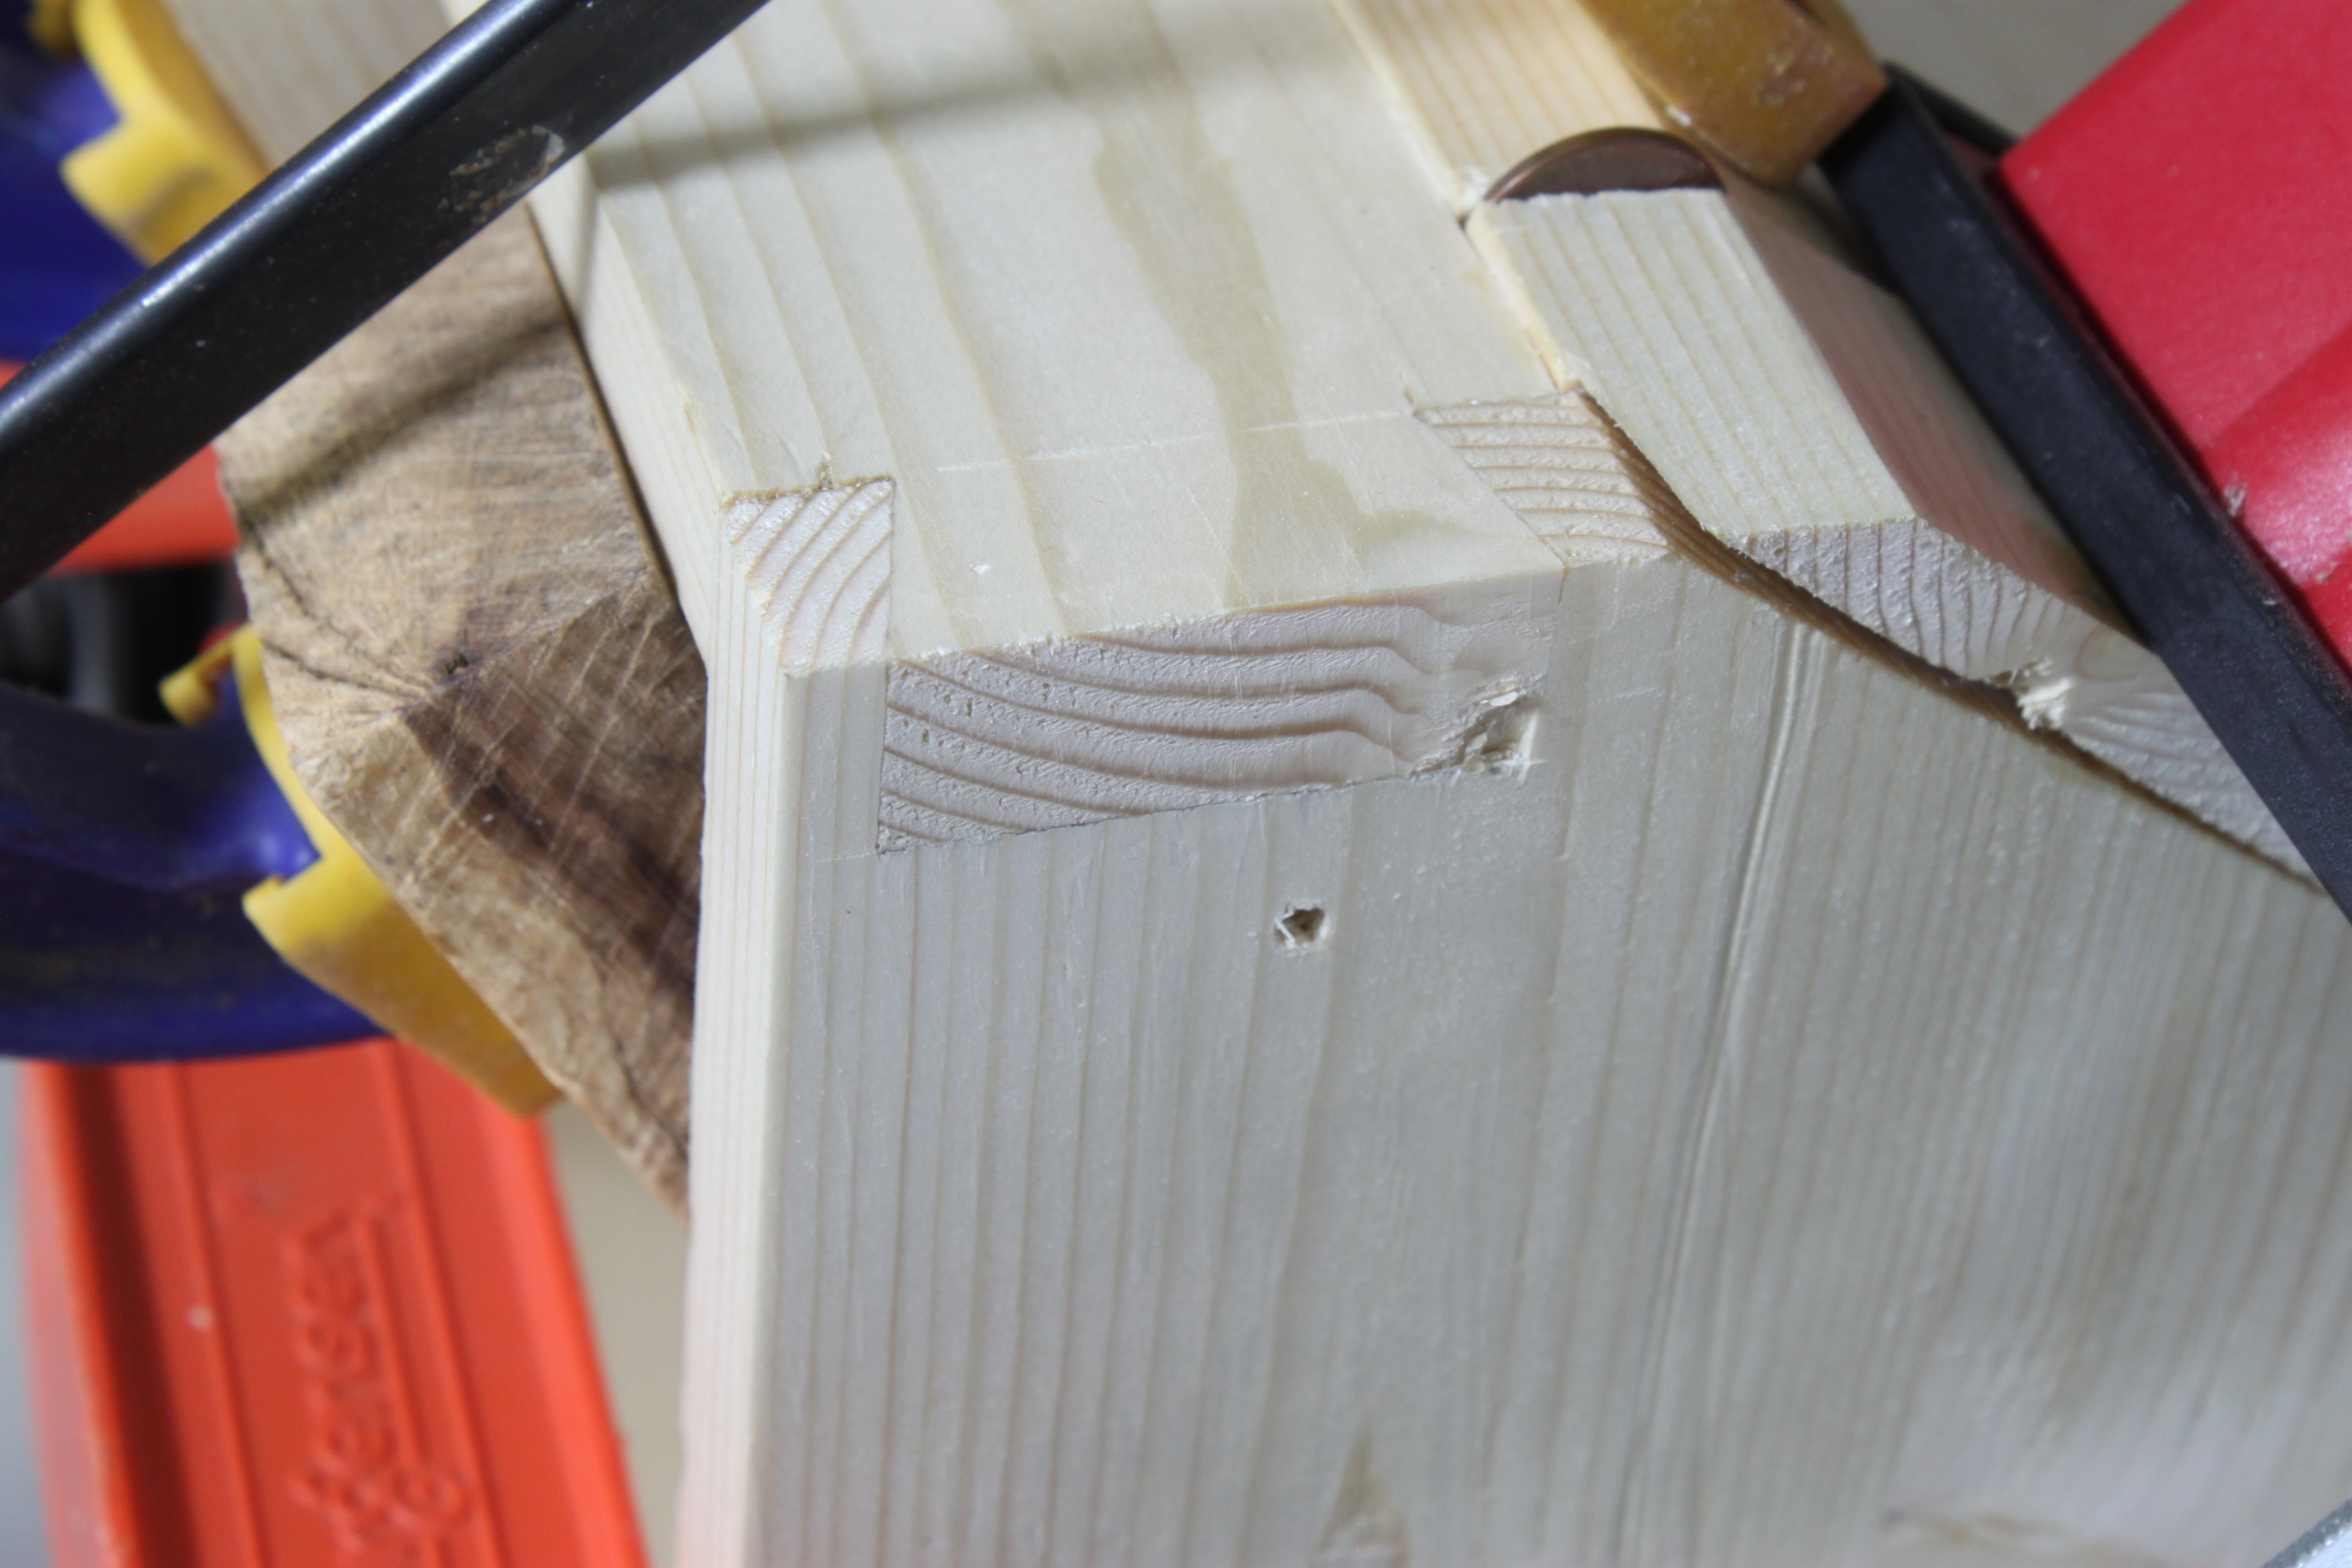
 When I finished I realized I forgot to cut out the notch where the fall-front locks fall. So I unscrewed the lip and marked my areas.
 A little sawing…
 chopping…
 waste clearing…
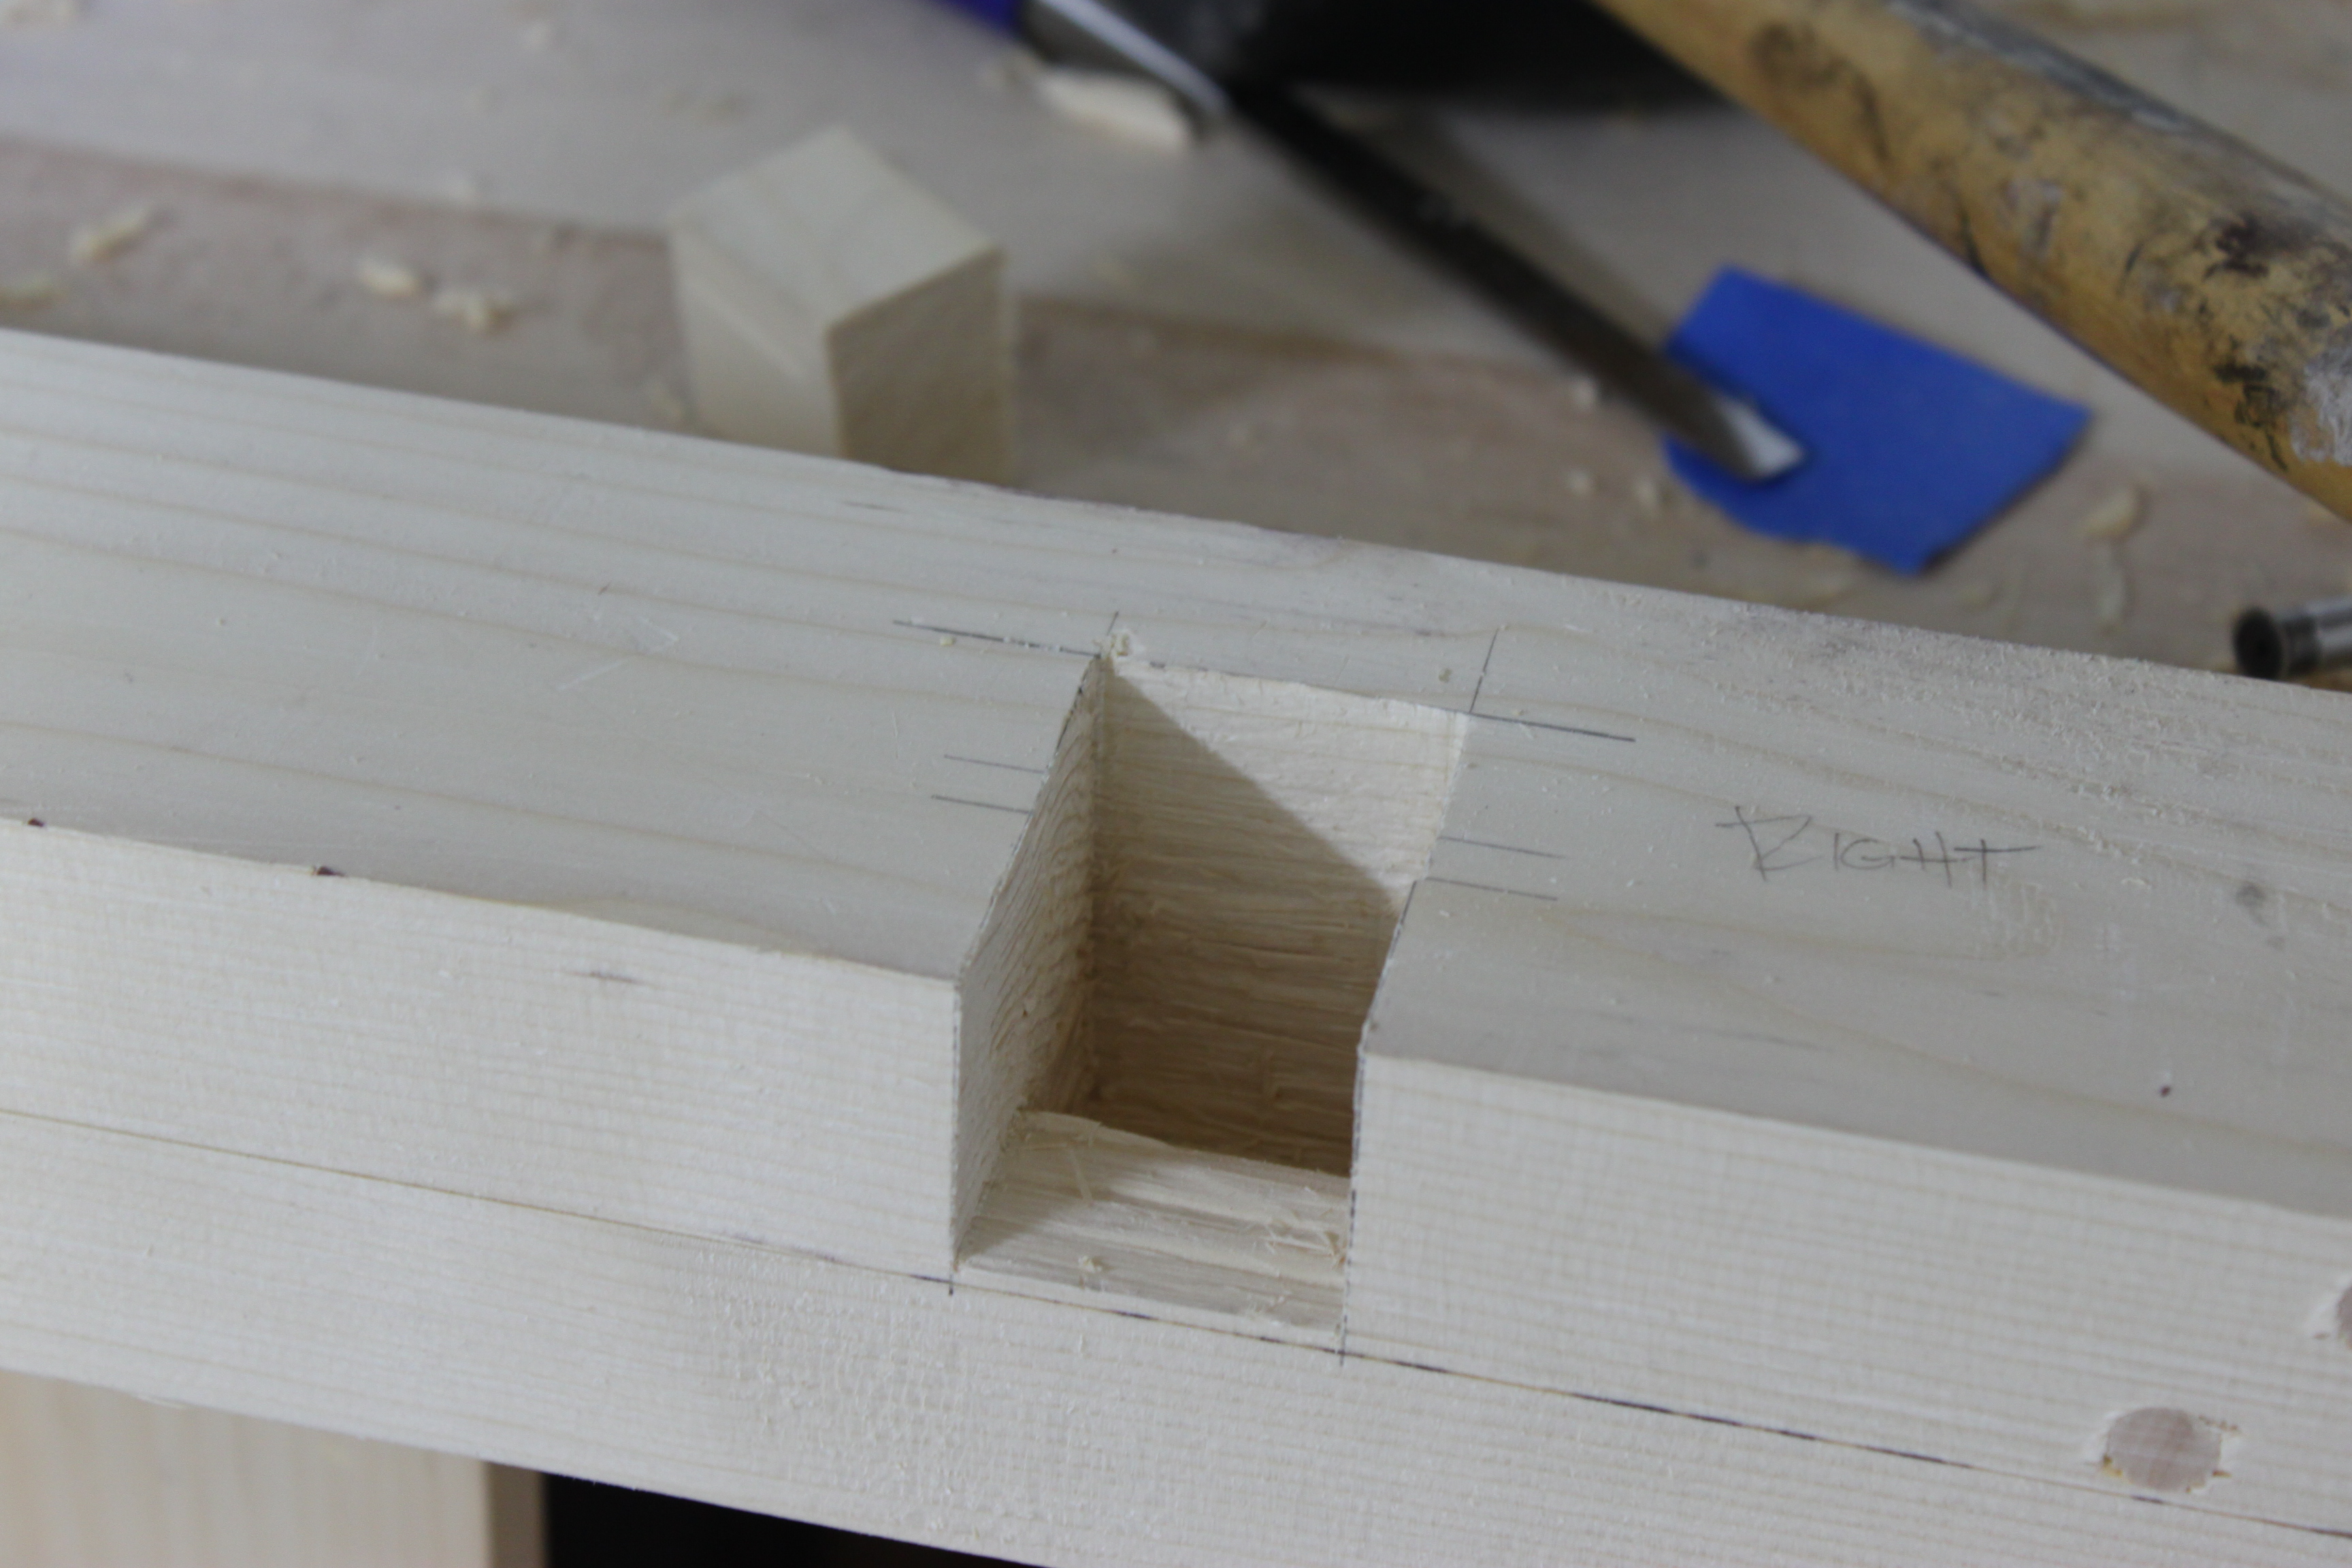
 and I was on my way to a decent looking stopped rabbet.
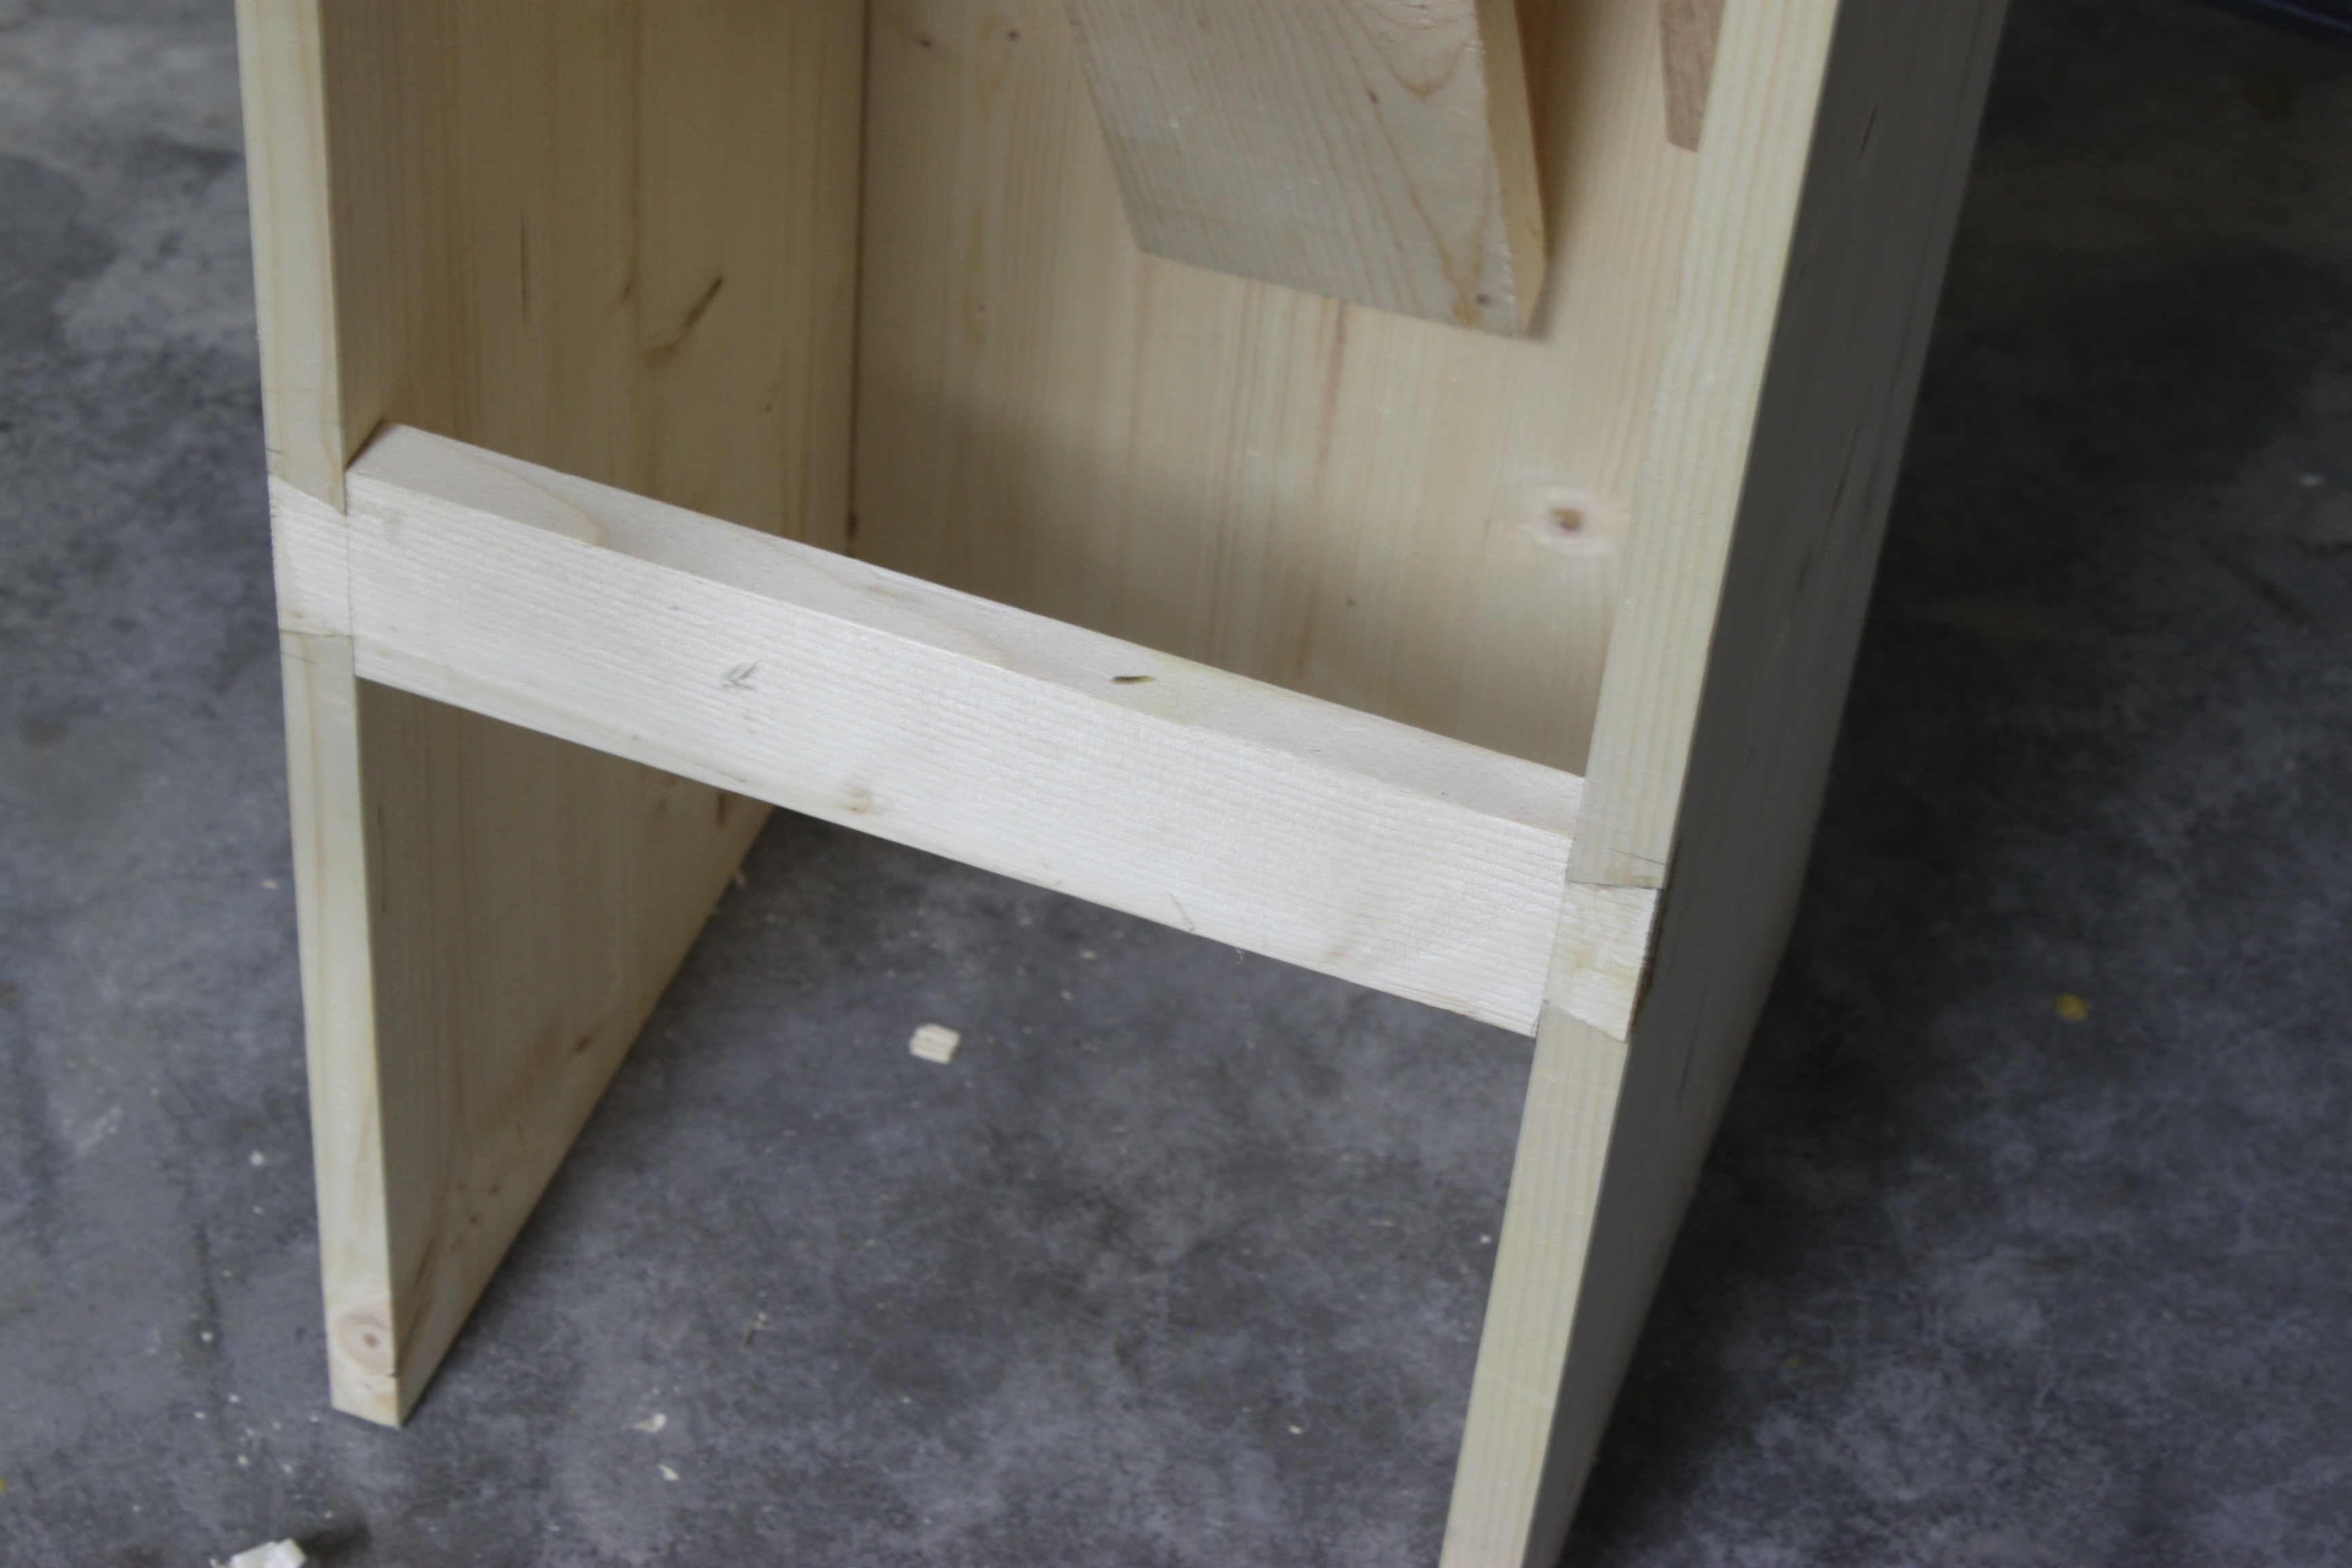
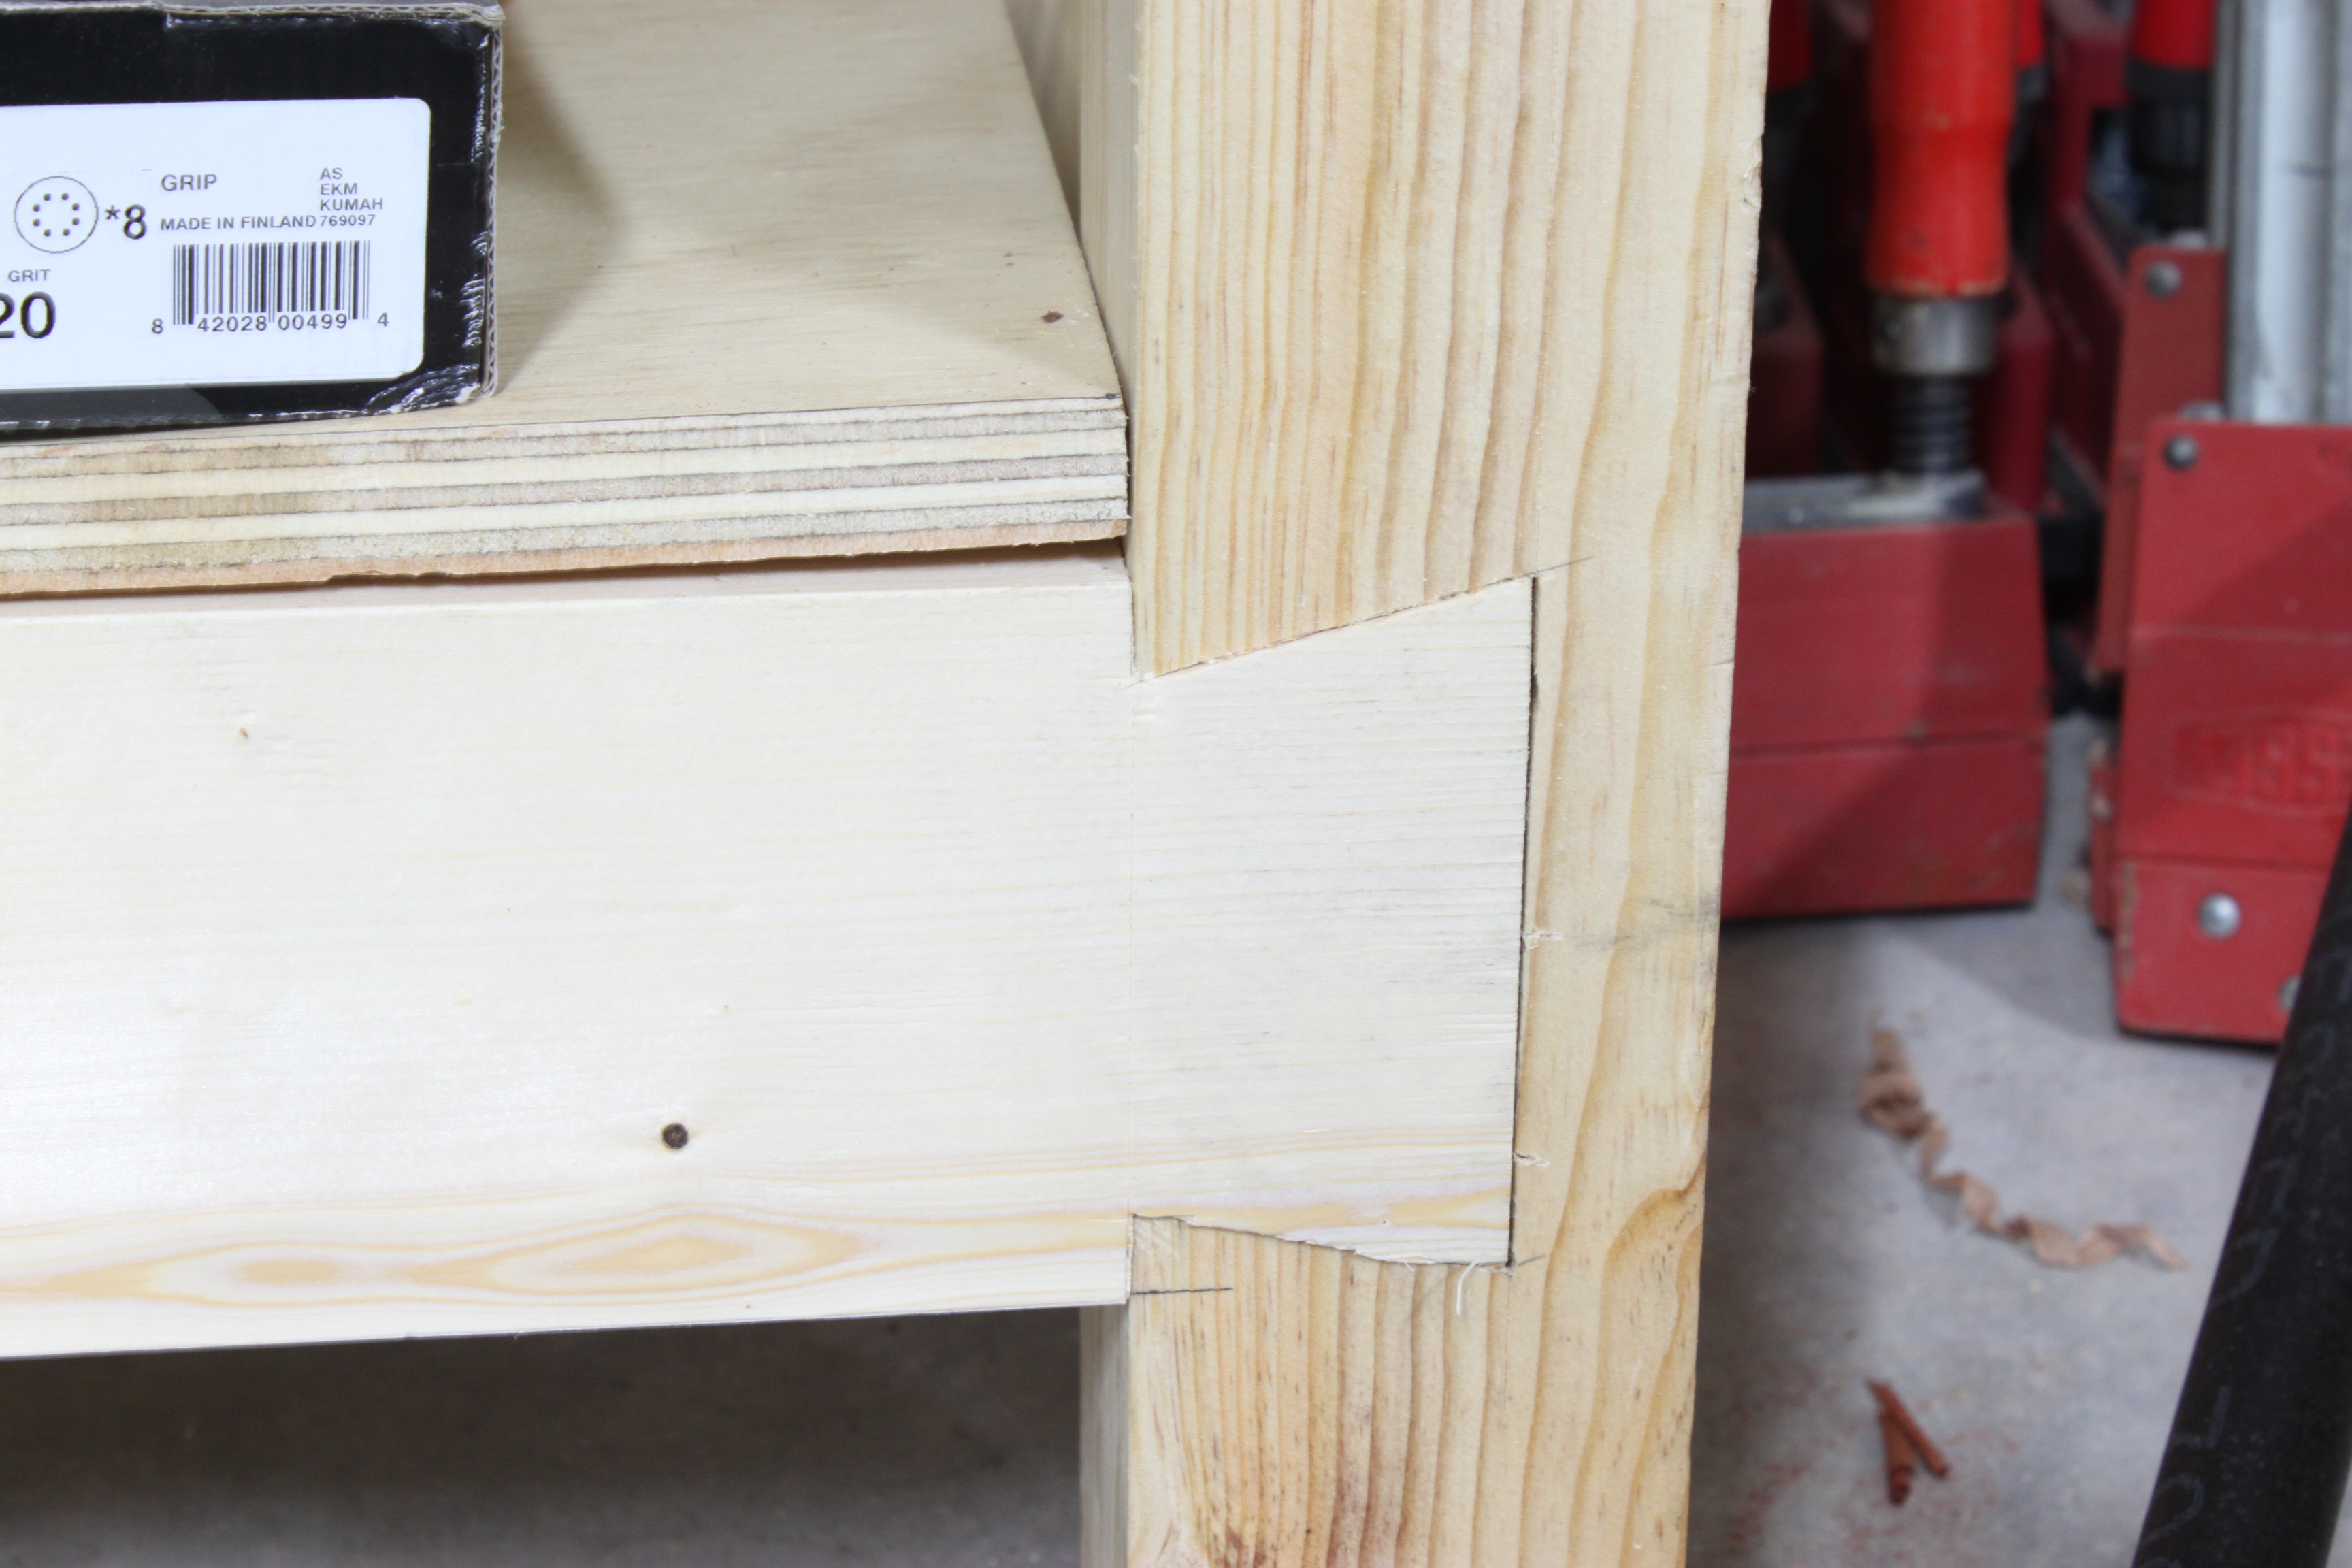
 It’s hidden under the lip so ugliness doesn’t matter. I also cut out the rest of the notches for the fall-front locks while I was at it.
 It probably would have been easier to do the notches for the panel battens at this point as well but I did it once they were already installed on the fall-front.
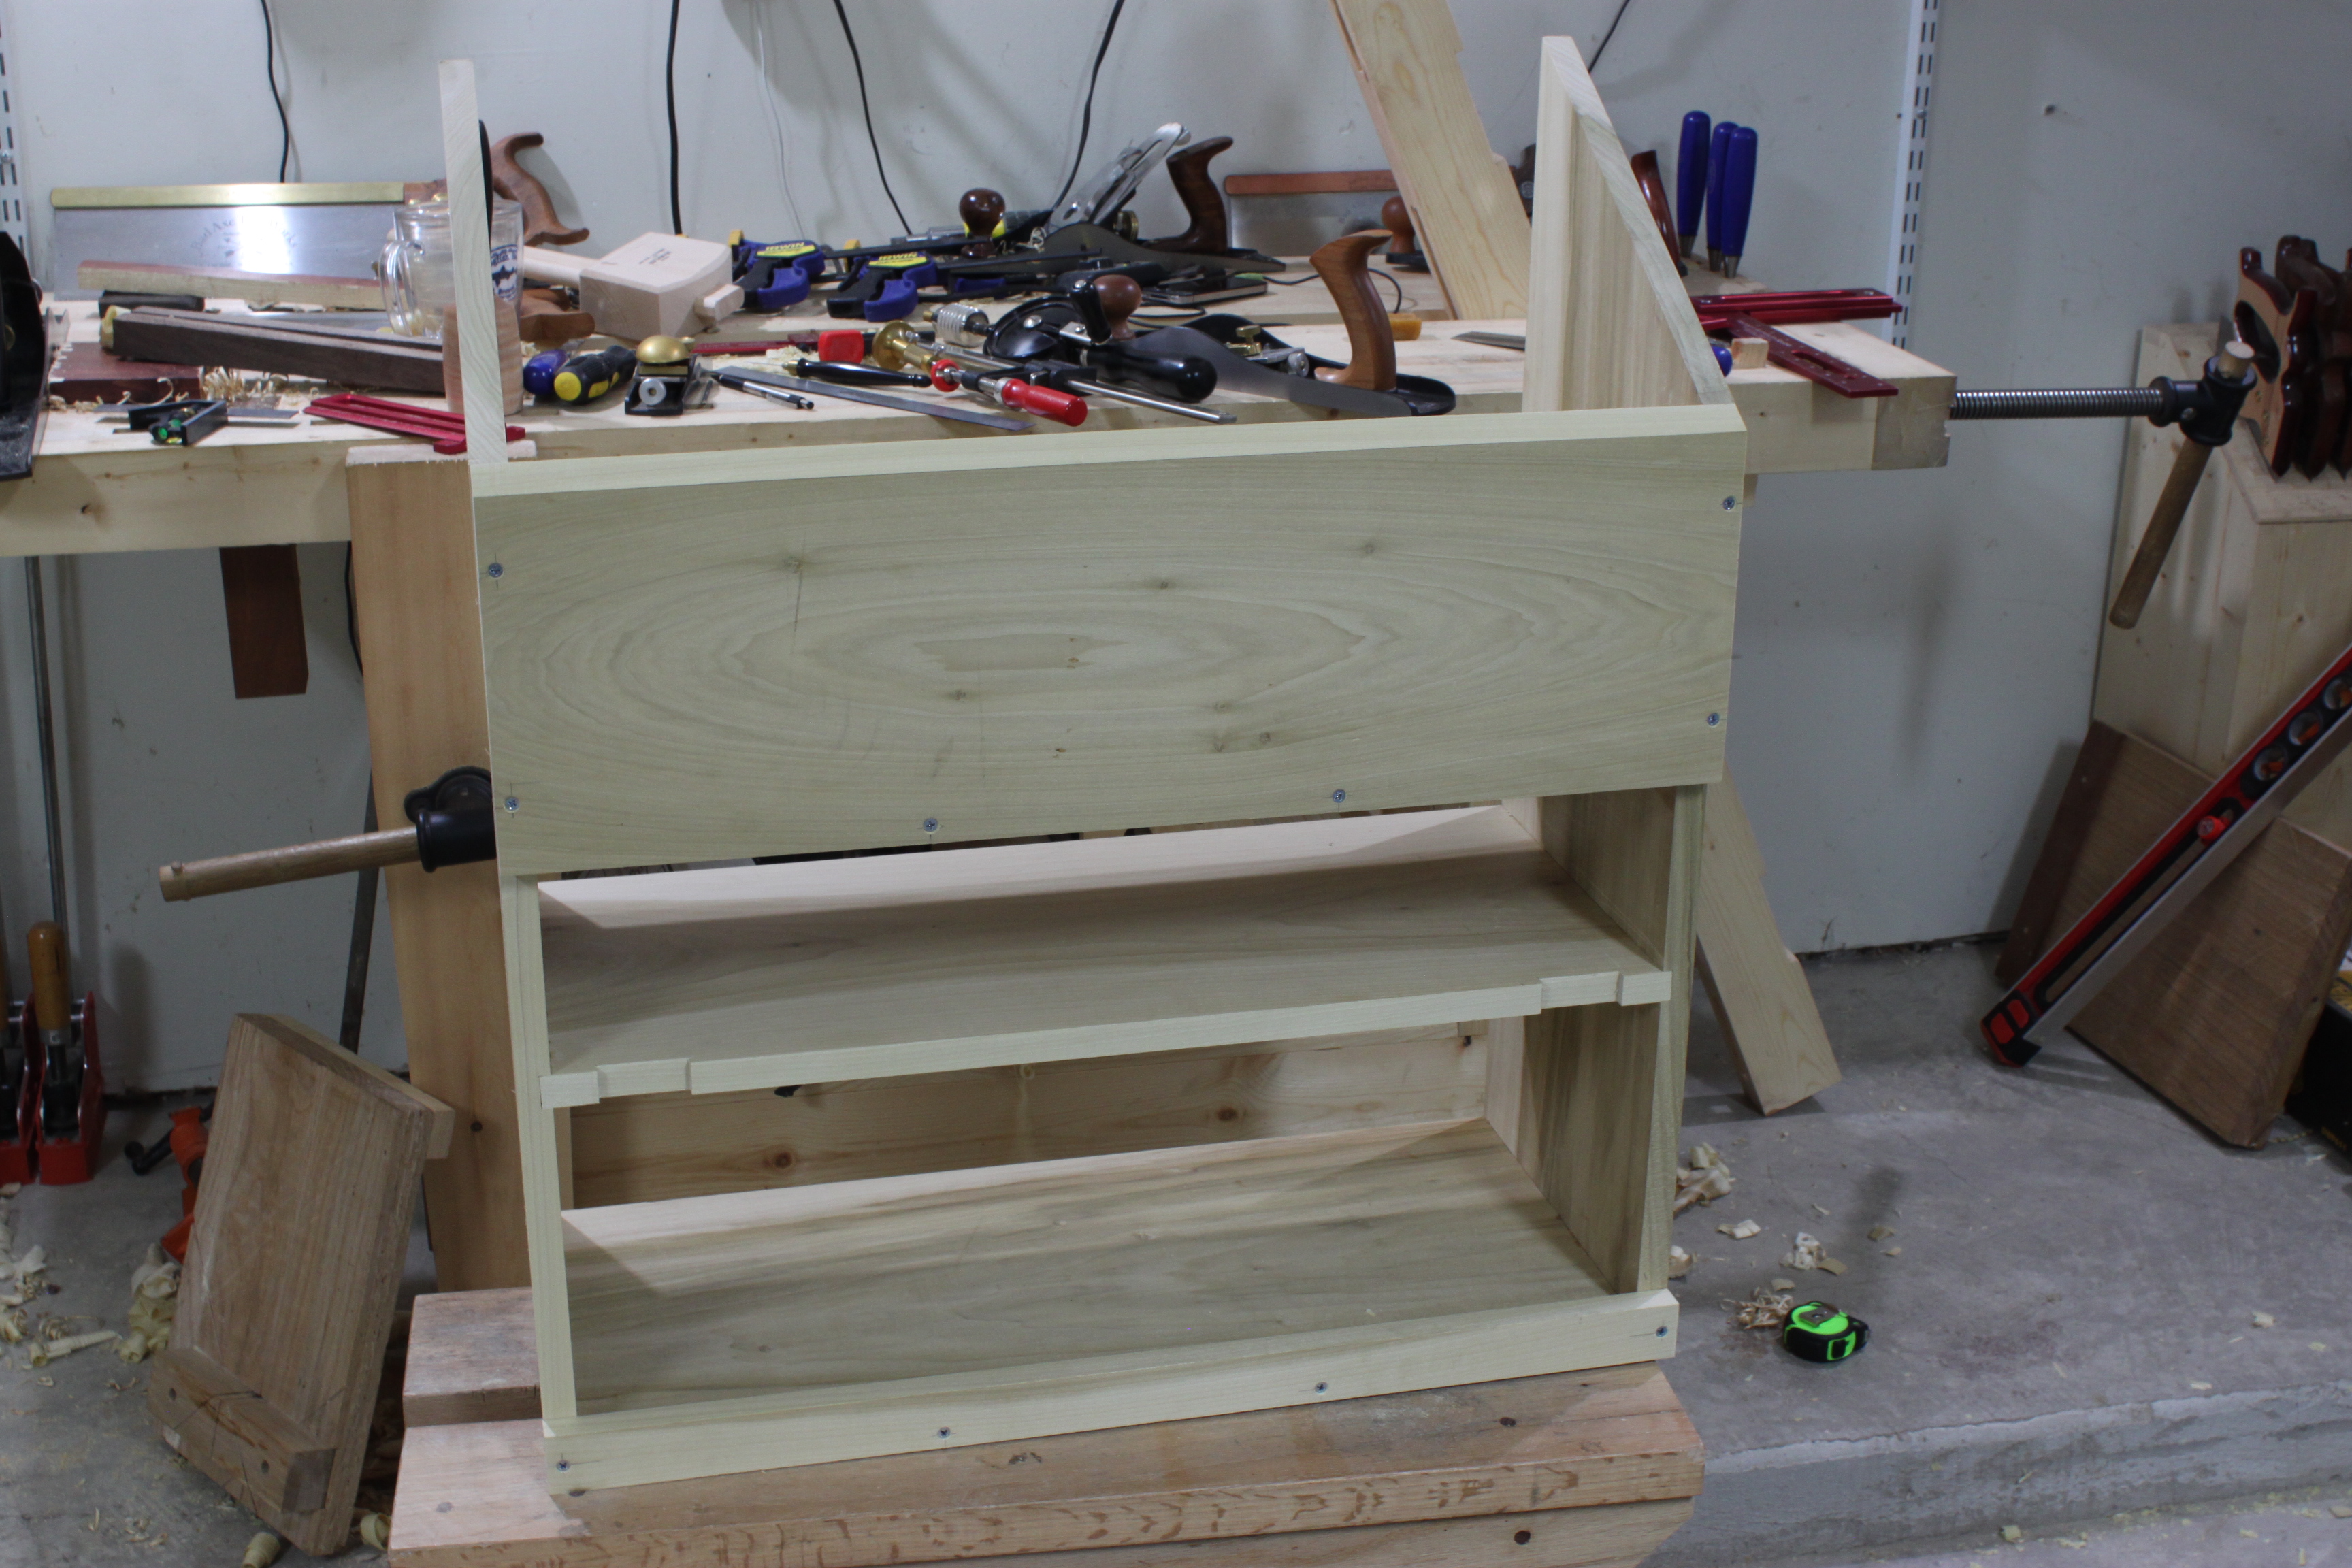
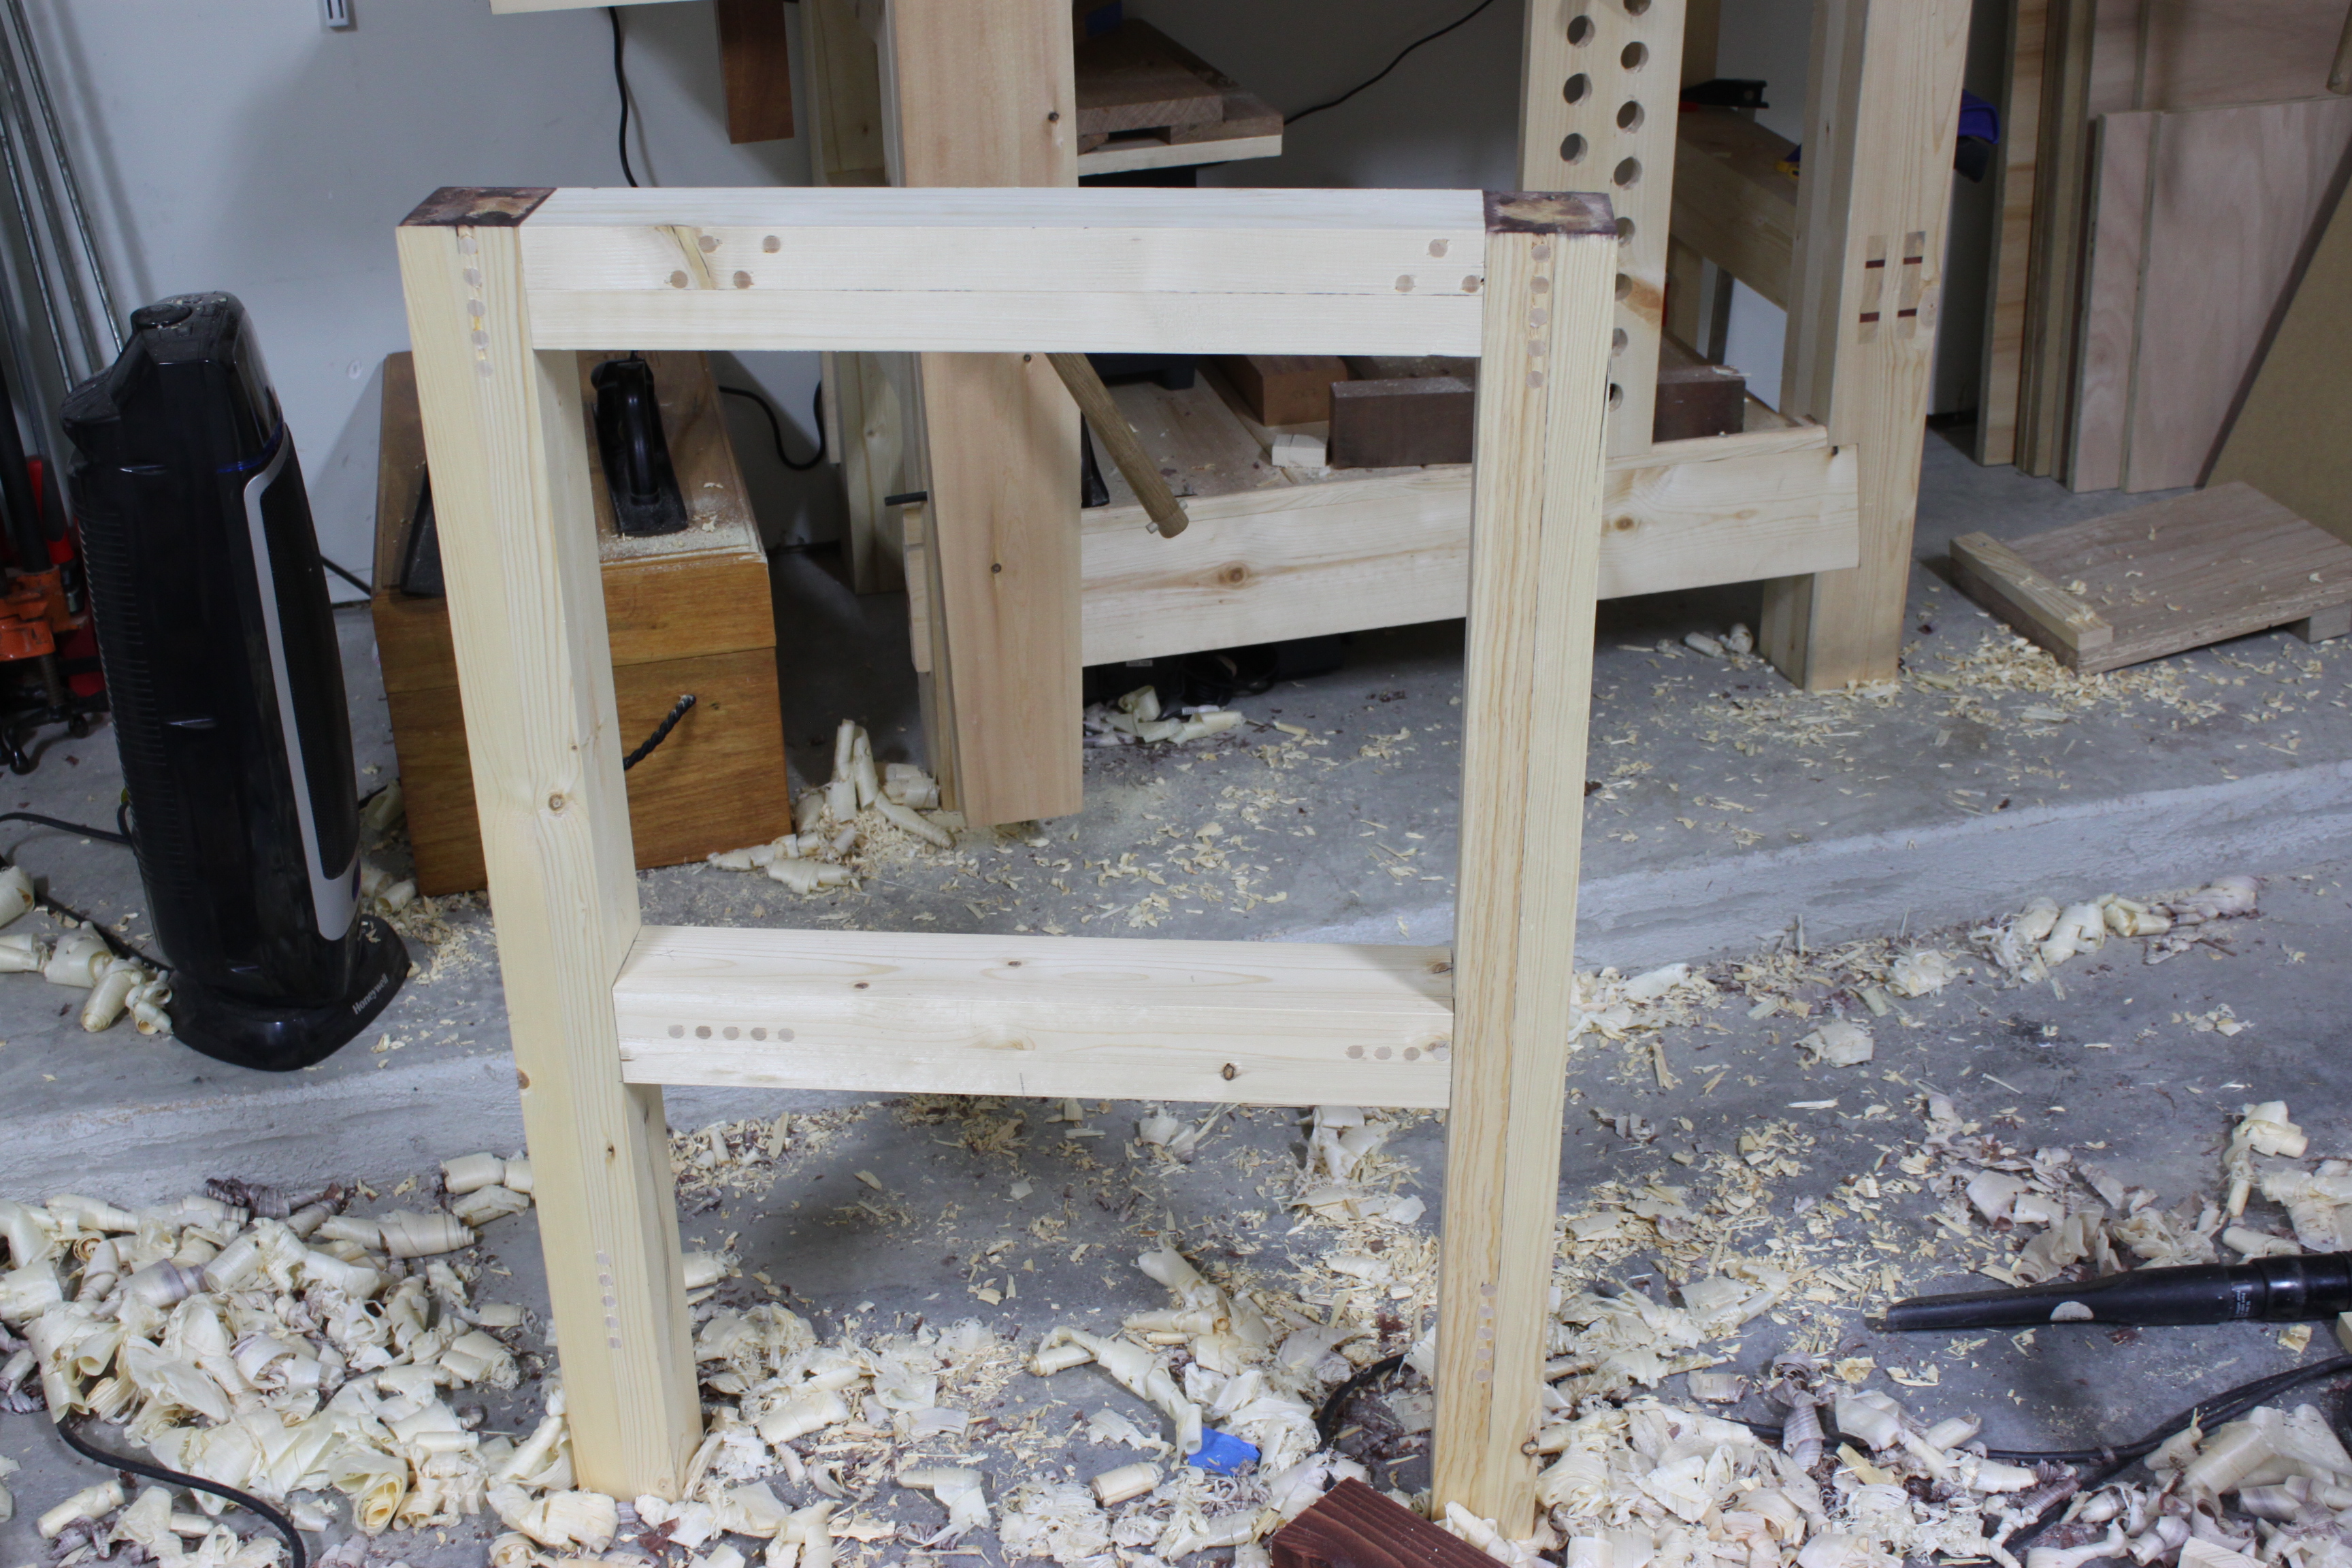
I added the front to the carcase and took a step back to admire my work from the front
 and the rear.
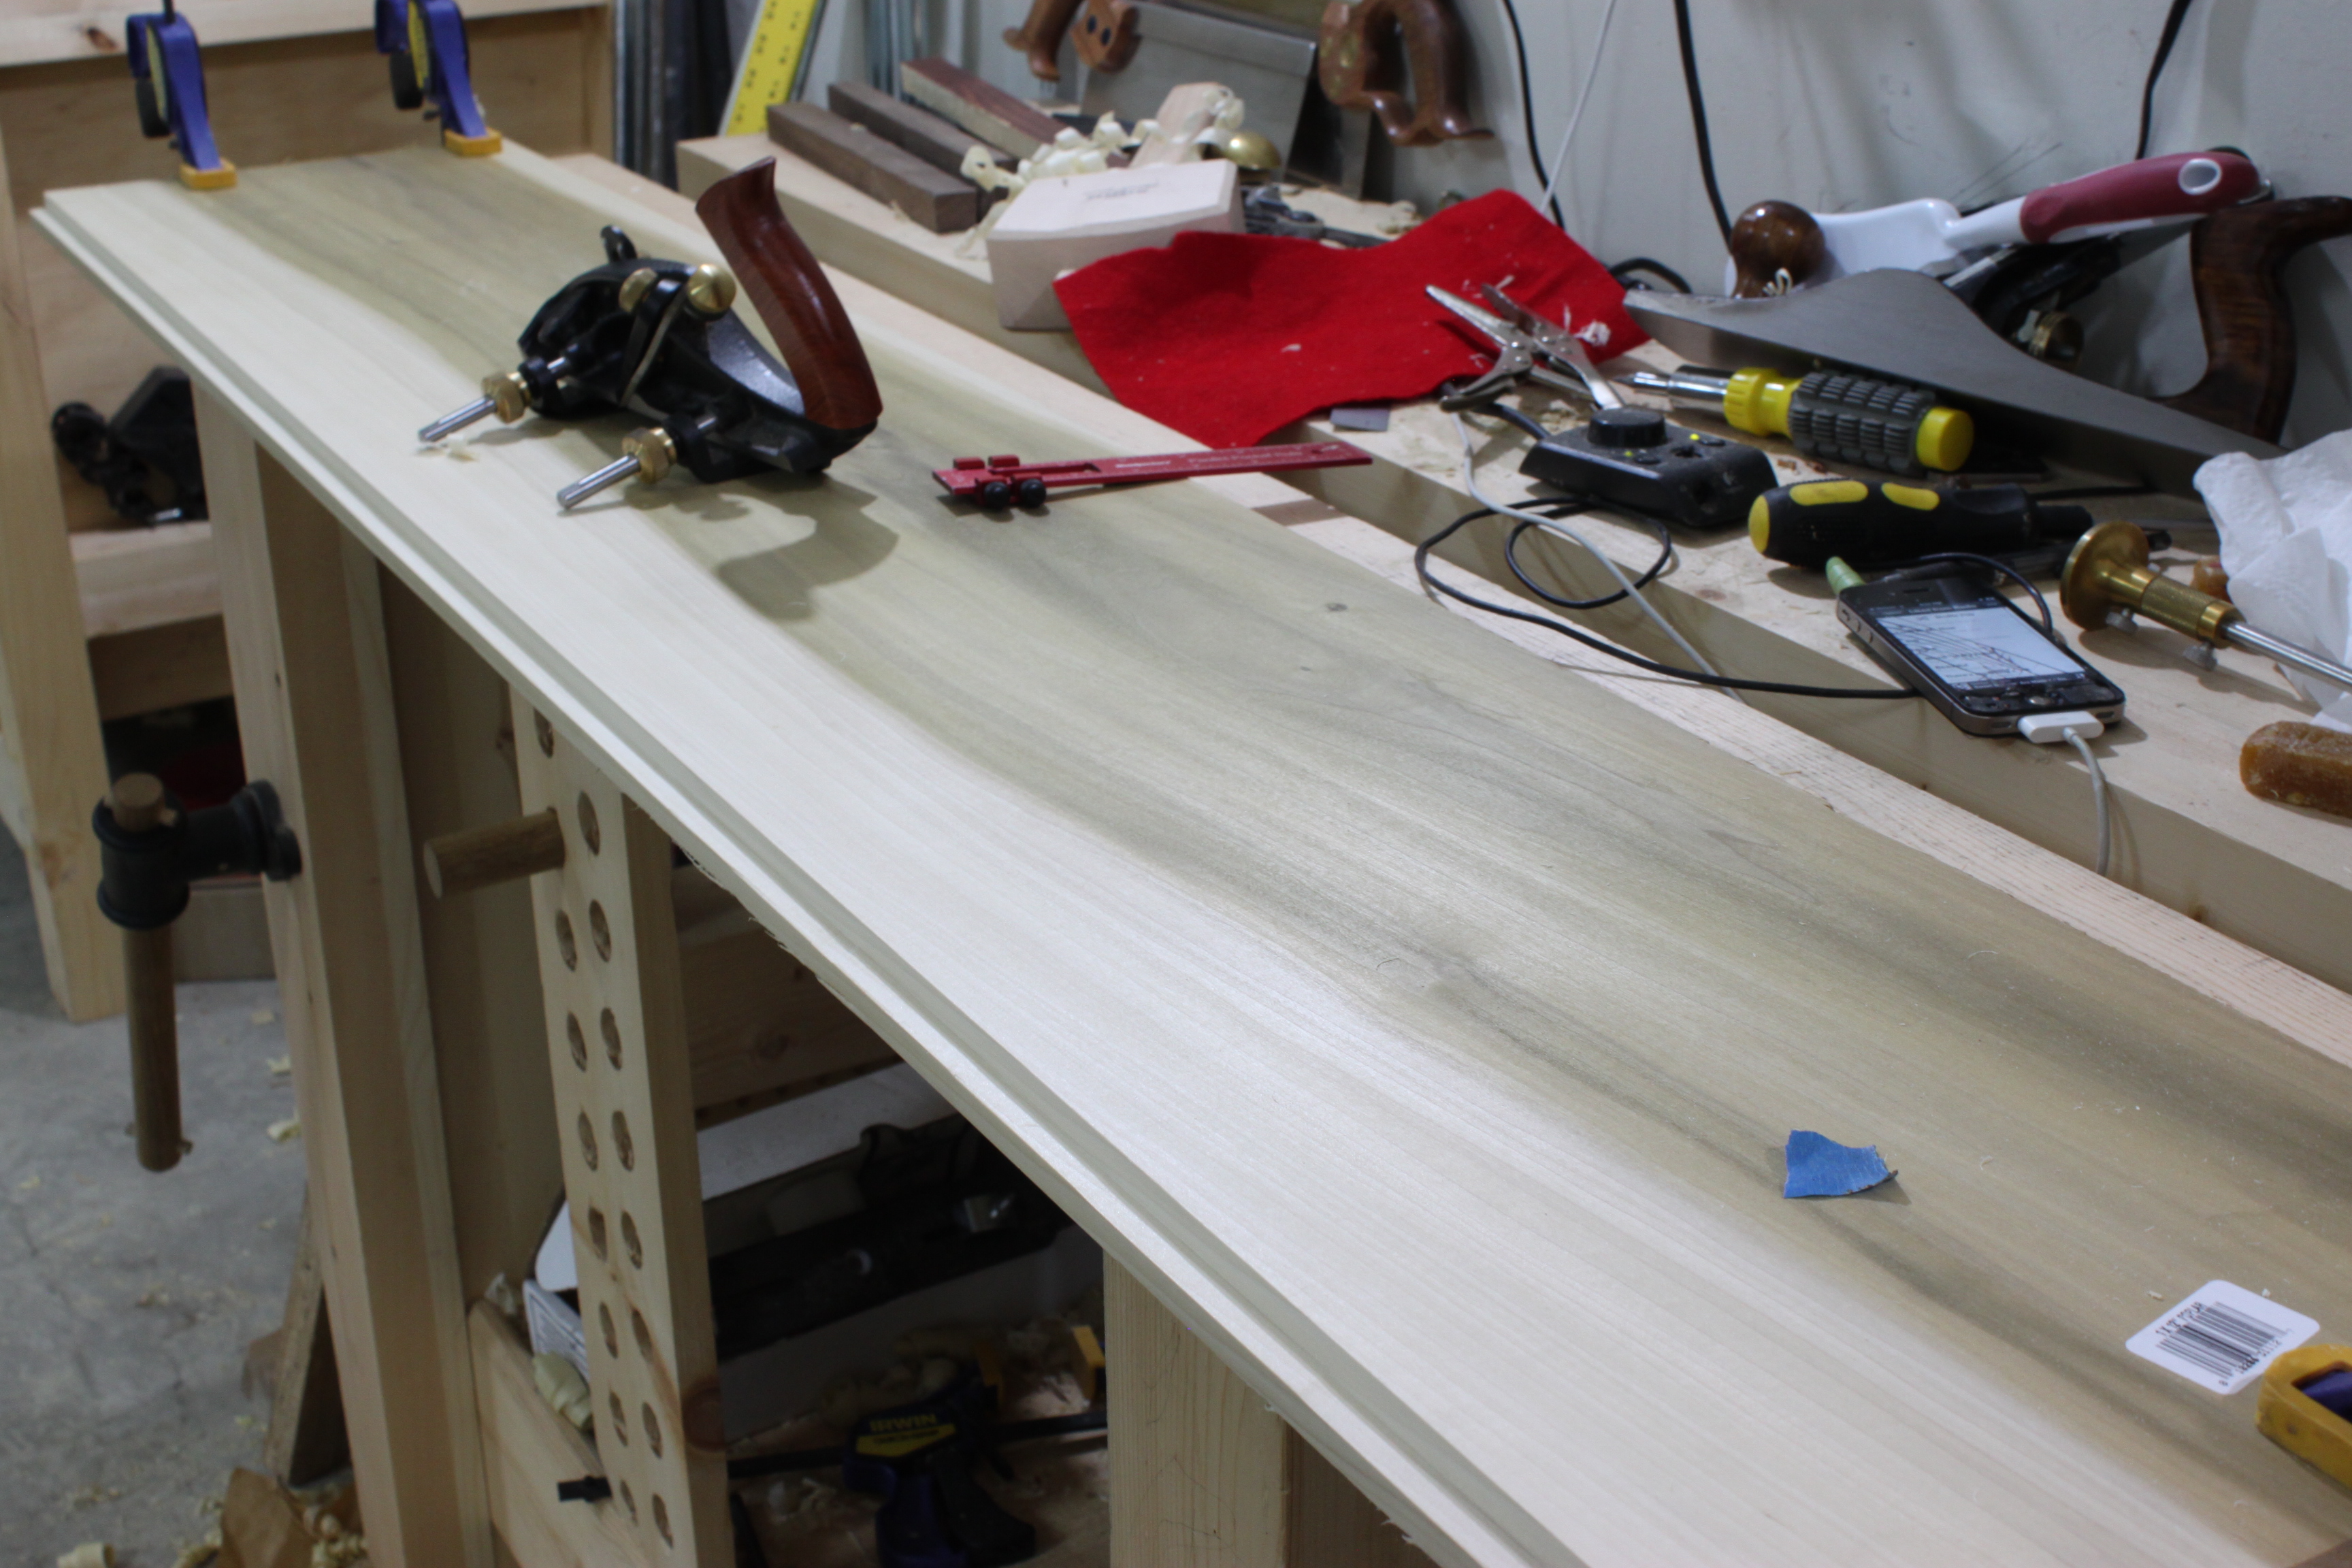
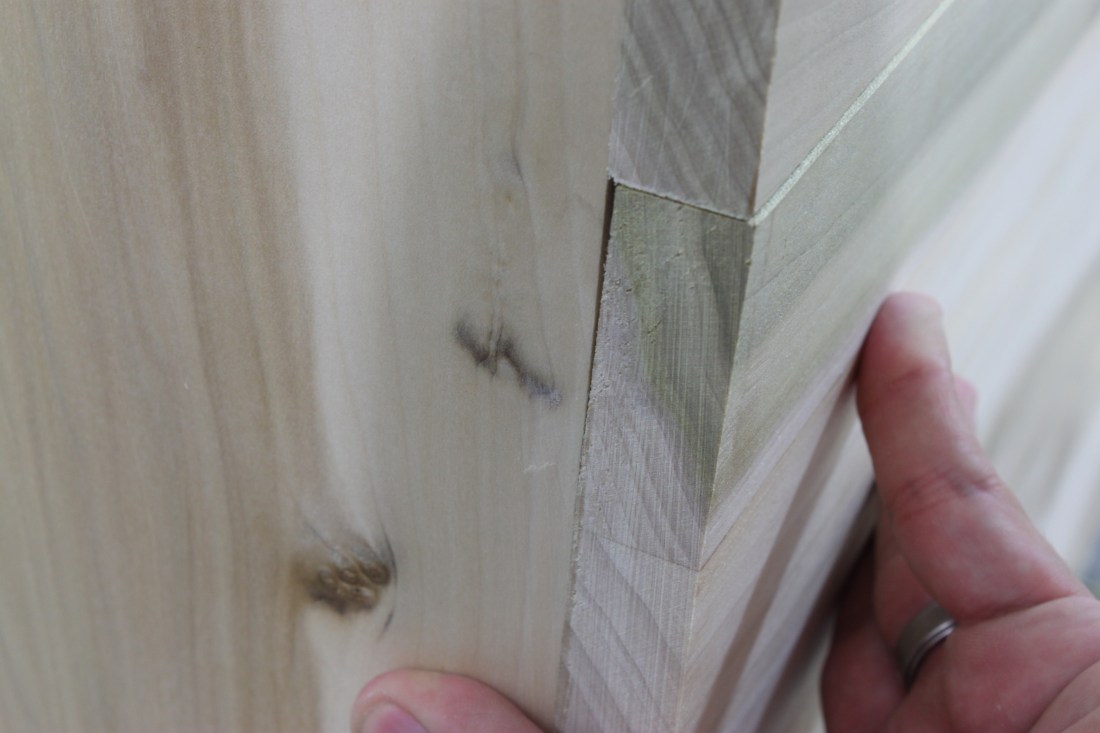
 Next was getting the back attached. I used my skewed rabbet plane to cut a rabbet a little more than 3/8 deep across a 5′ board.

I clamped it to the back of the chest and screwed everything in place using the whole board.
 Then I used a flush-cut pull saw to get the right fit rather than measuring.
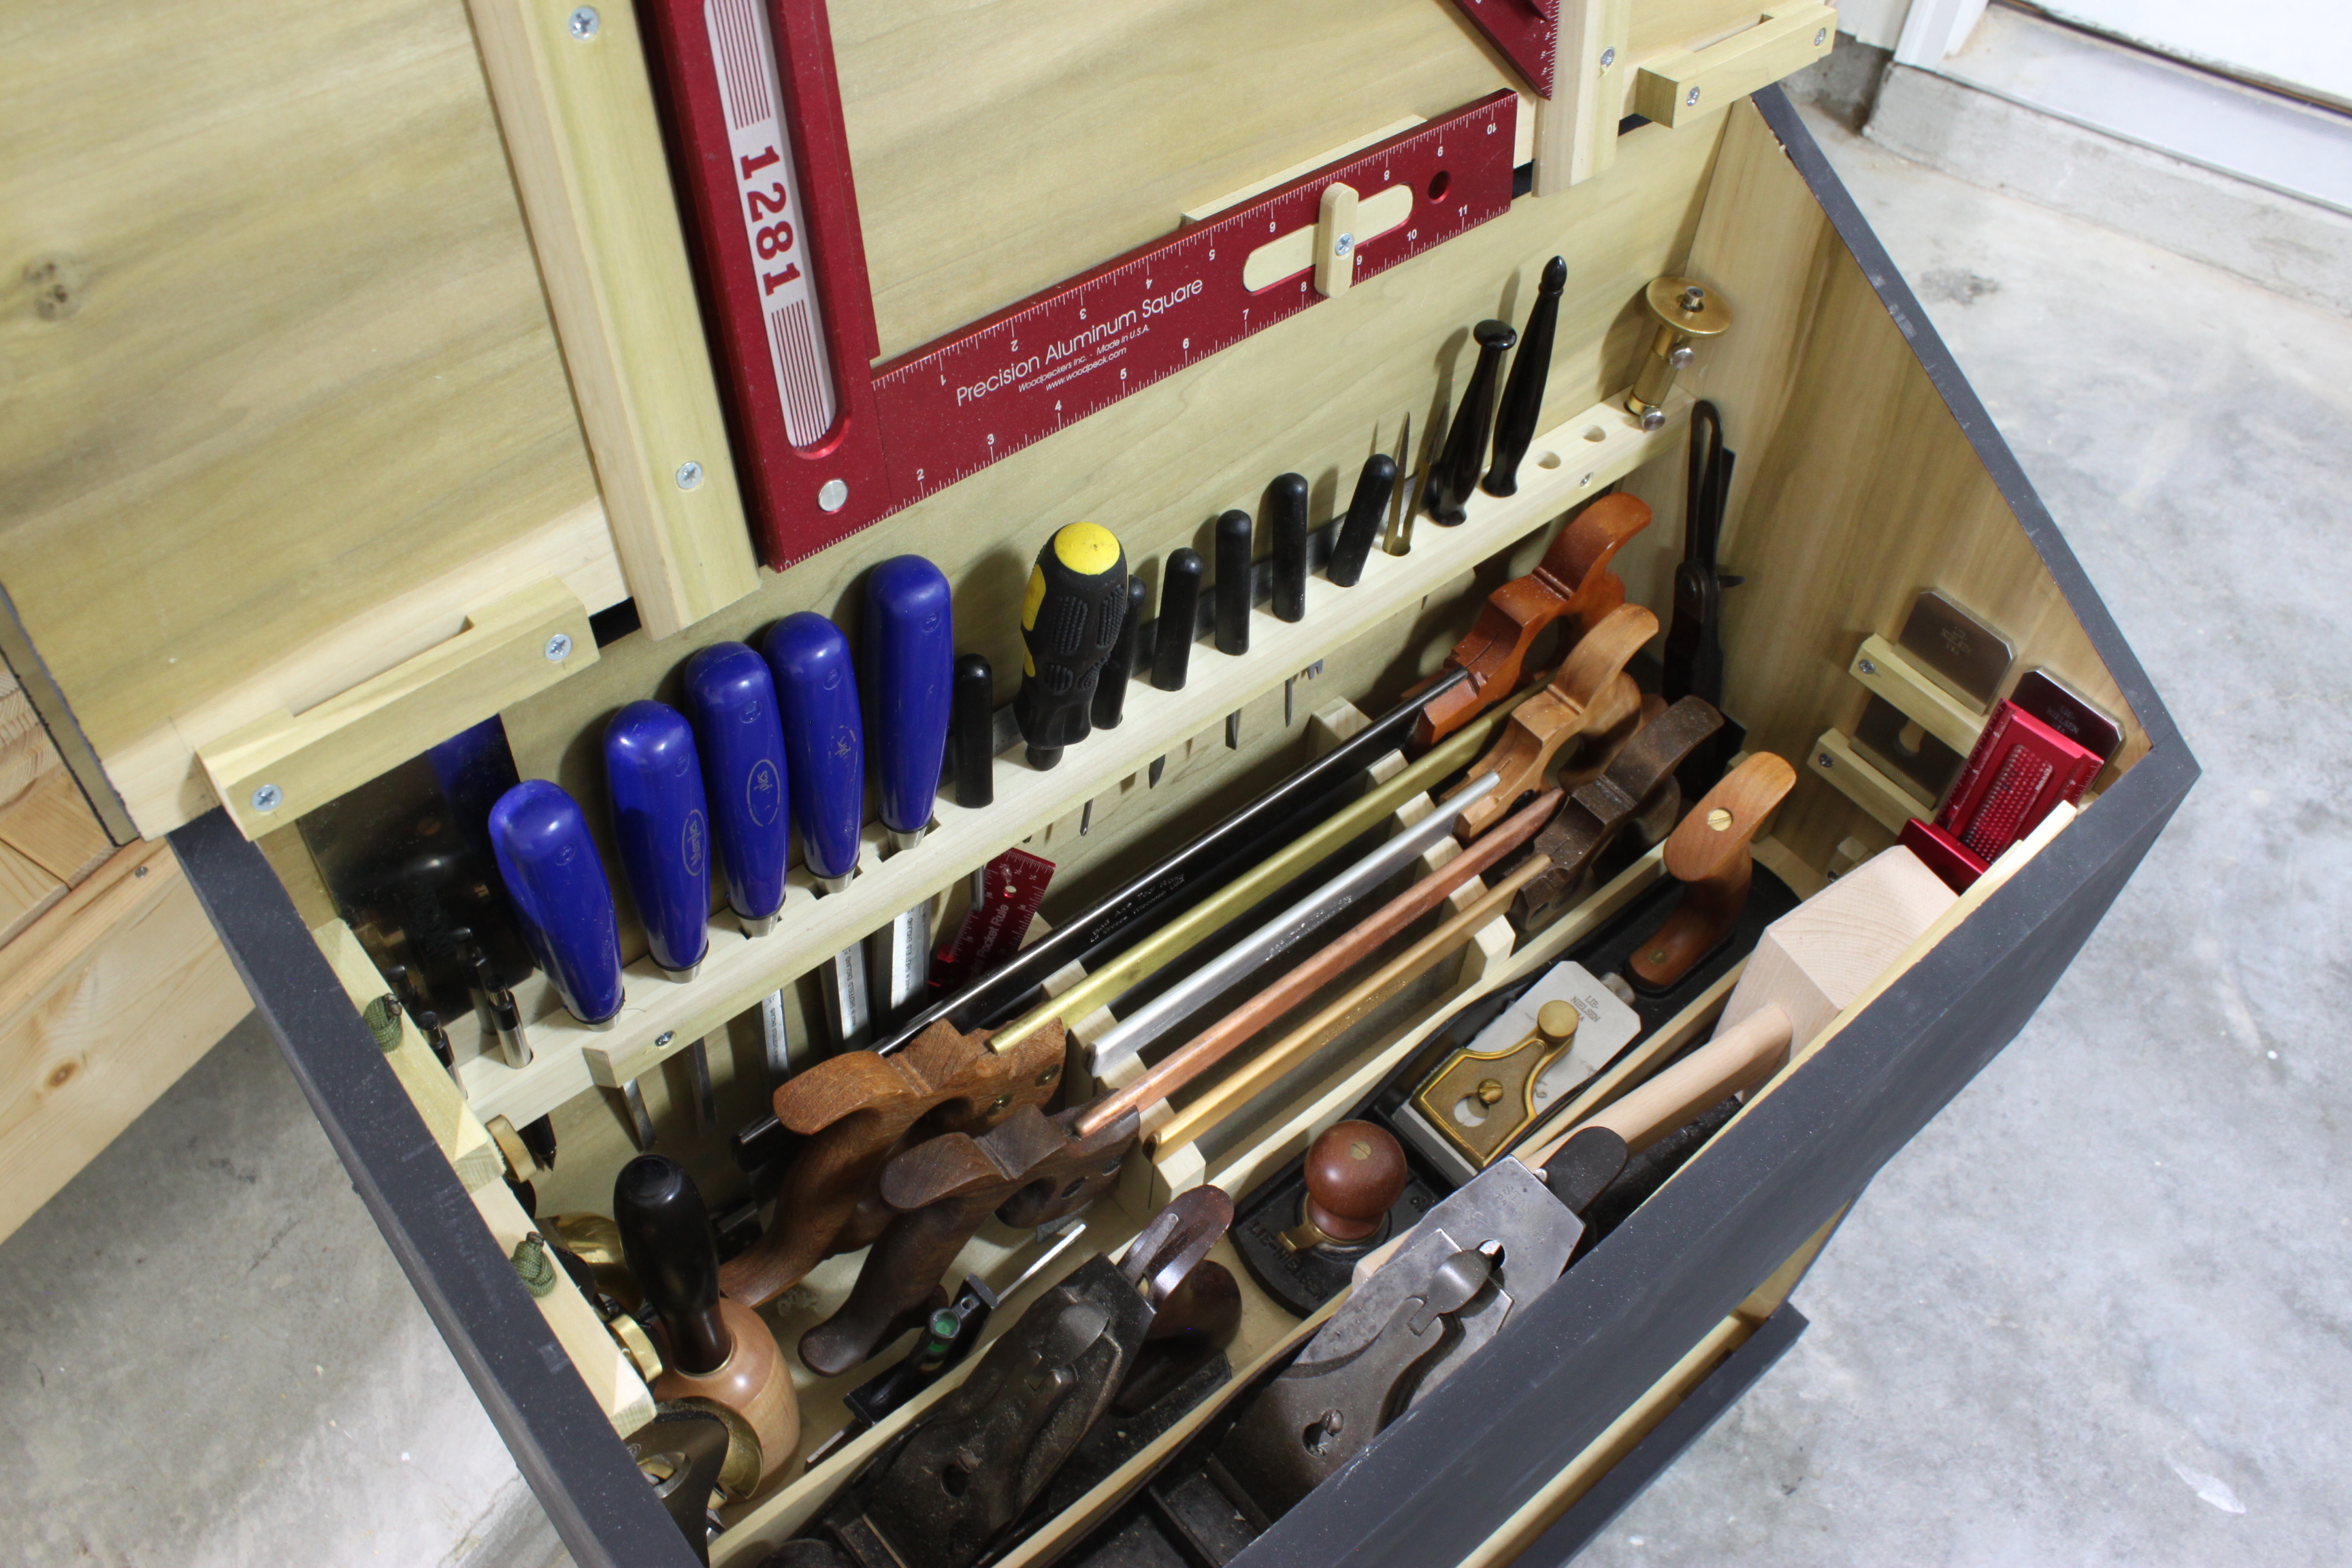
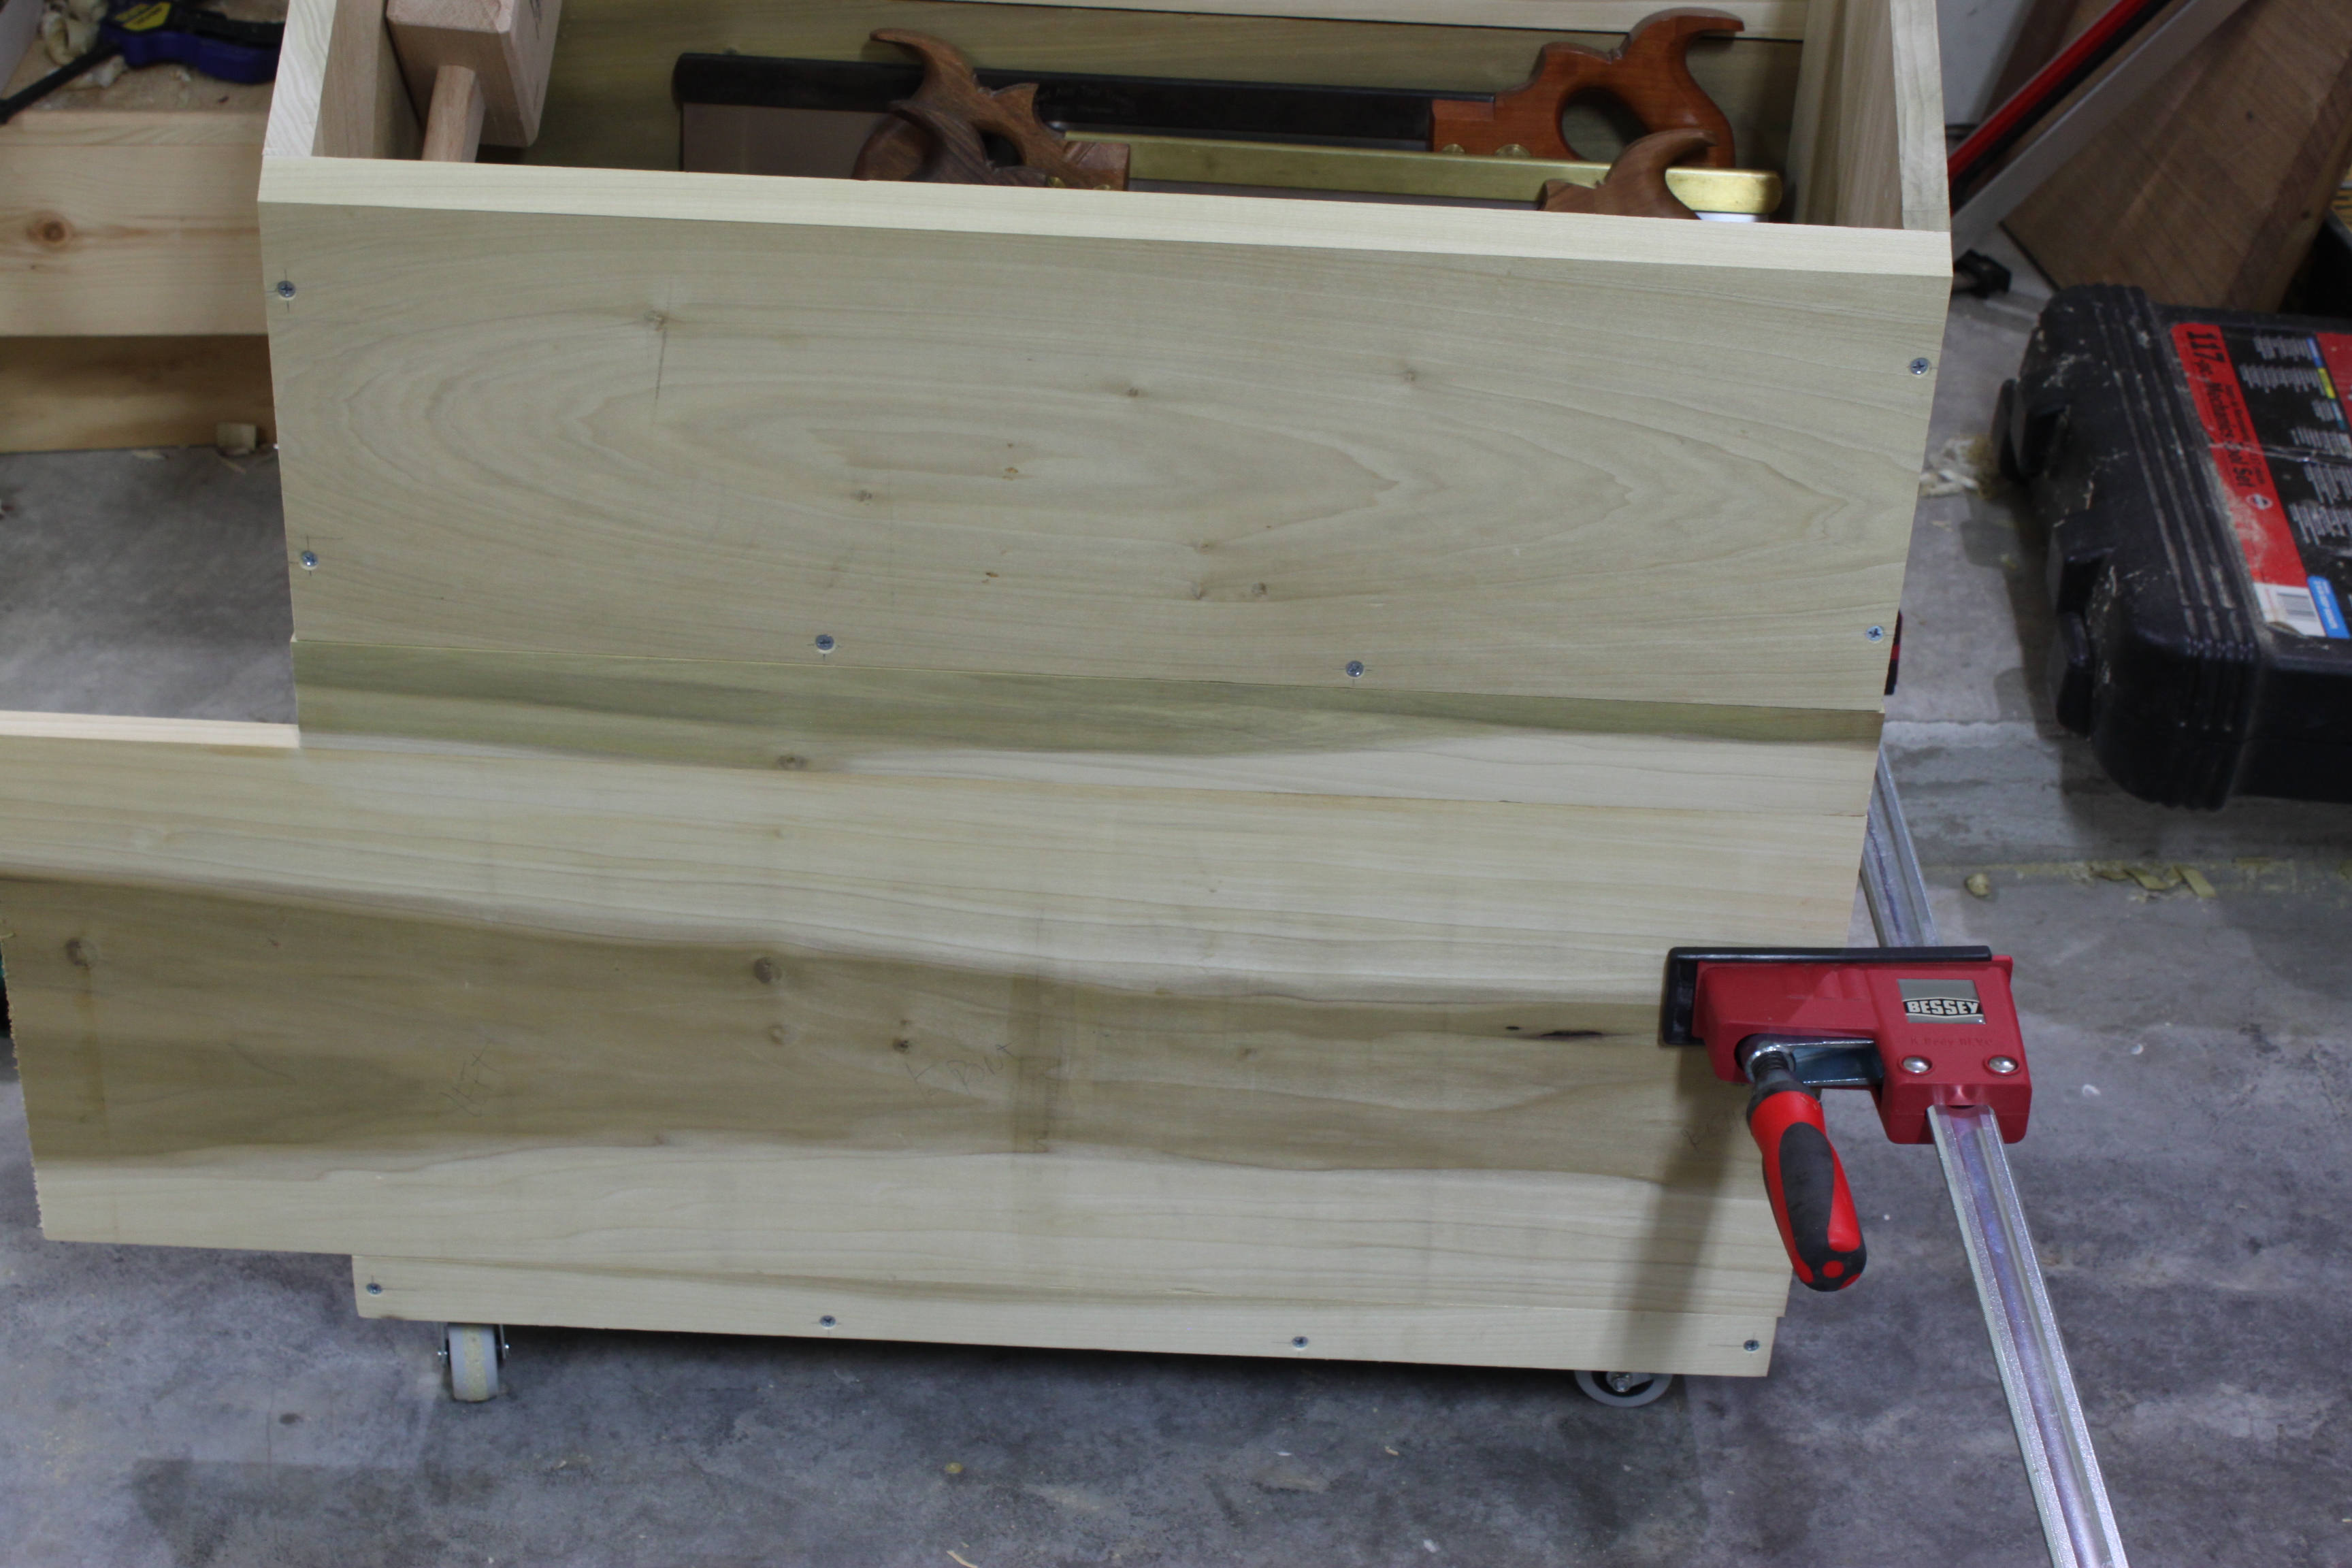
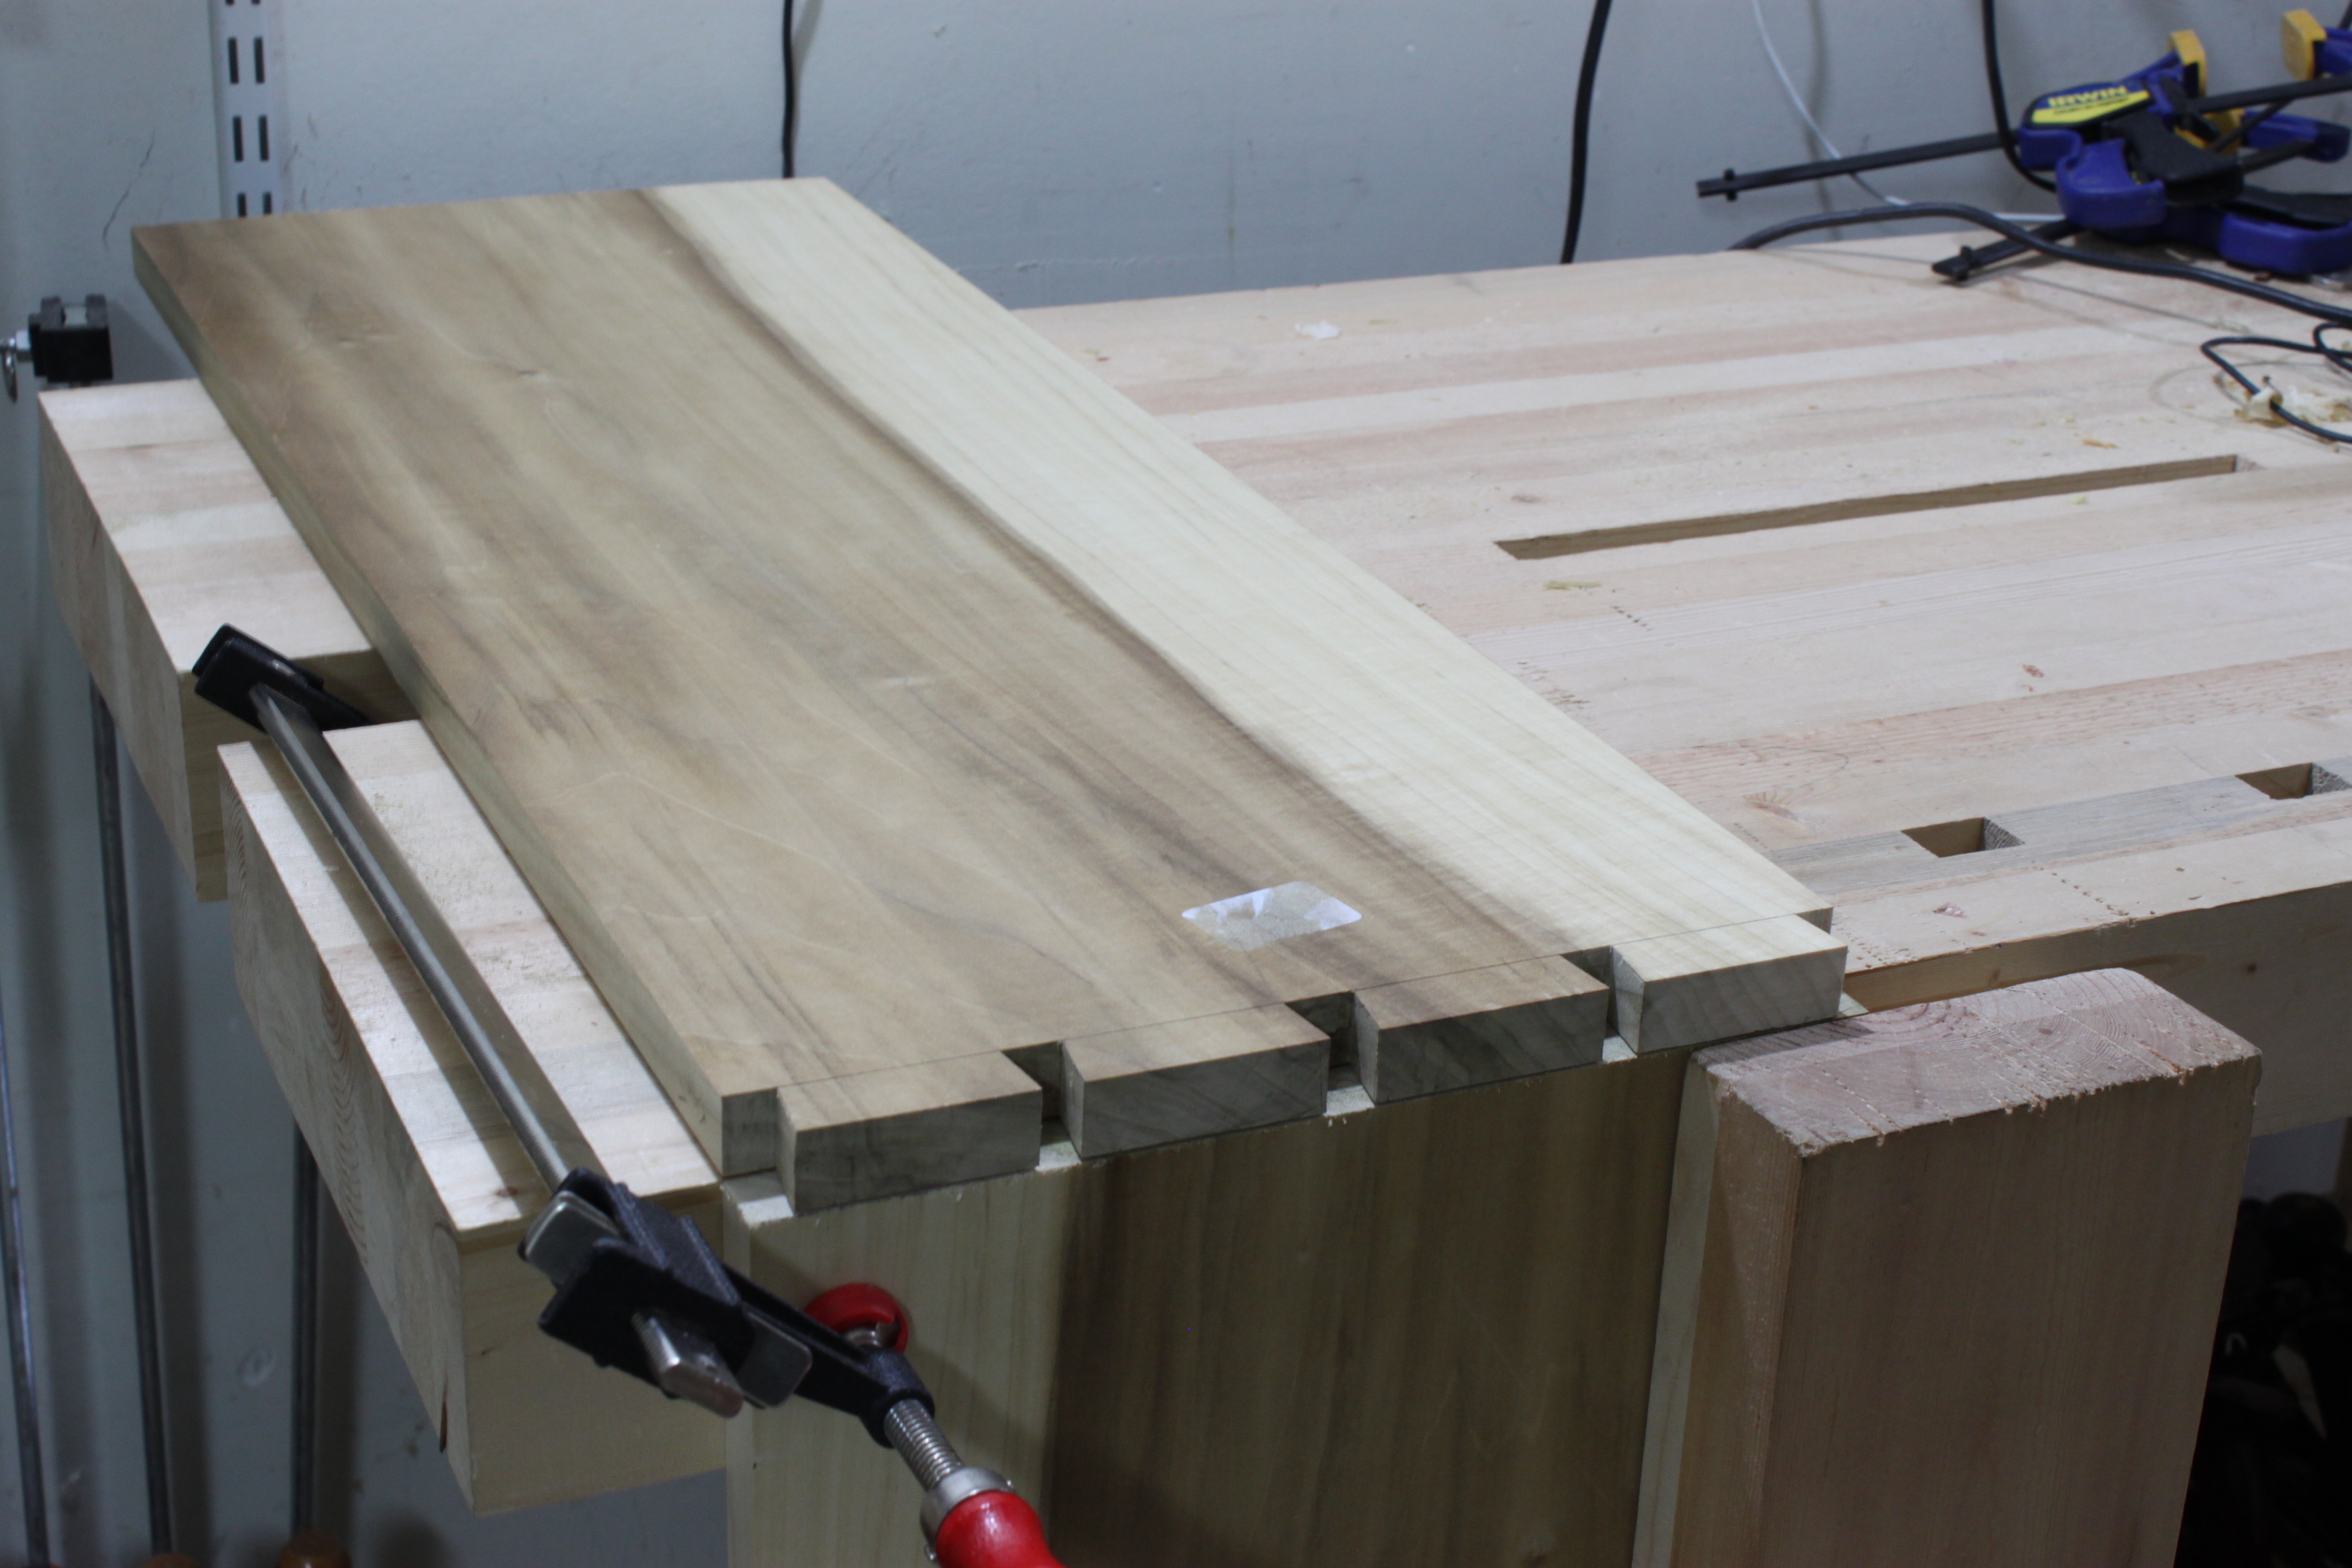
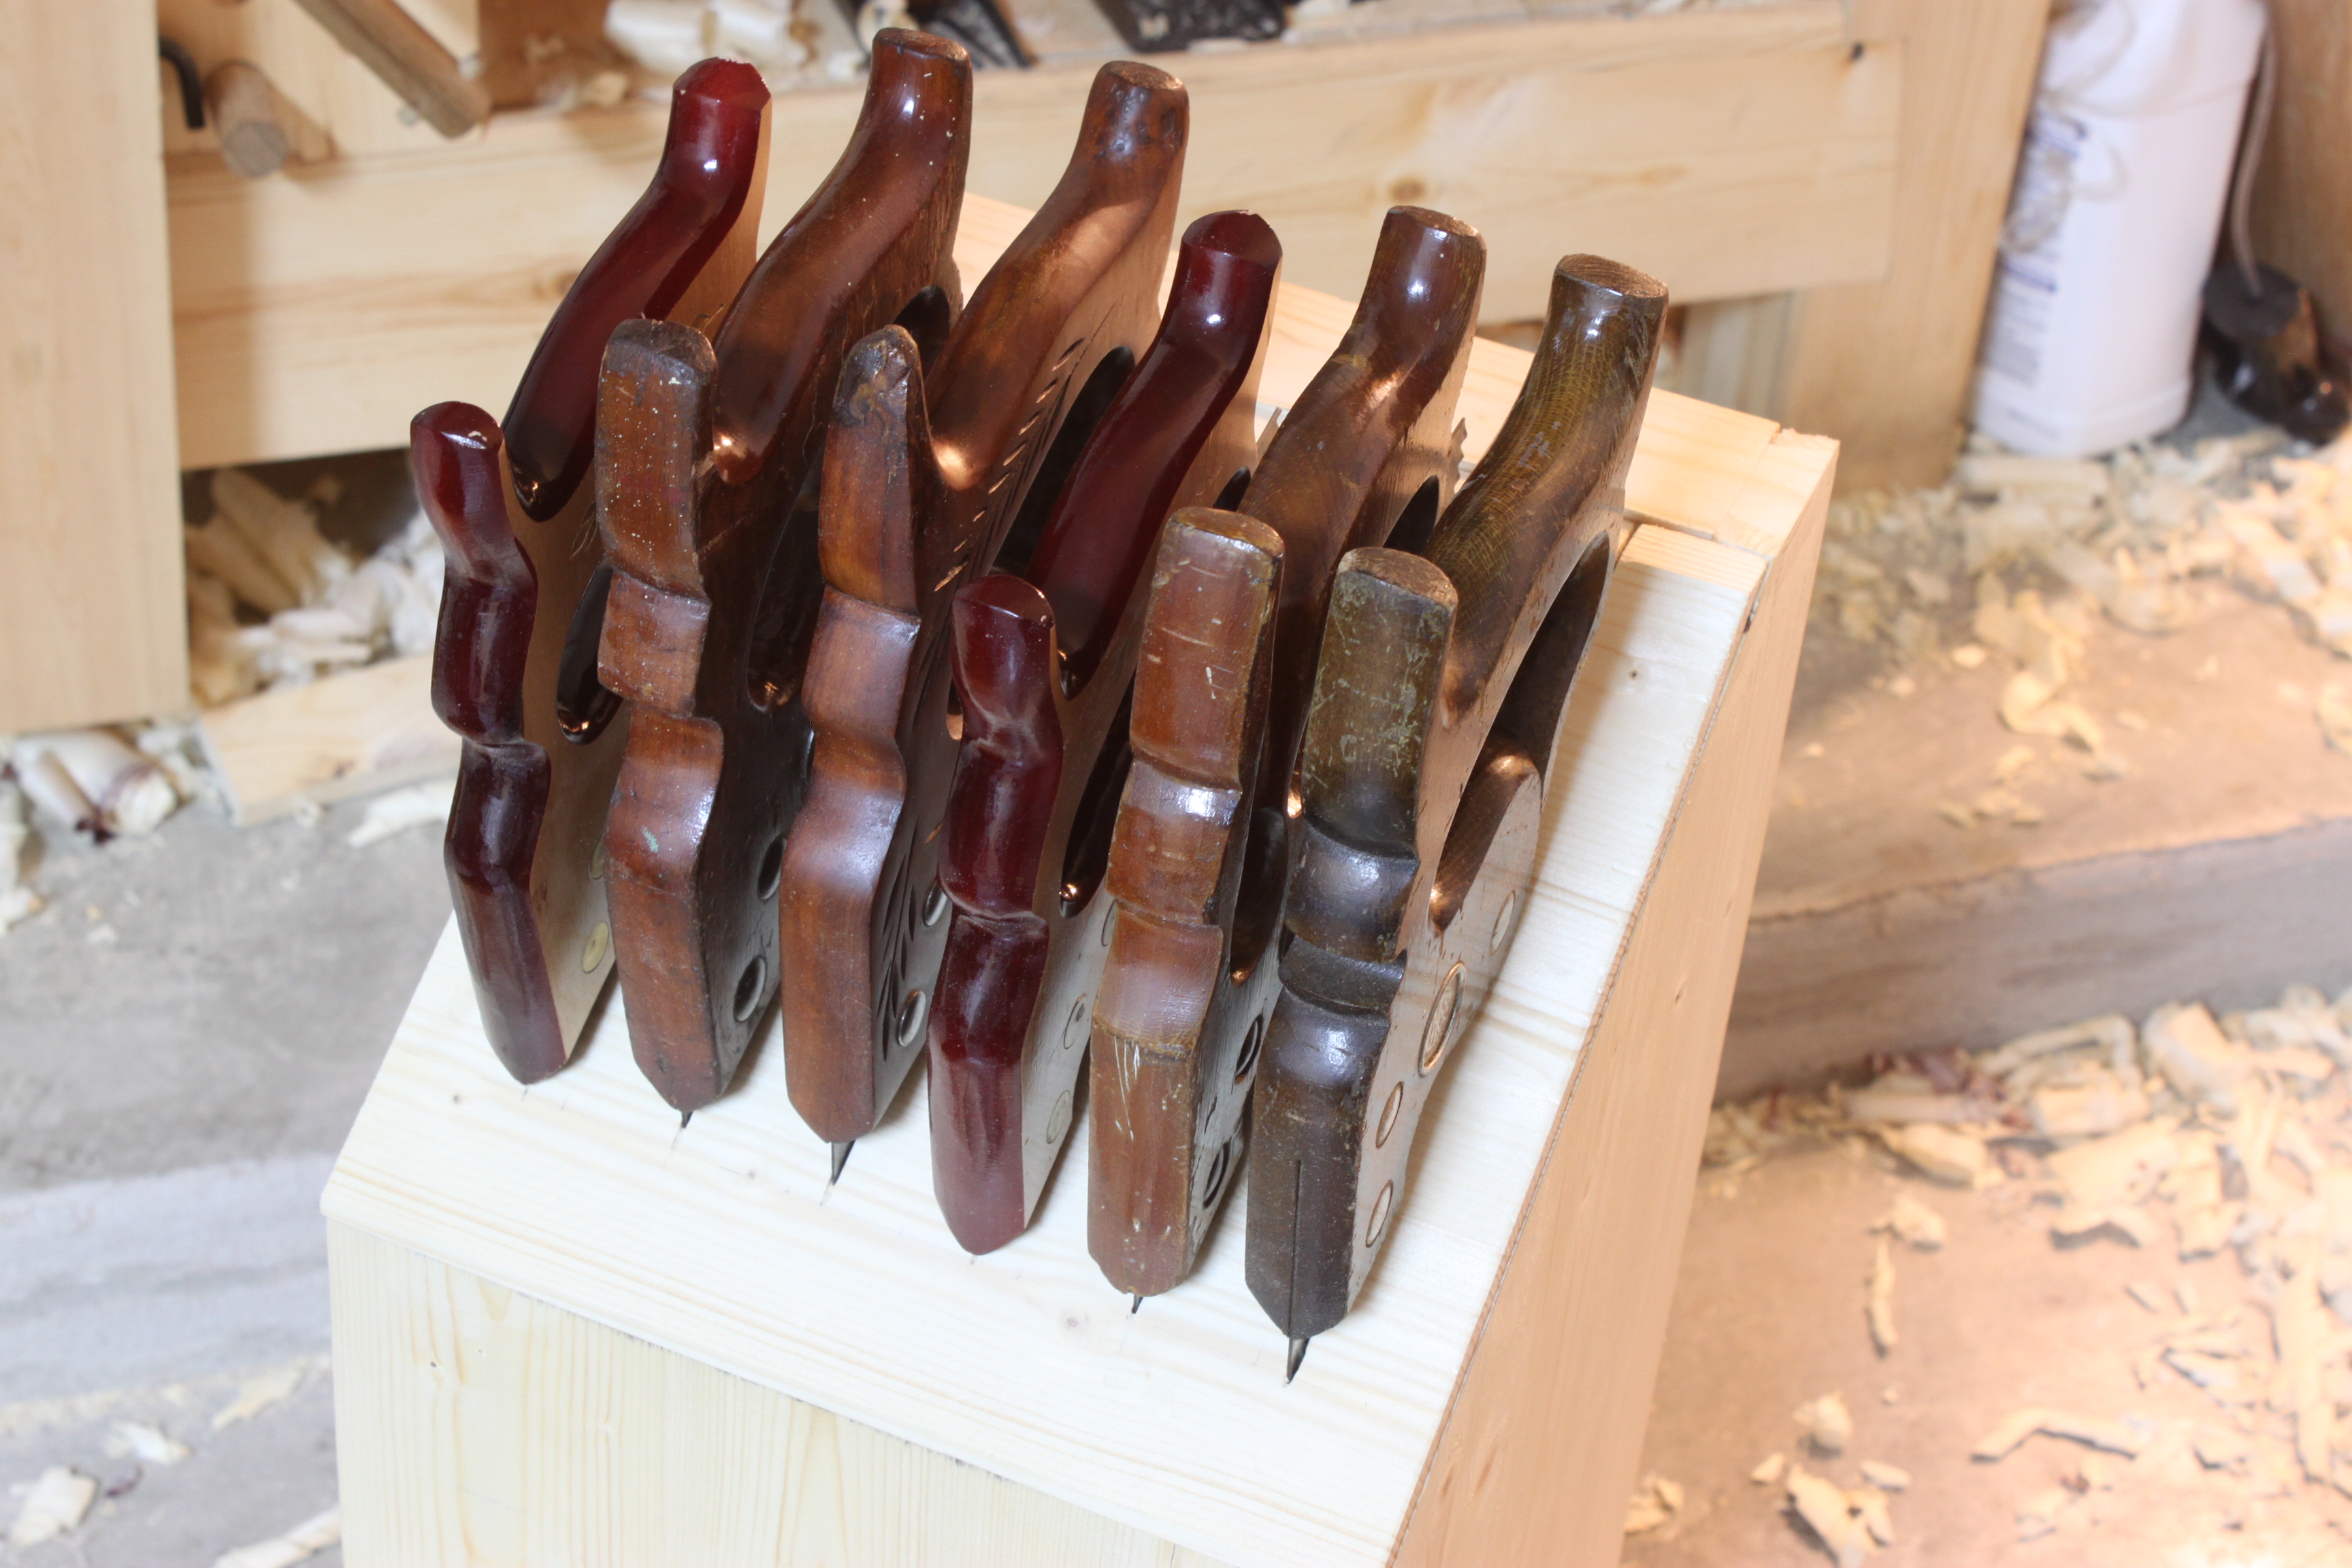
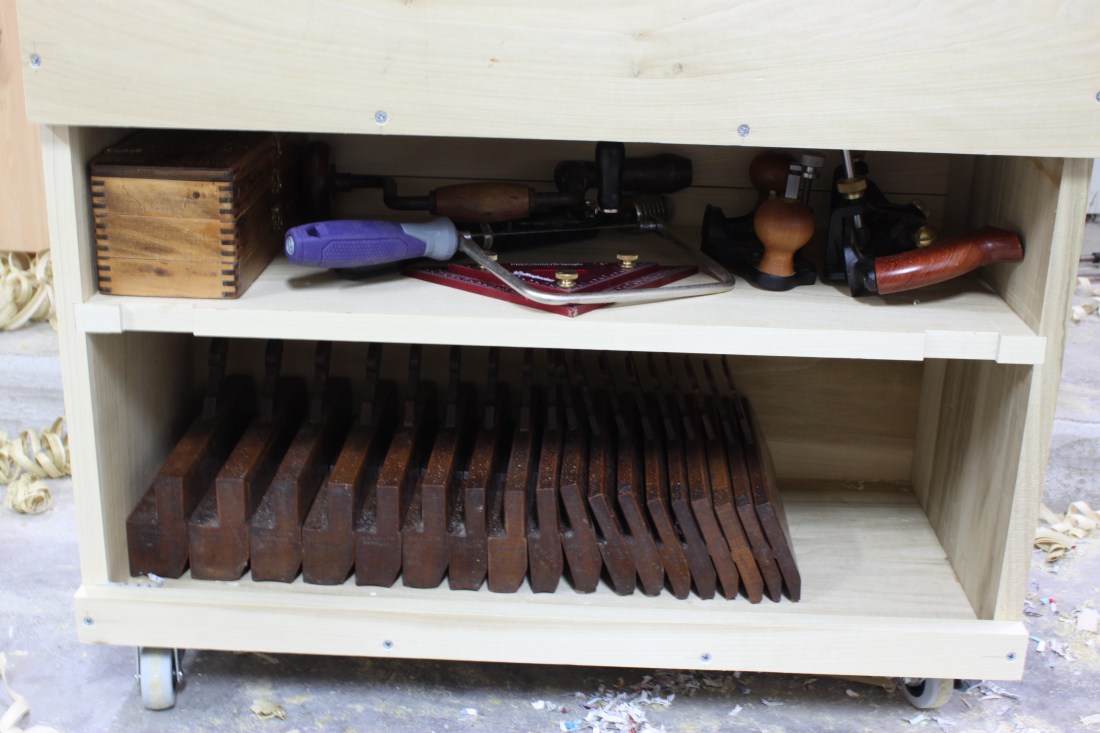
 I added the opposing groove for the shiplap and finished up the back. At this point I was dying to see what it would look like with tools to I did some glamor shots.

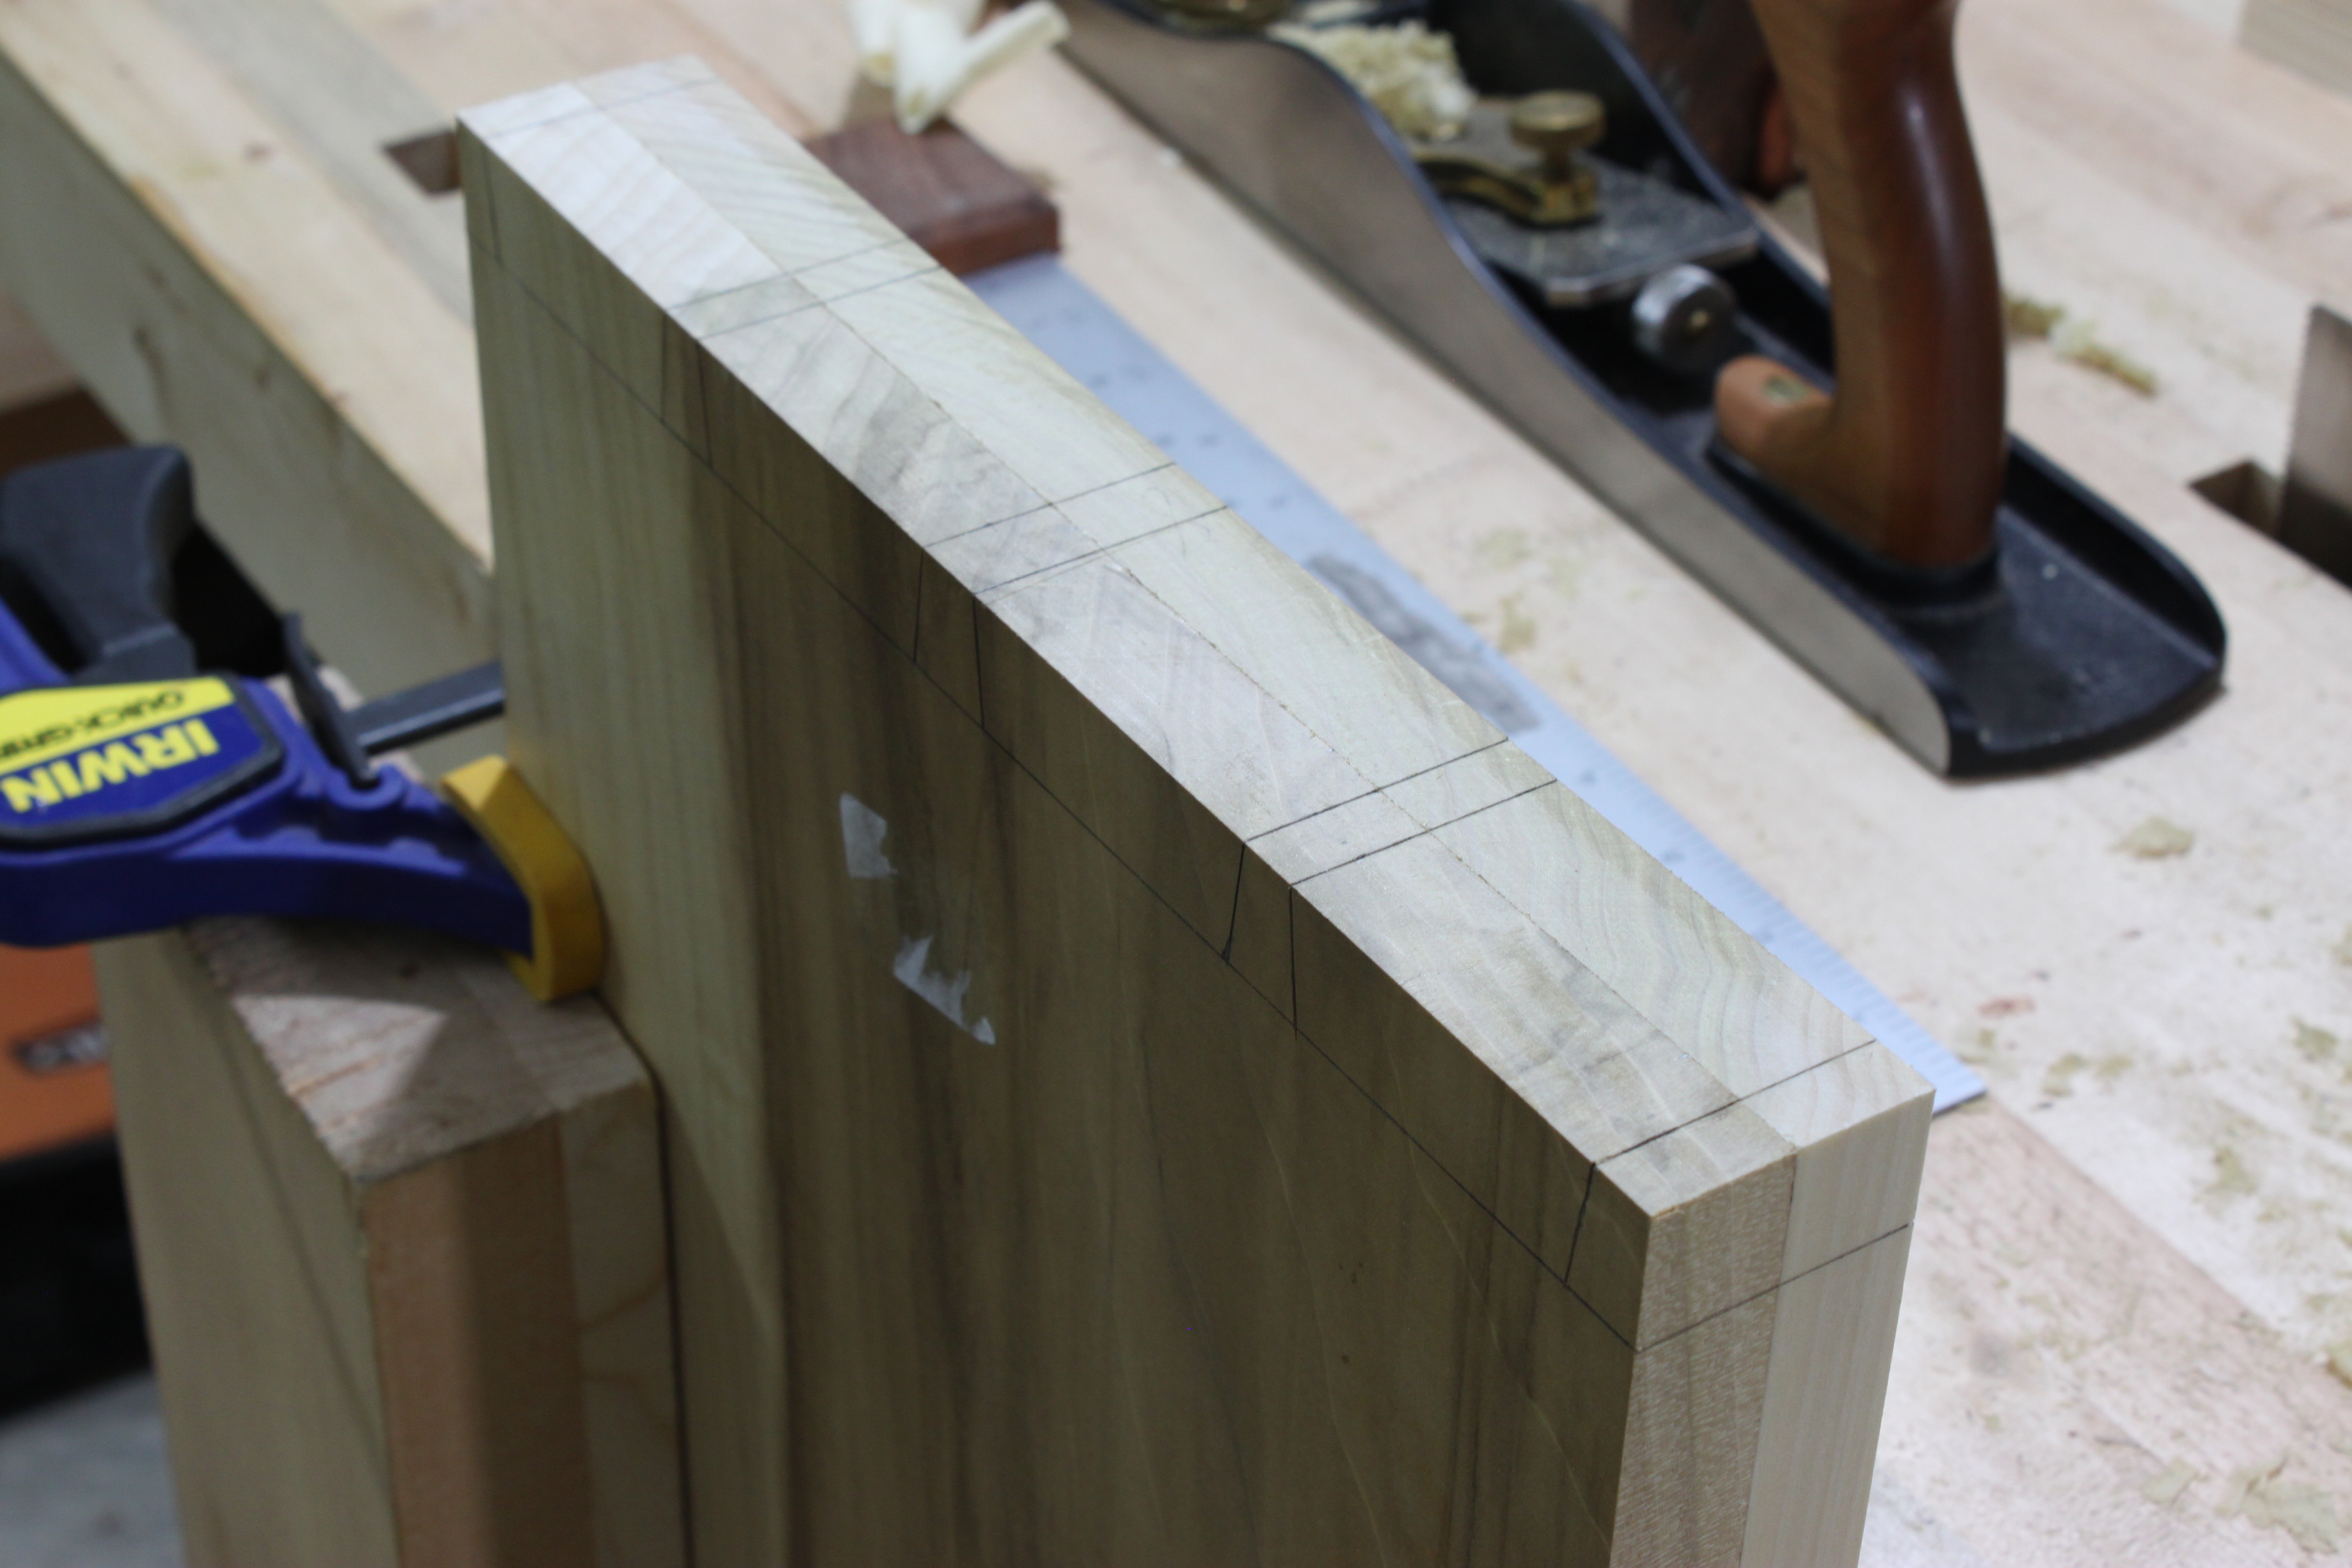
 This got me excited for the home stretch. After I fit the fall-front to fit vertically I clamped it and marked it out the same way I did the back panels.
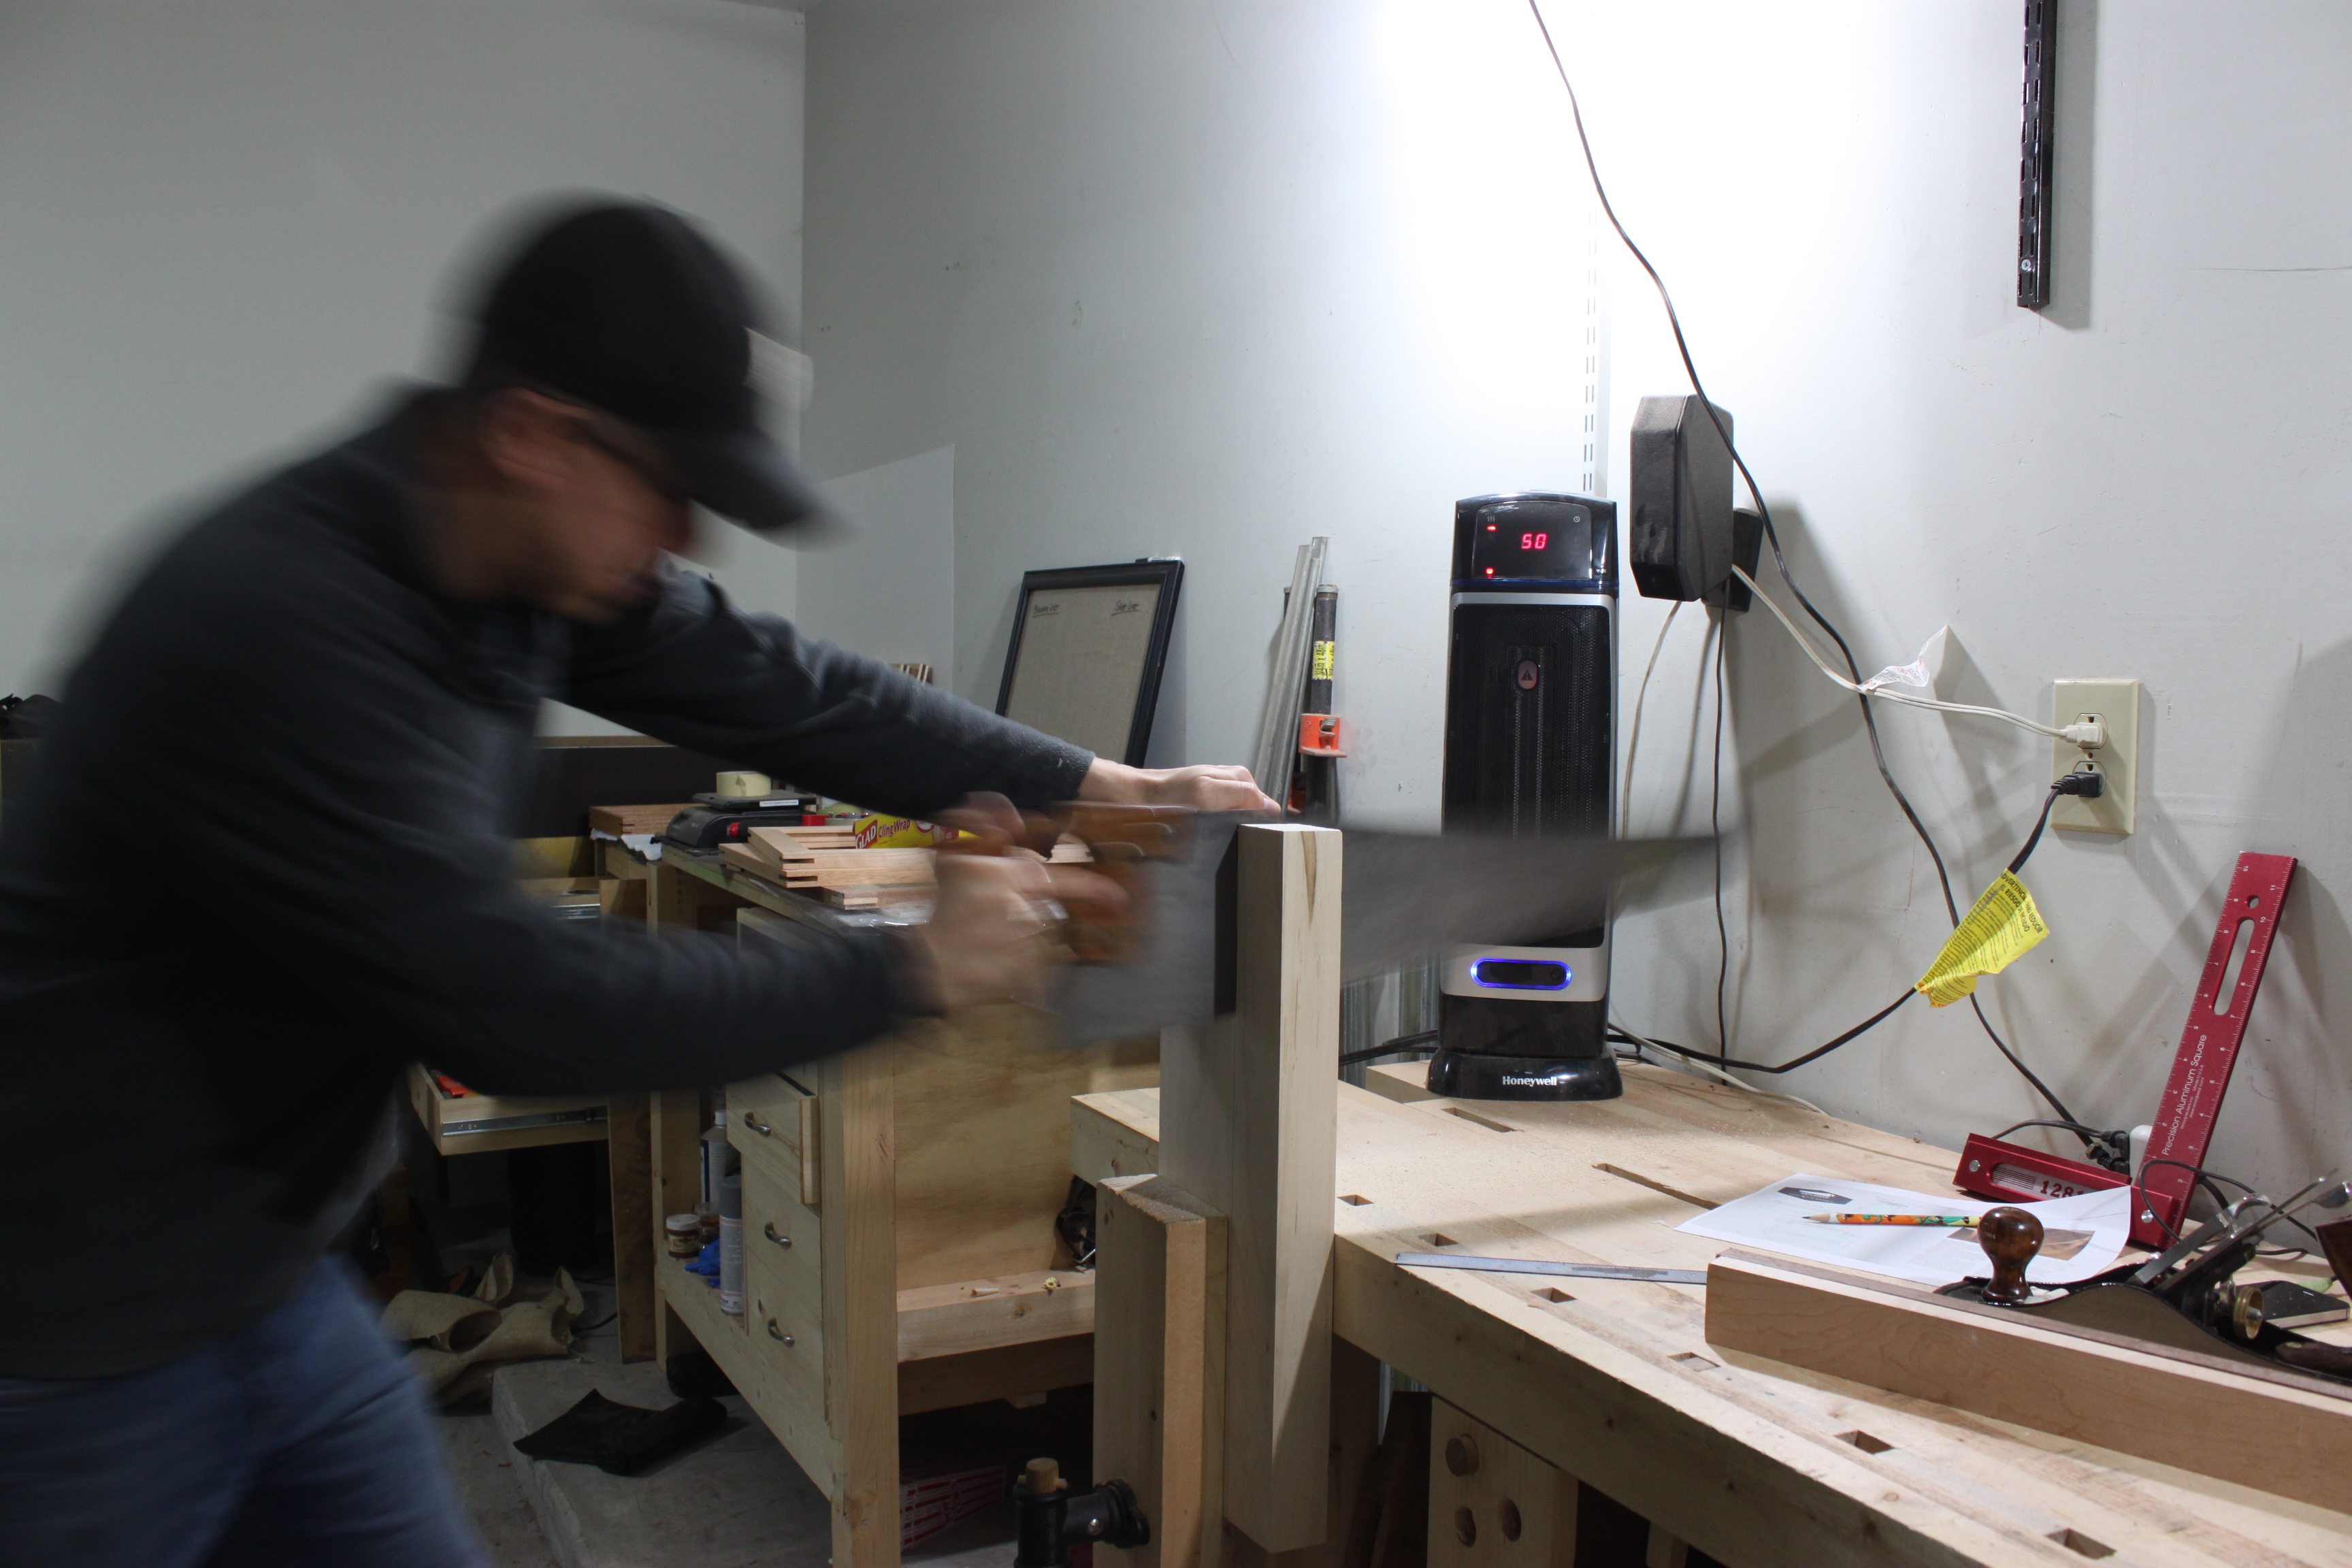
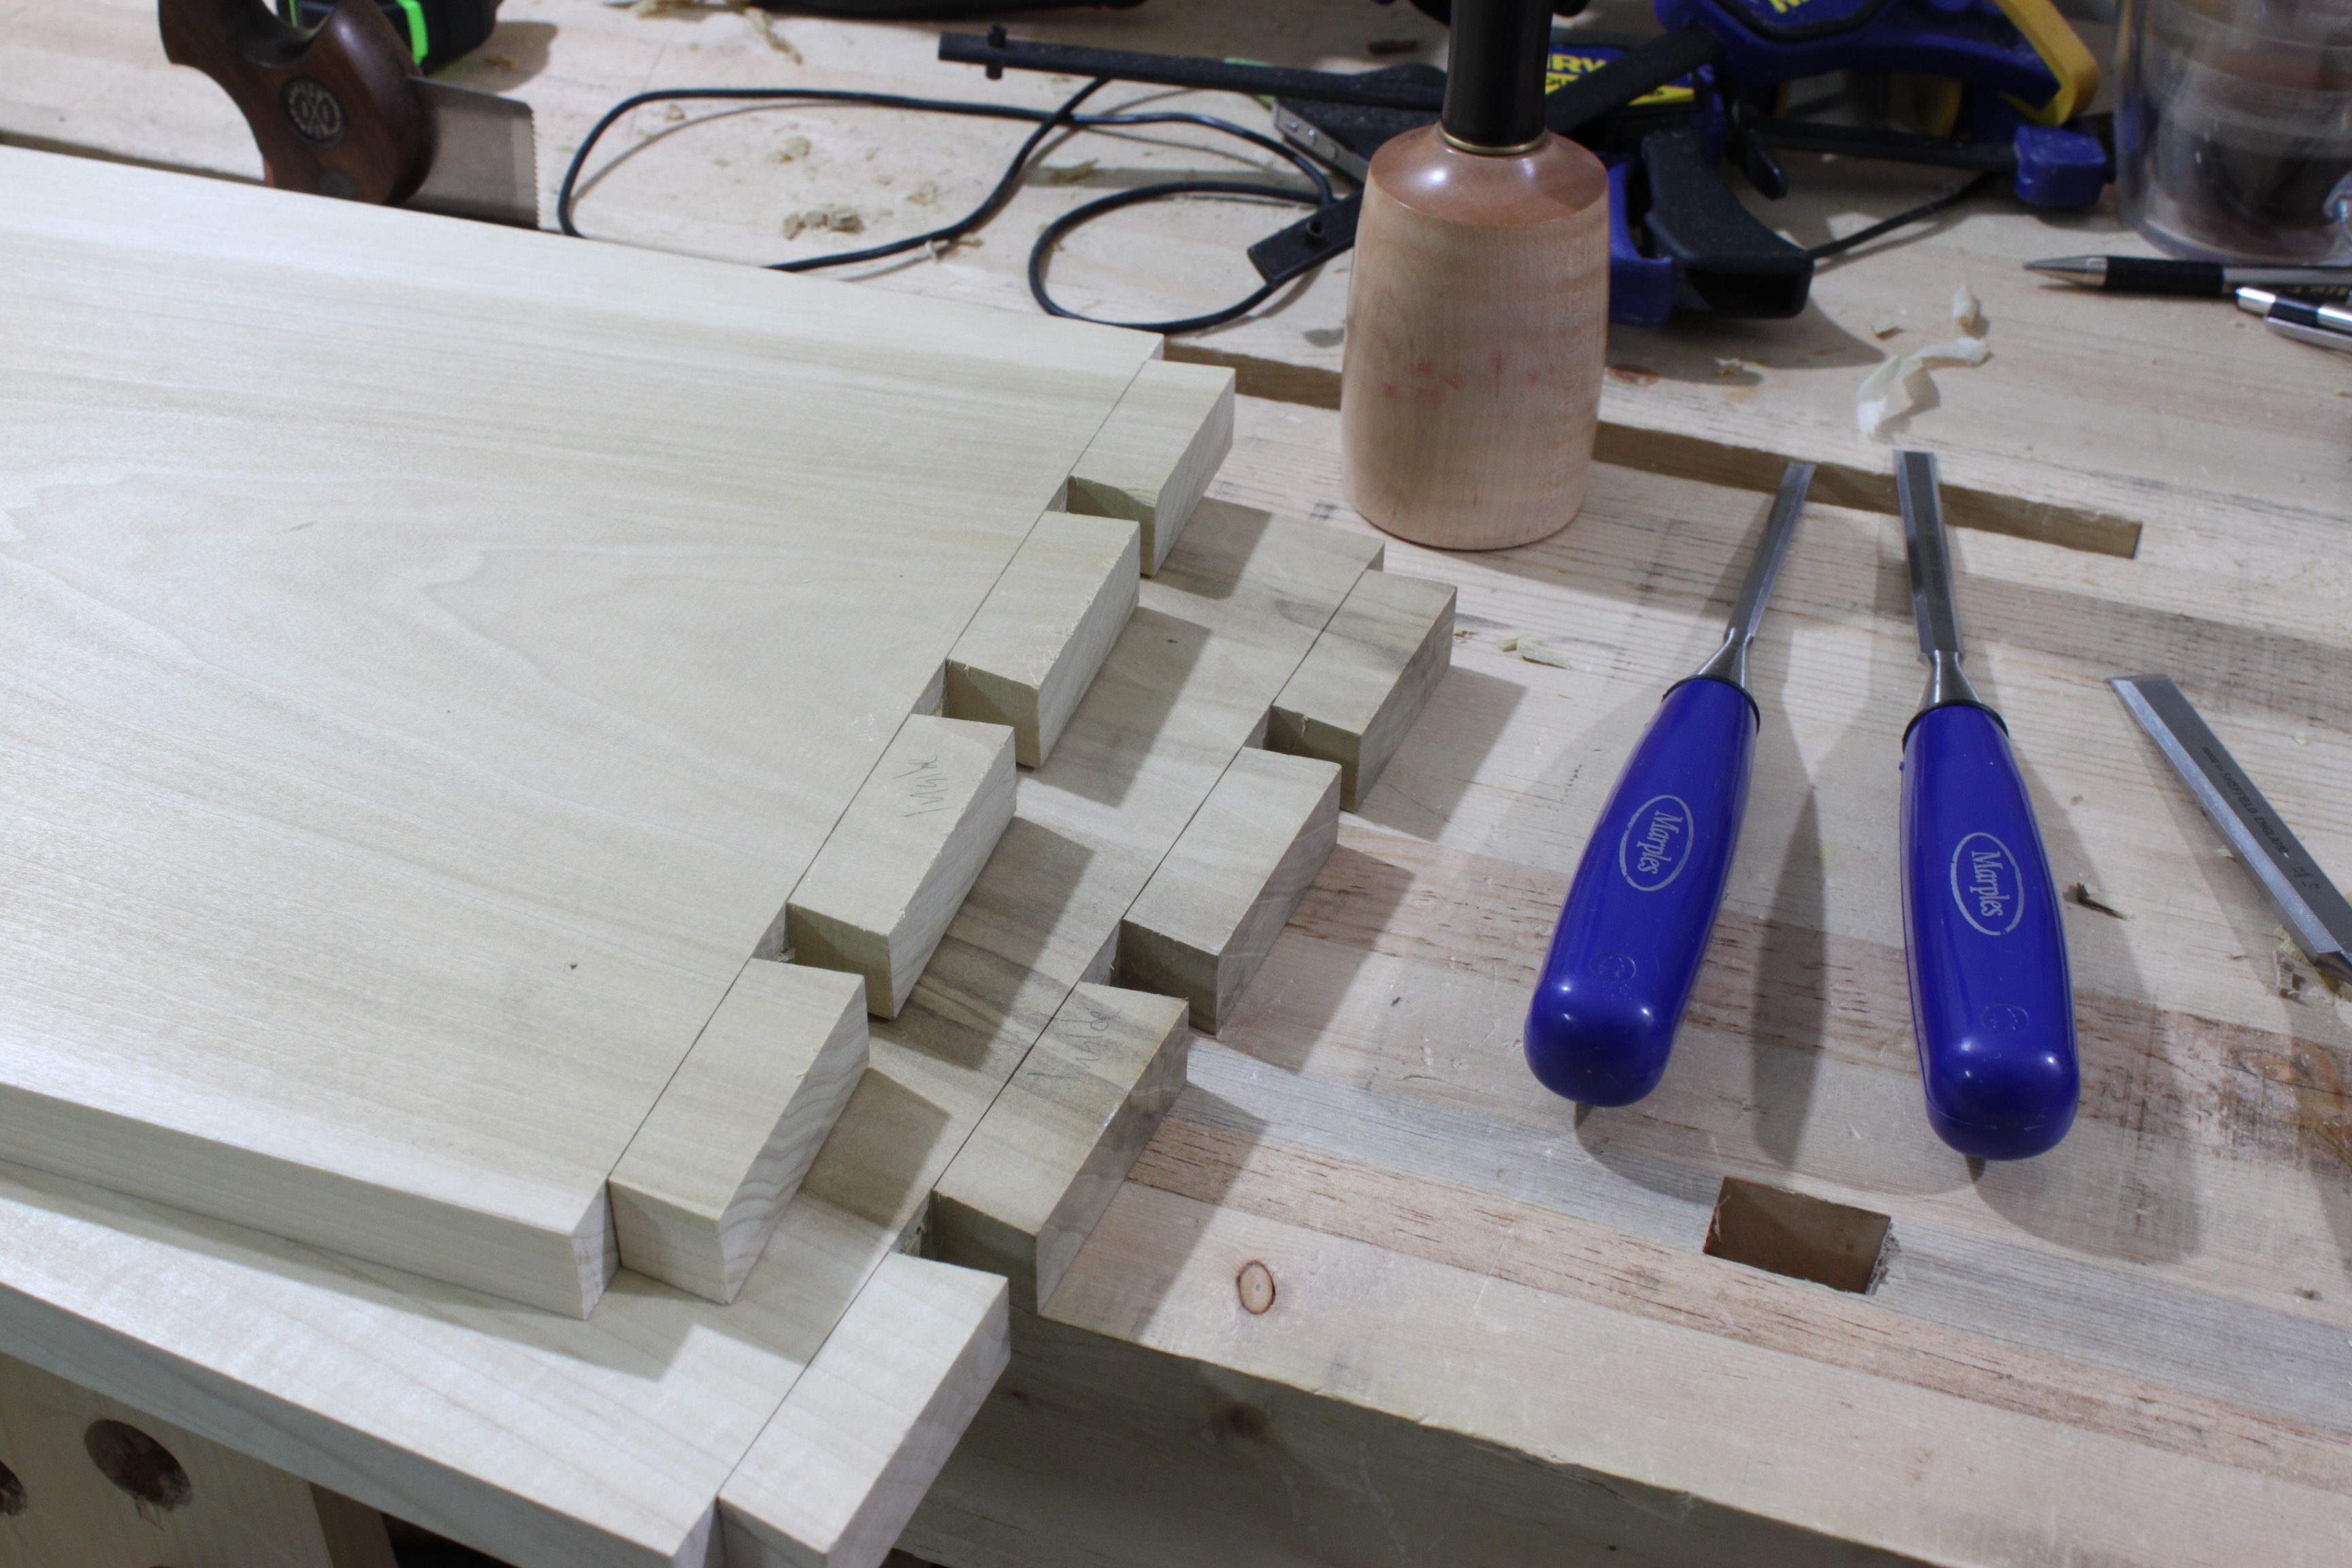
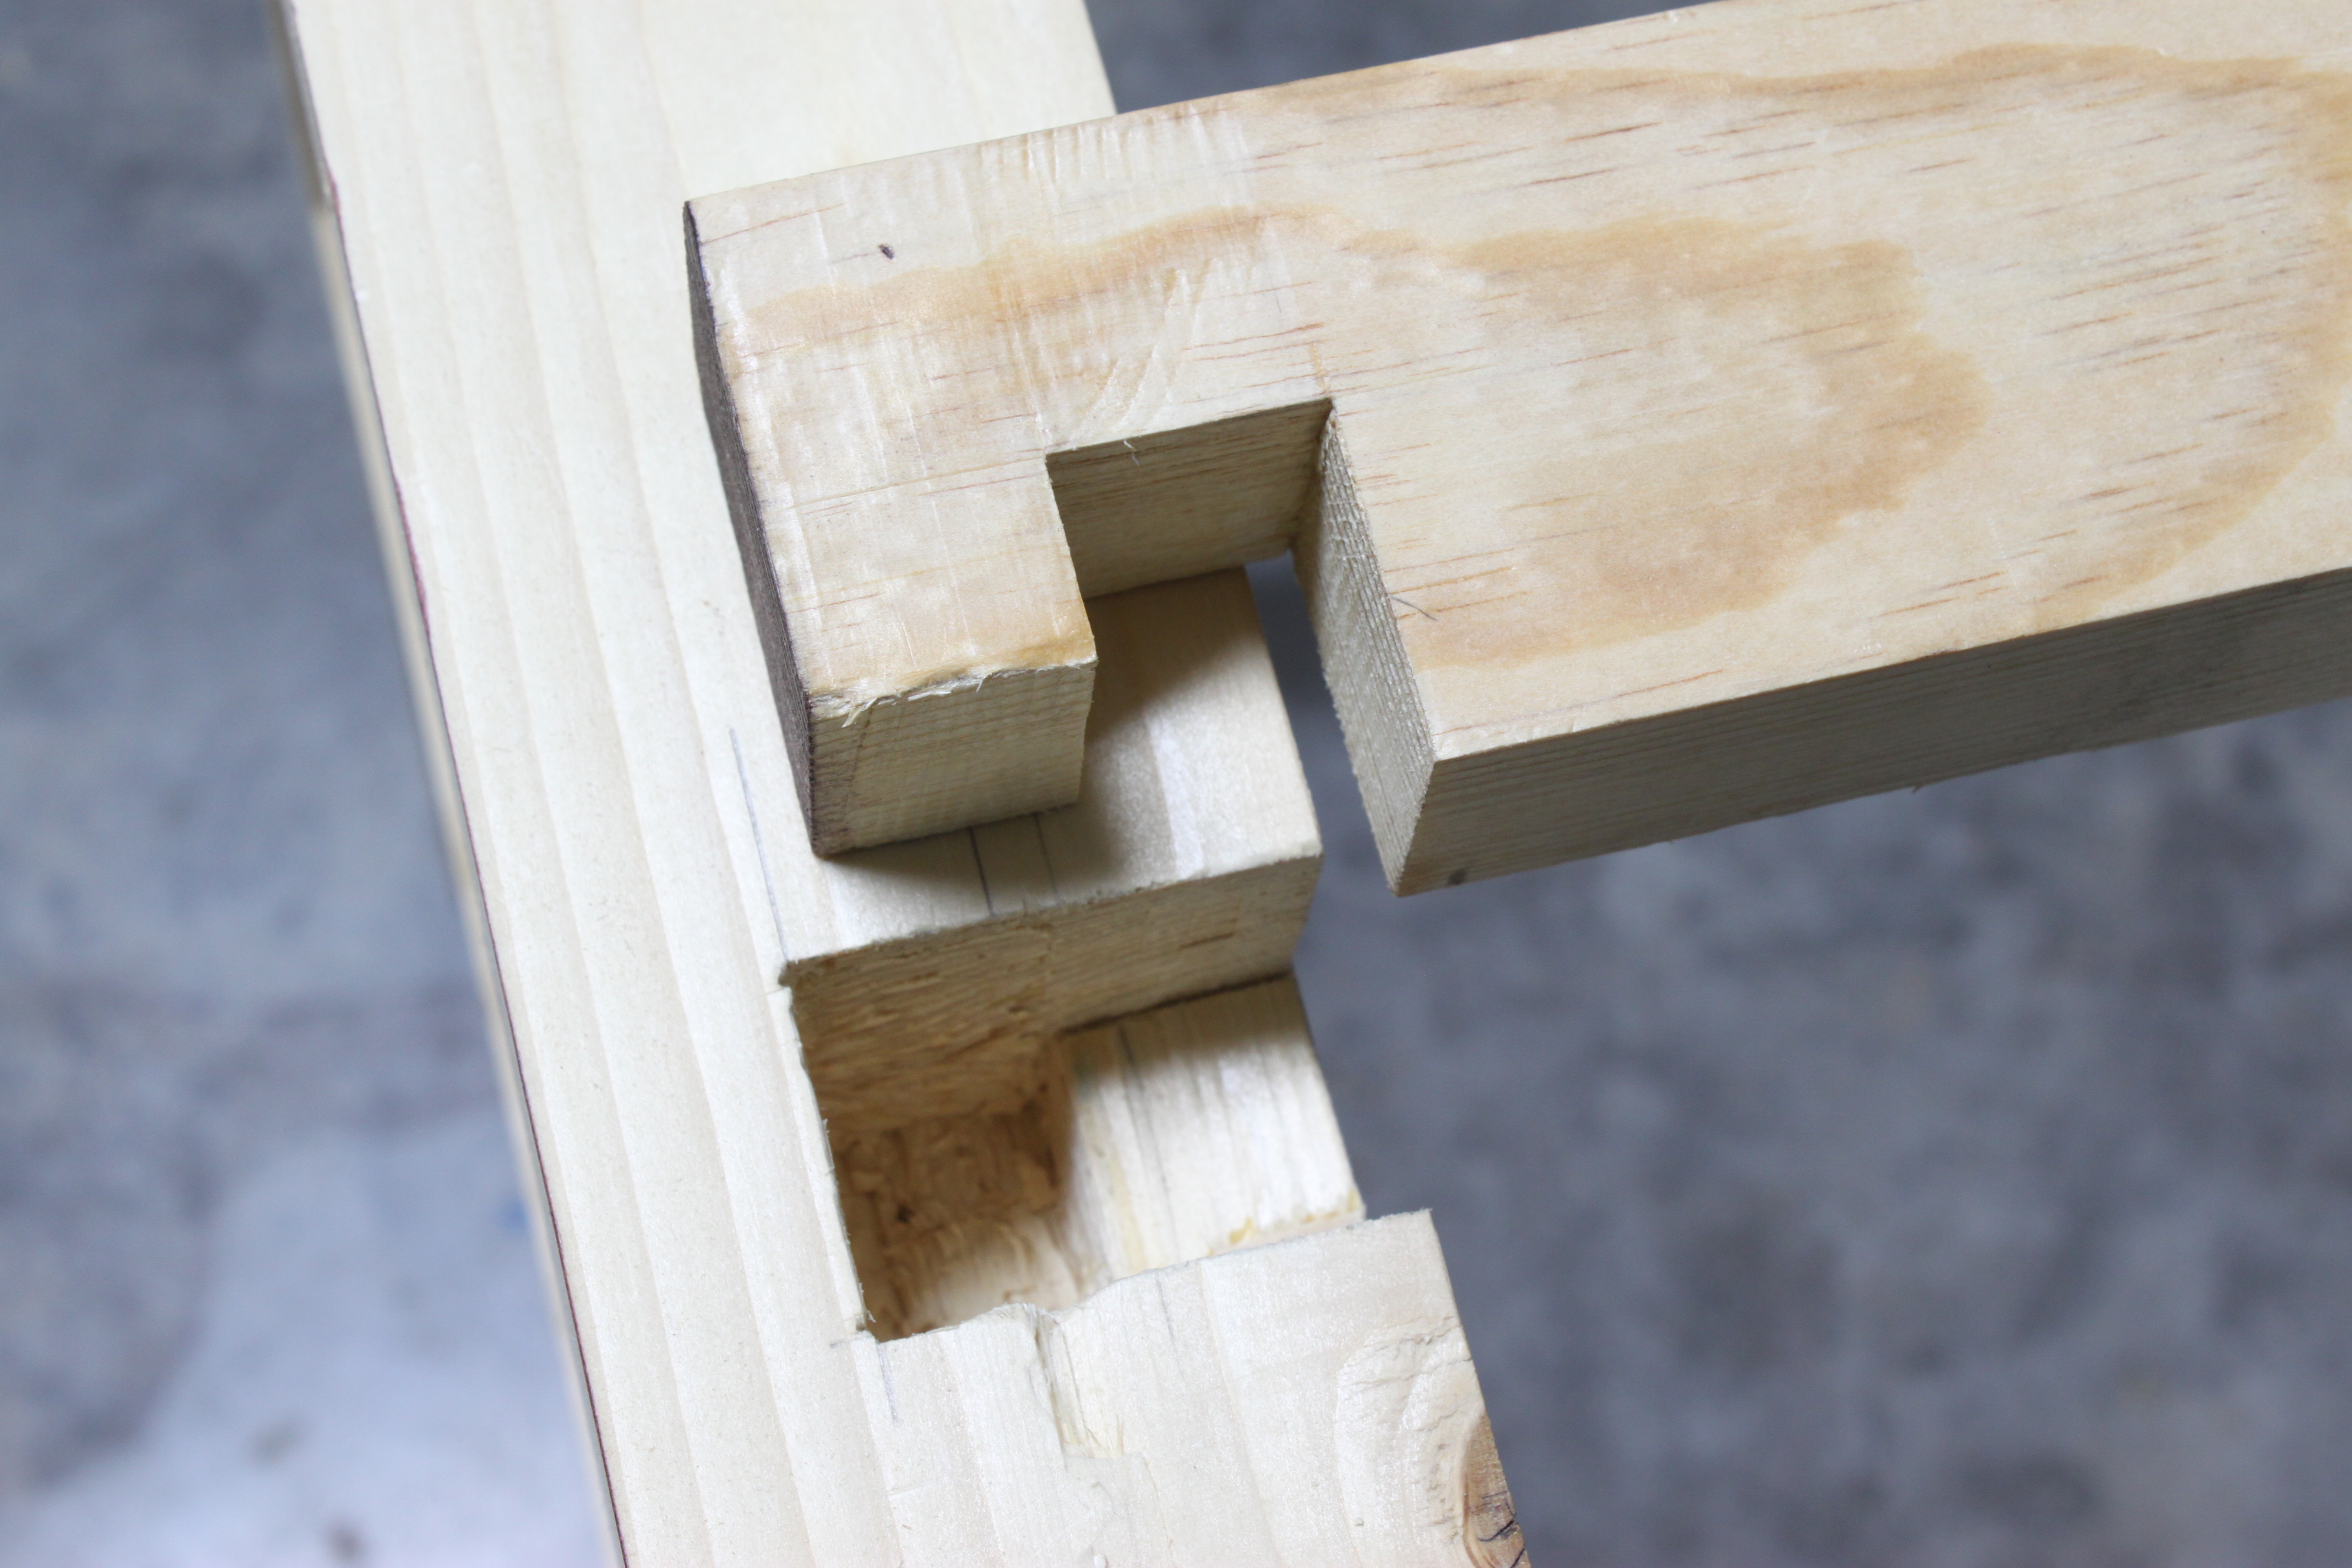
 I made the four lock catches out of one piece of wood that I cut the 2″ wide dado in…
 before cutting them into individual pieces.
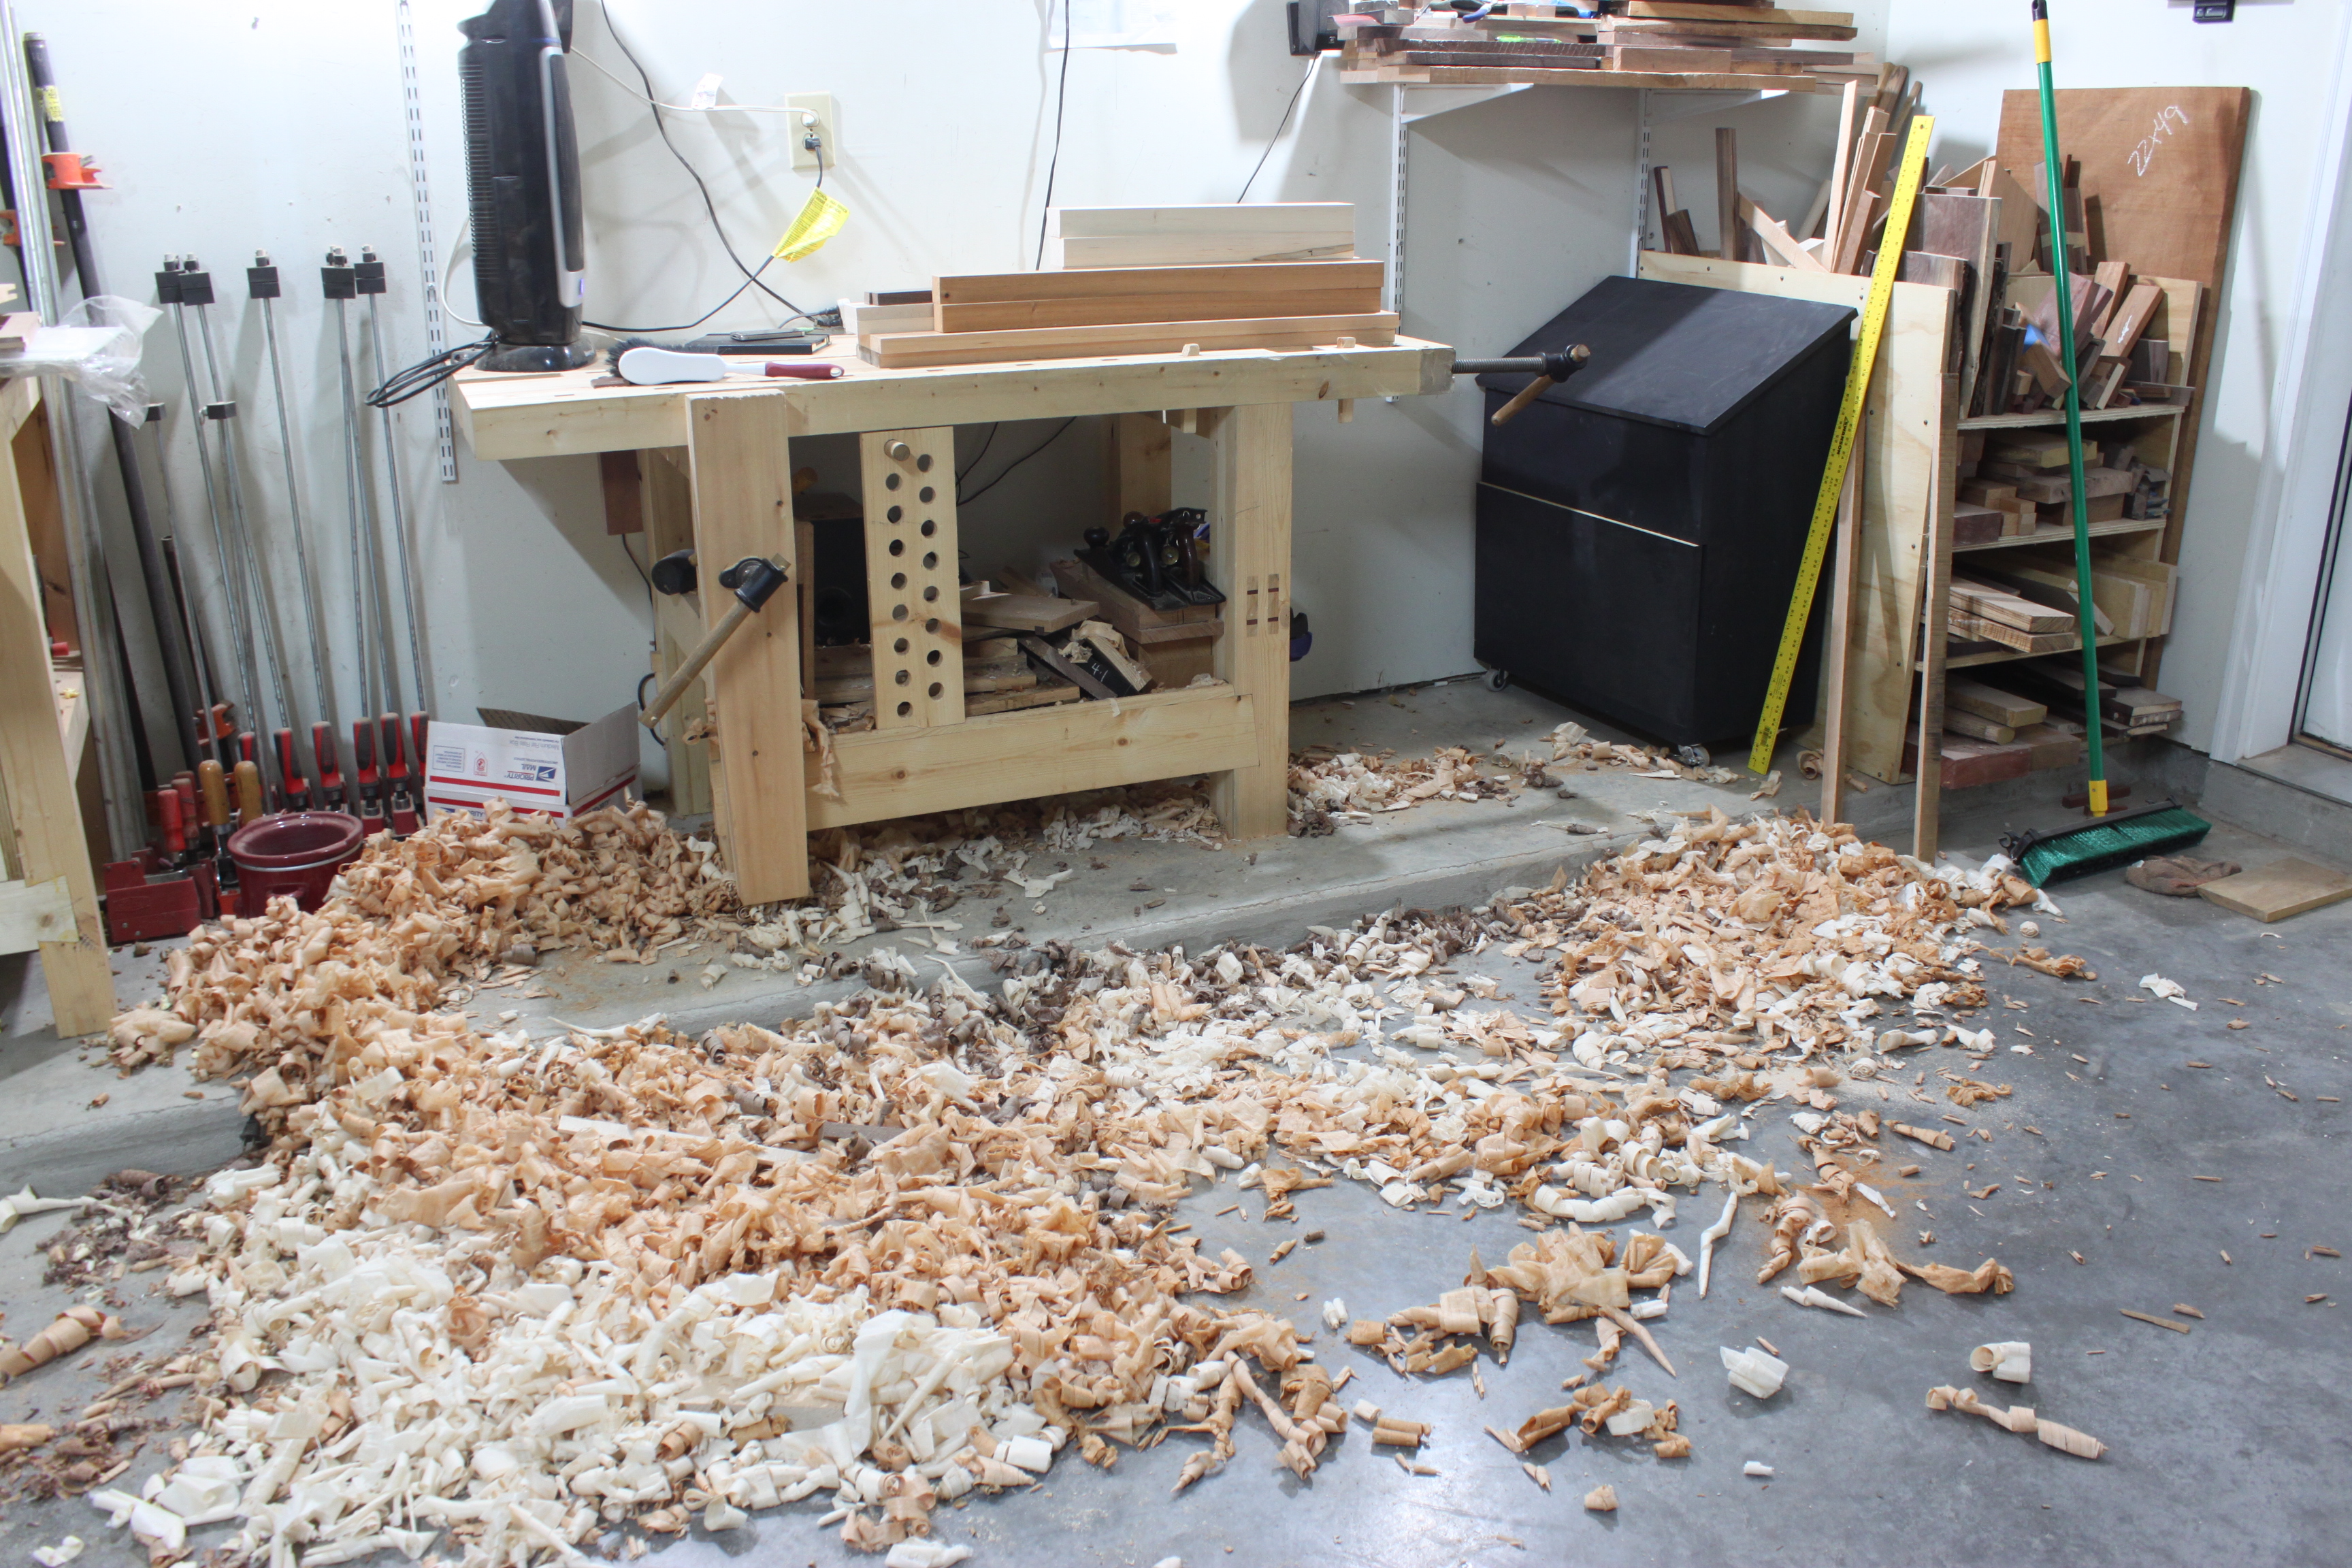
 Like I had mentioned in the beginning, I used all dimensioned lumber from Home Depot and did basically no milling to any boards just so I could speed up this building process. I finally ran into my first snafu.
 The board I used to get my full width for the front-fall had a little twist so I hit the catches when I tried to insert the locks. Speaking of which, up until today I’ve used pretty much every scrap and have not purchased any additional poplar. This left me short of wood for the lid, locks, and battens. Today I made another trip to Home Depot to get the remaining wood and decided to cheat in the thinner stock pieces and bought some already 1/4″ and 1/2″ pieces for the locks and battens. Anyhow, I took off the one catch and took off about 1/16″
 I put it back on and everything fit nice!
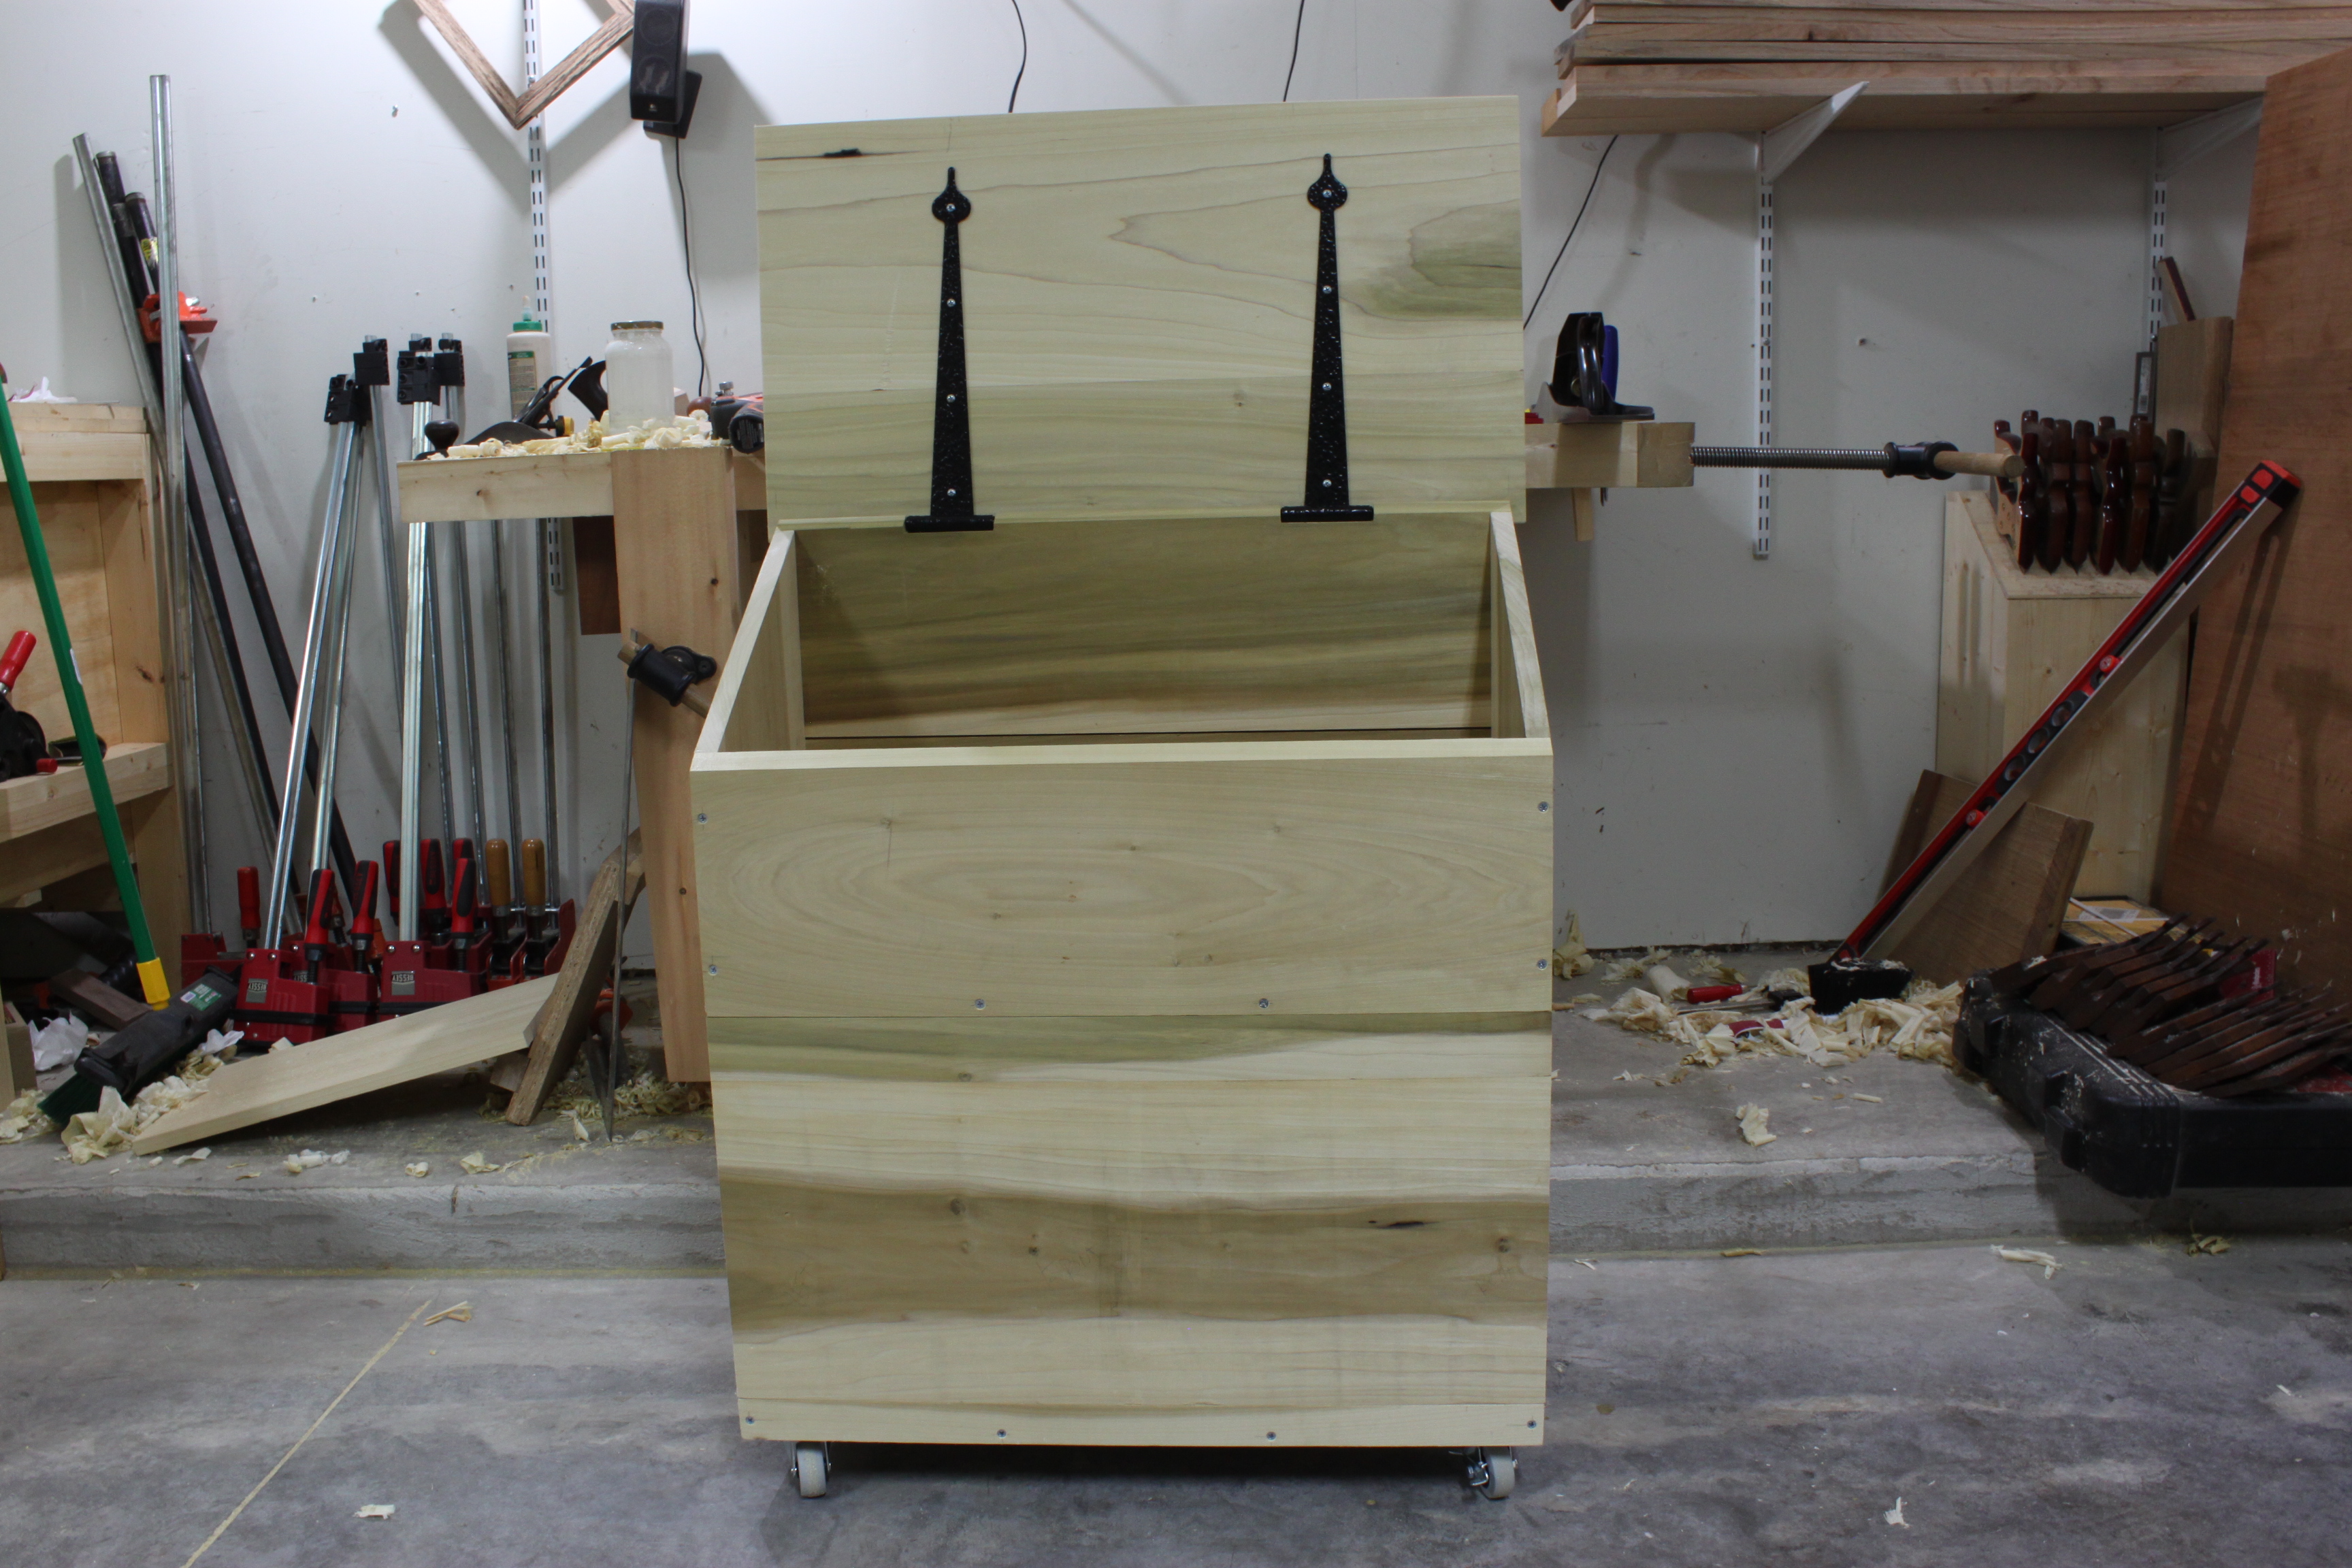
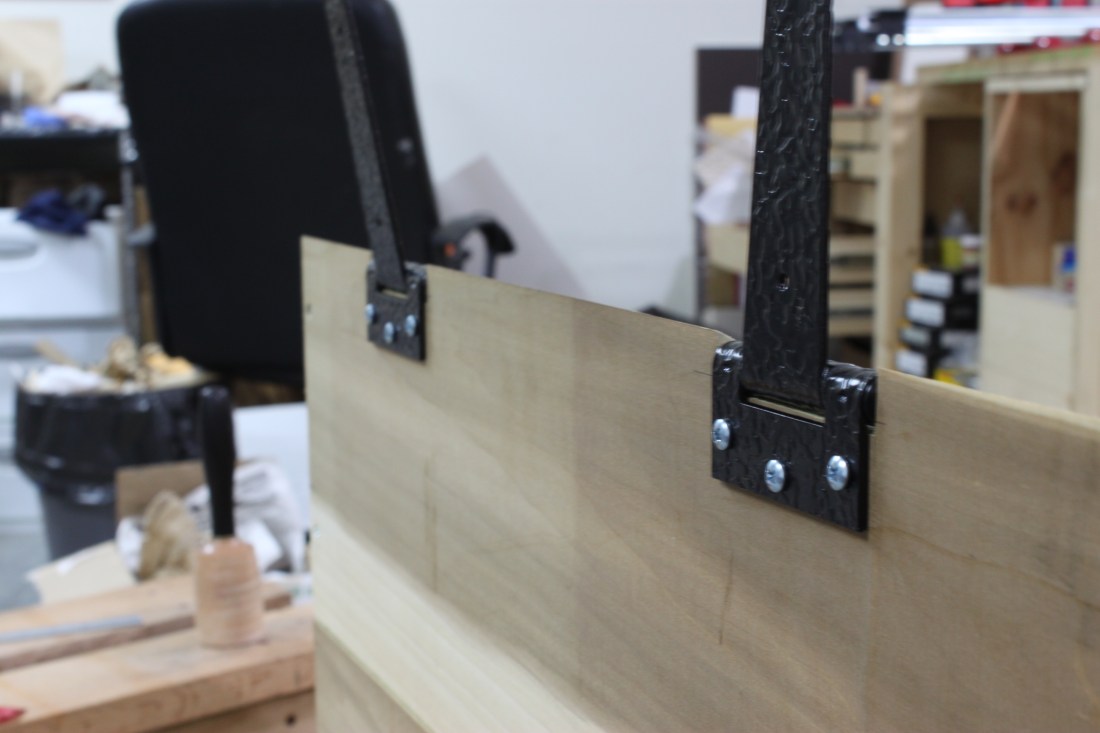
 One of the last things I did today was to install the strap hinges to the case itself. I measured the height at 9/16″ and marked my case to cut out the notches but when I fit them they were still too high.
 I took off an additional 1/8″ and that made things fit just right.
 Now all I need is the lid which is currently clamped and waiting. As much as I want to finish things up tonight I don’t think I’ll be able to. My loving wife has been patiently waiting for me to finish this chest so we can catch up on Breaking Bad and I think I owe her an episode or two tonight.
Sorry this post was so long but as this is really the accumulation of about 3 or 4 nights worth. If you made it this far, thanks for sticking with it to the end. Once the lid is installed all I have left is to paint. I am using milk paint and I can’t decided between slate or pitch black. Anyone have any suggestions?