Over the past couple of weeks I’ve gotten the itch to purchase a miter box. I do have a shop made one but I’m not happy with it. Yes, I could make another one and take more time in the construction of it but I really don’t want to. So while the weather has been crappy lately (winter storm Leon), I spent a good amount of time on eBay searching for a model that caught my attention. There were some decent deals I came across; some with saws, some without but nothing really caught my attention.
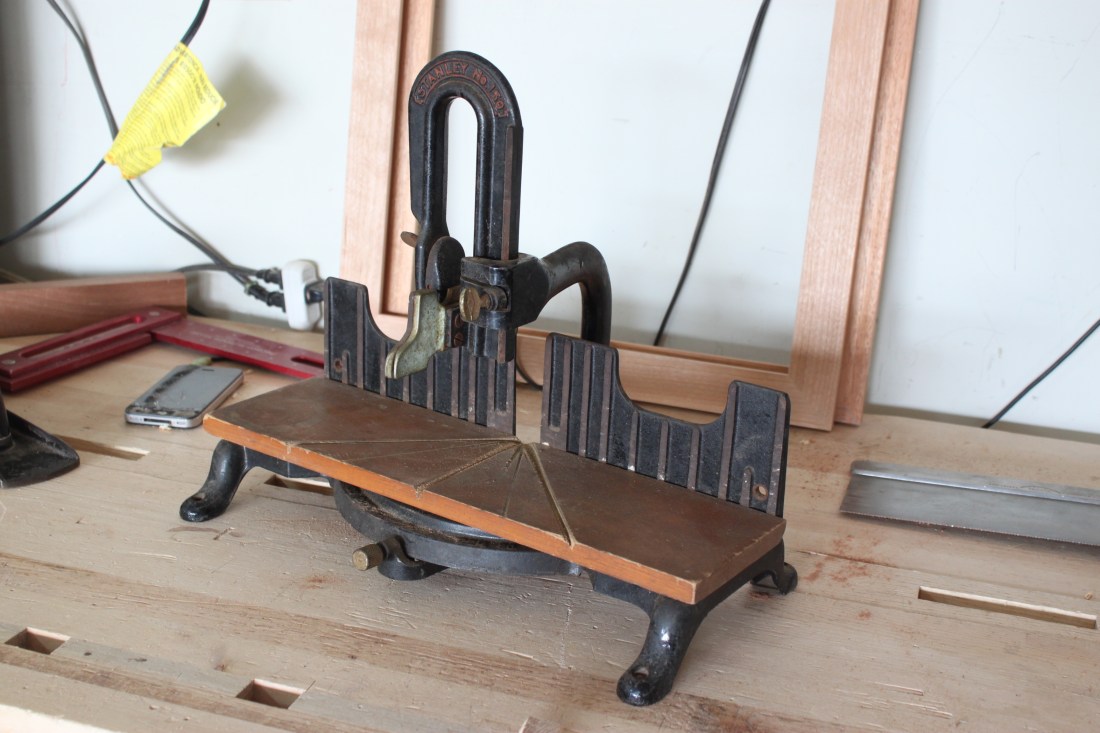
I came across a Miller Falls Acme Langdon miter box without a saw. The price was decent and looked in fair shape so I began looking for a saw to go with. There was nothing that really stood out to me in the vintage market at the time so I headed over to Bad Axe Tool Works to check out Mark’s 20” Miter Saw. It was on his page that I came across the Stanley No. 150. It immediately caught my eye. The size and look of it called my name. I read his take on the 150 compared to the larger boxes such as the Miller Falls I was currently looking at and made my mind that I would get the Stanley.
There was only one problem; none on eBay. I headed over to Jim Bode Tools; none. I didn’t give up though. After a couple of days I finally came across a fair looking No. 150 and placed my max bid. To my surprise I won the auction and about $10 under my max bid. Not even a week later I had the Stanley in my possession.
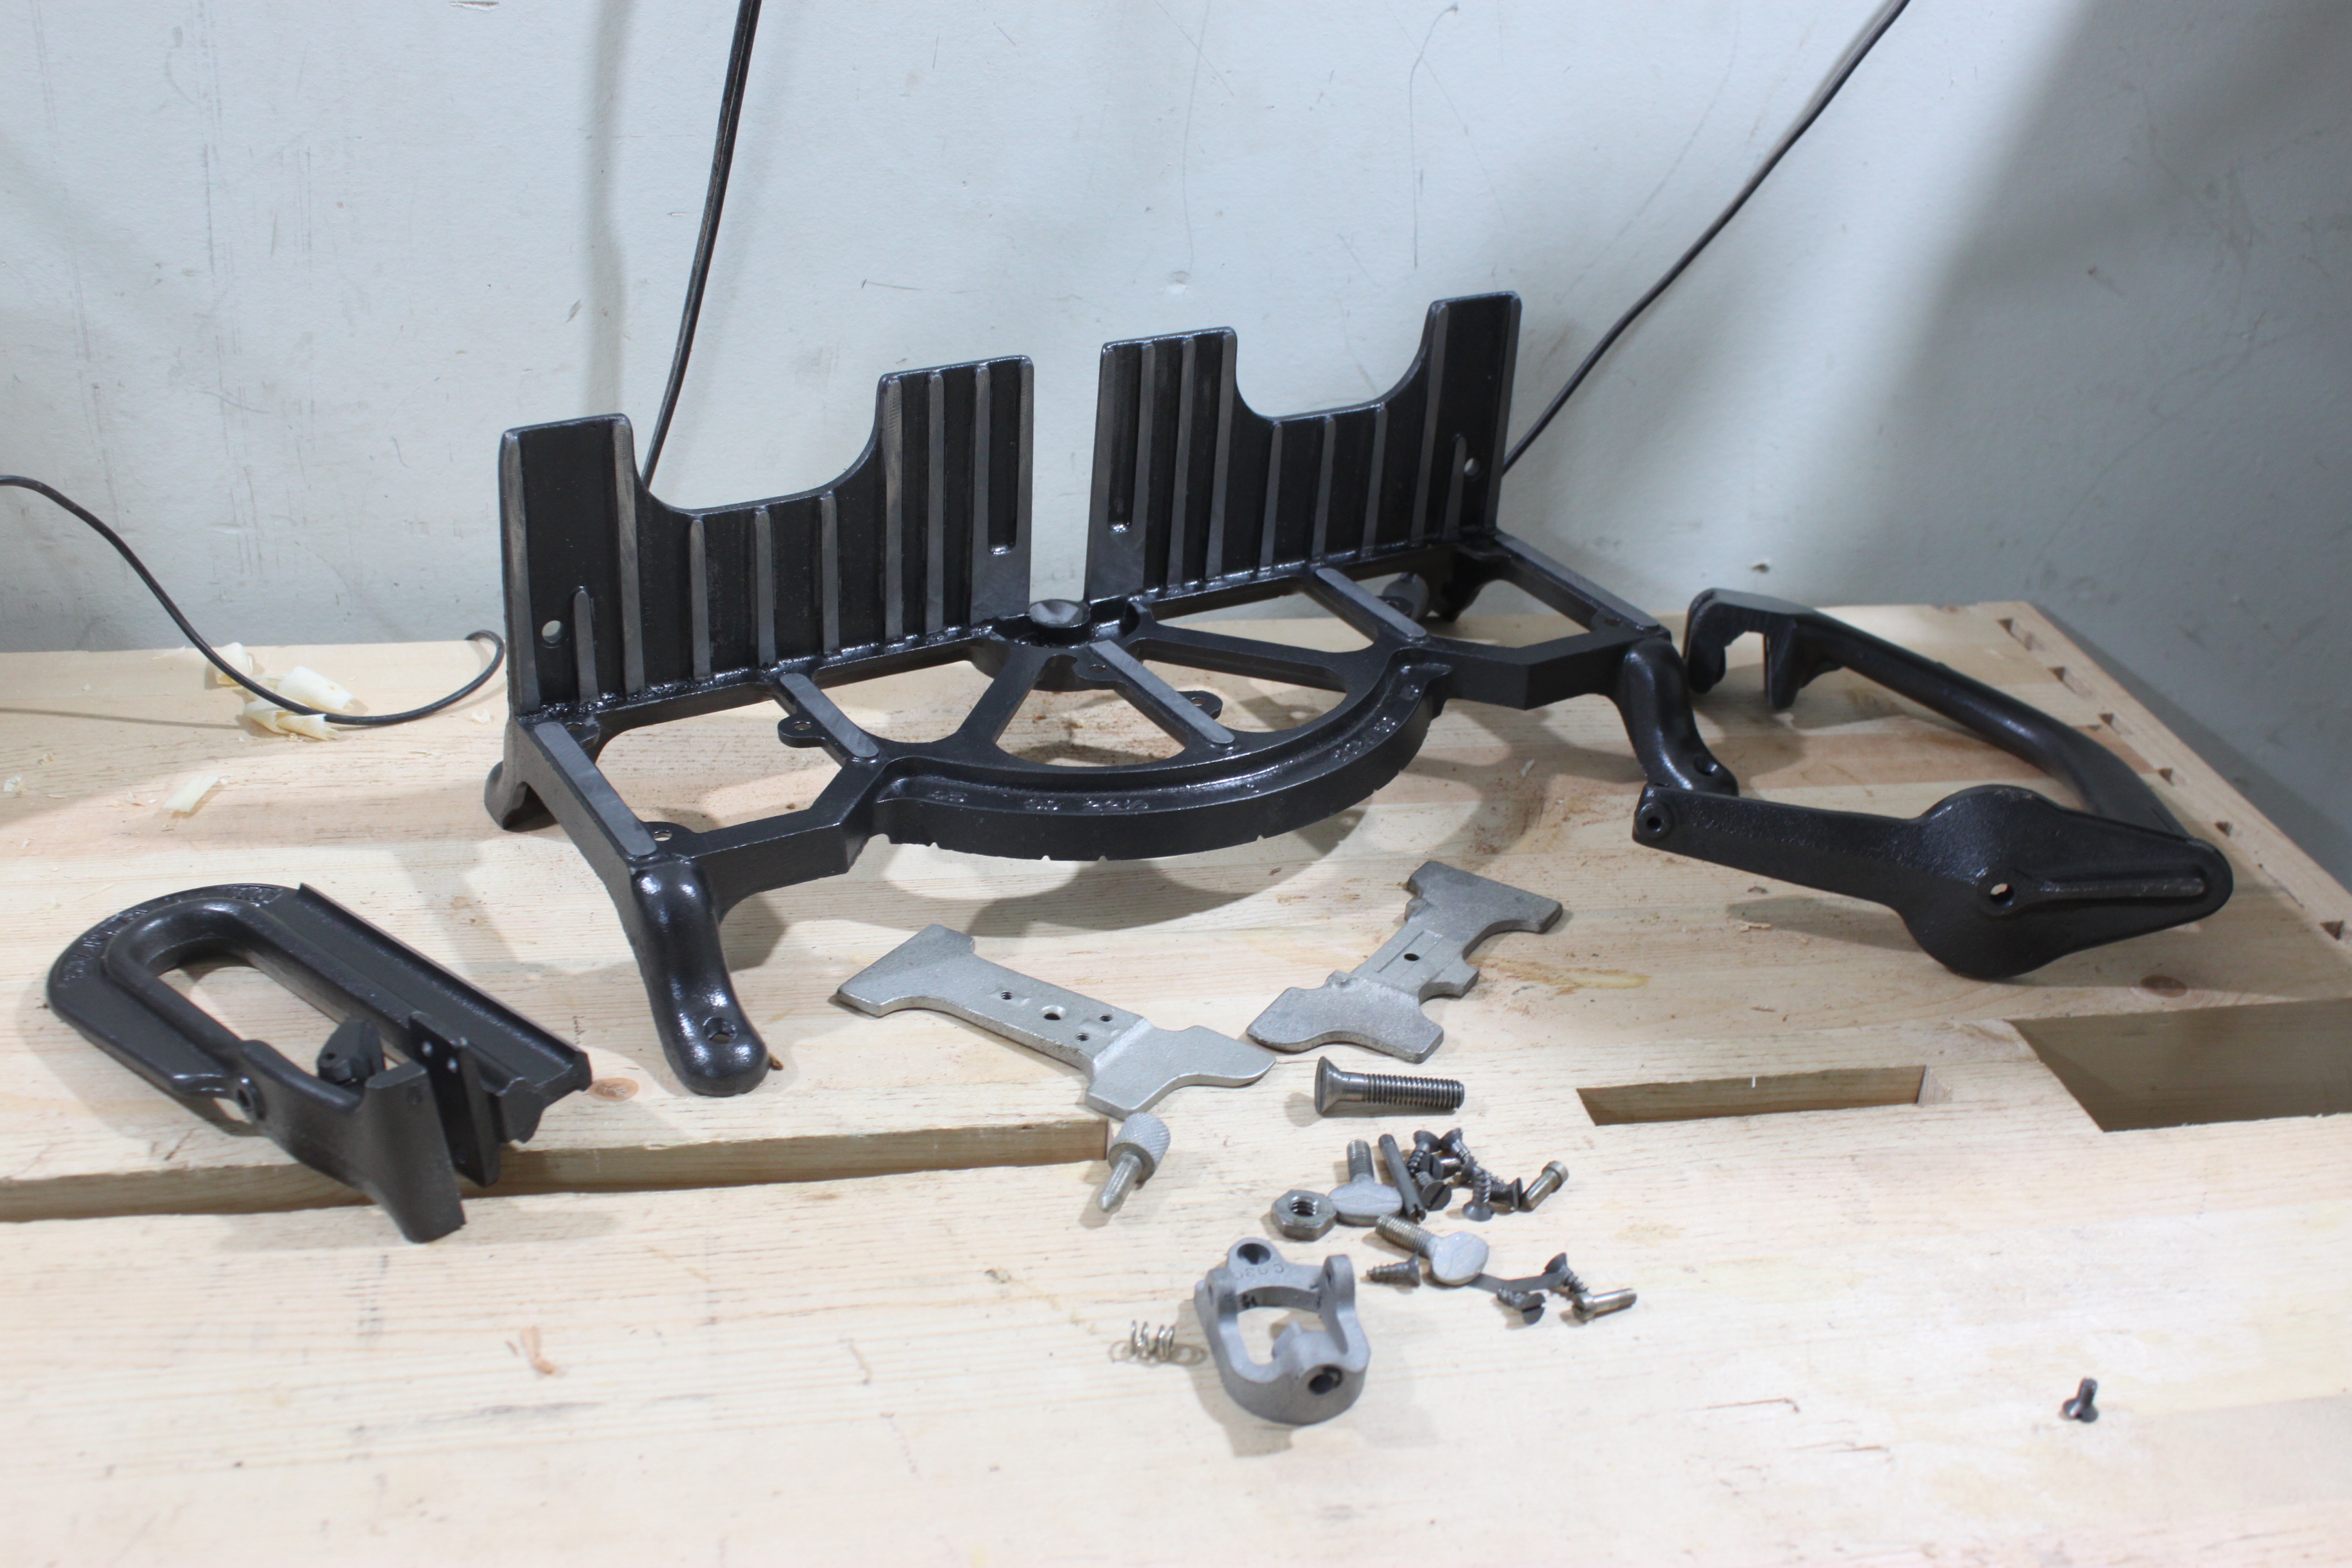
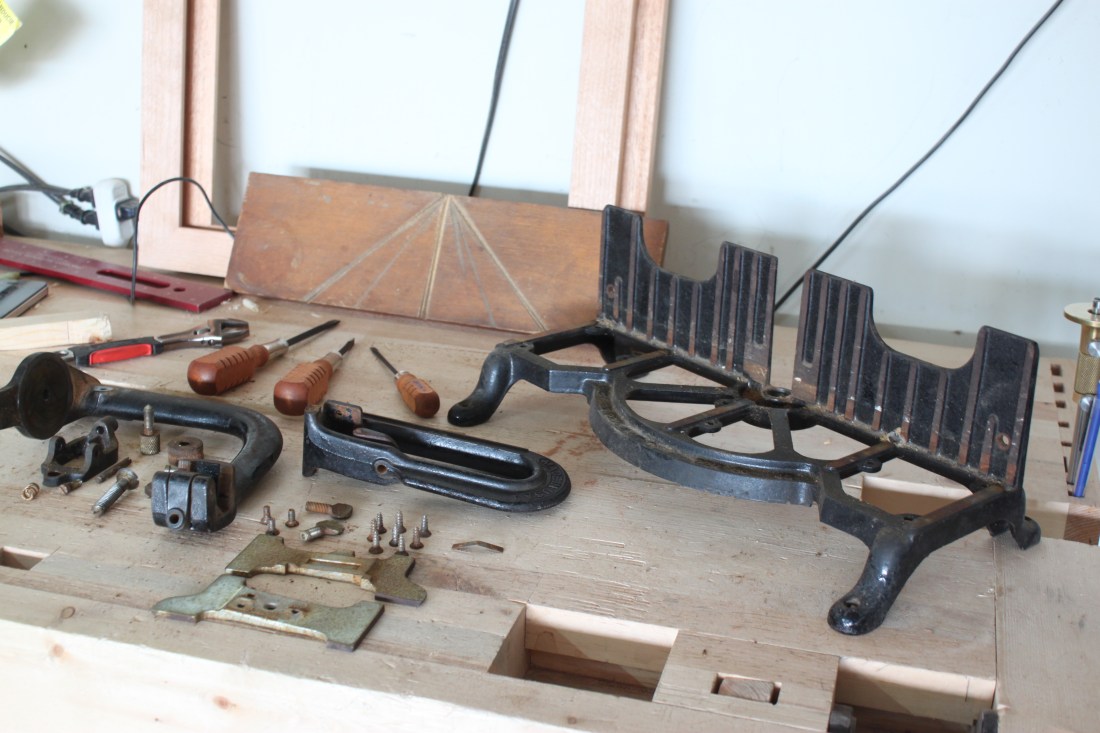
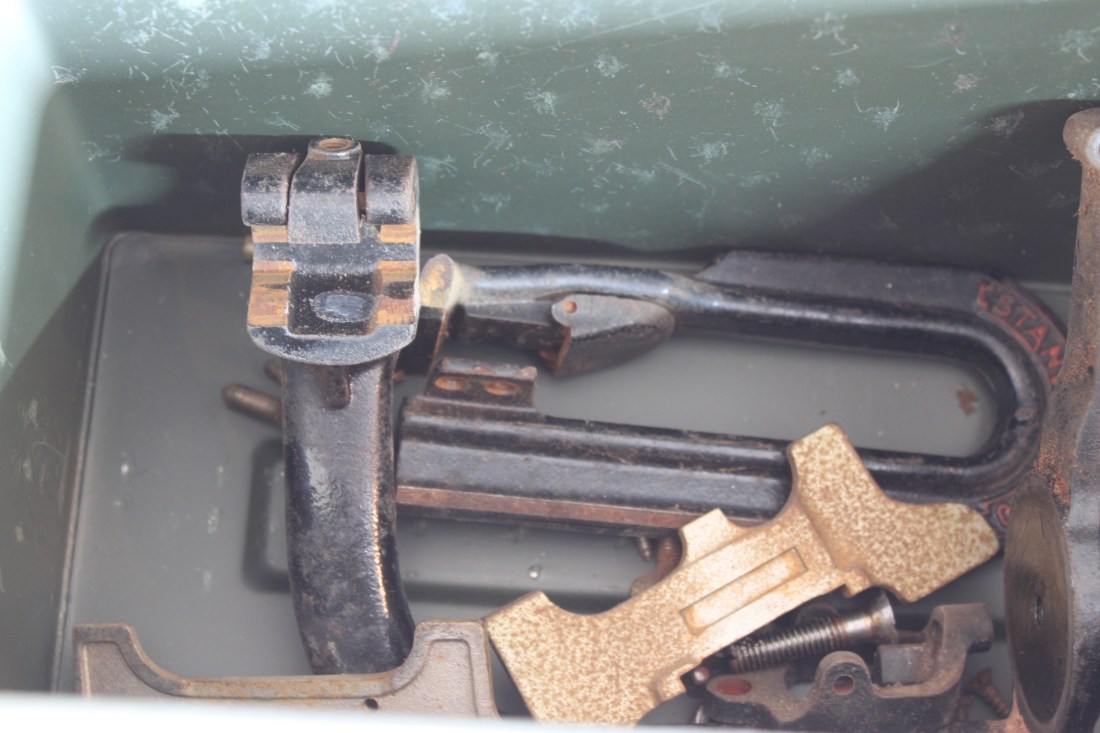
Upon my initial inspection everything was in working order. There was some surface rust but there seemed to be no pitting or chips at all. I began to disassemble it and it all came apart with ease.
The first thing I wanted to do was take care of all the rust on the smaller components. The wife needed a new battery in the minivan so I headed over to Auto Zone and picked up some Evaporust while I was there. I initially put everything in an ammo can but transferred it all into a small container for easier submerging.
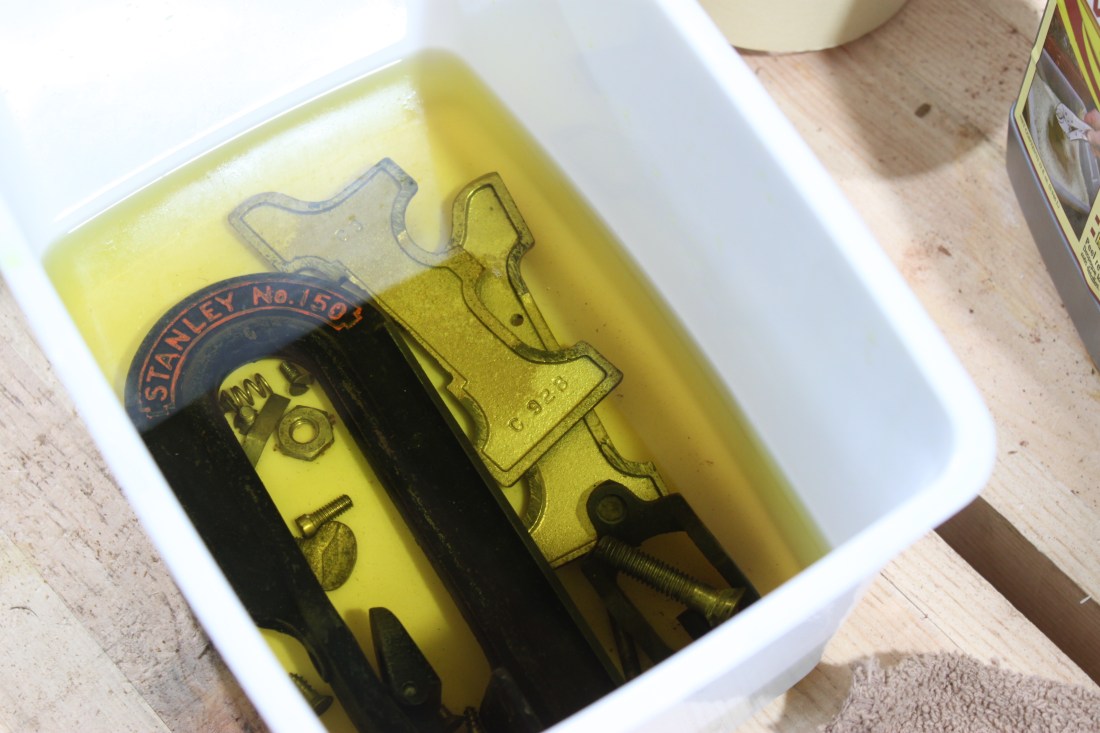
I let everything soak about 36 hours only because I had put it in the night before I had a 24 hour duty. I was finally able to get to it after I crashed a few hours when I got home and I was pleased with the results. After a wipe down and letting them dry a bit I put everything in a zip lock and set aside. Time to turn attention to the elsewhere.
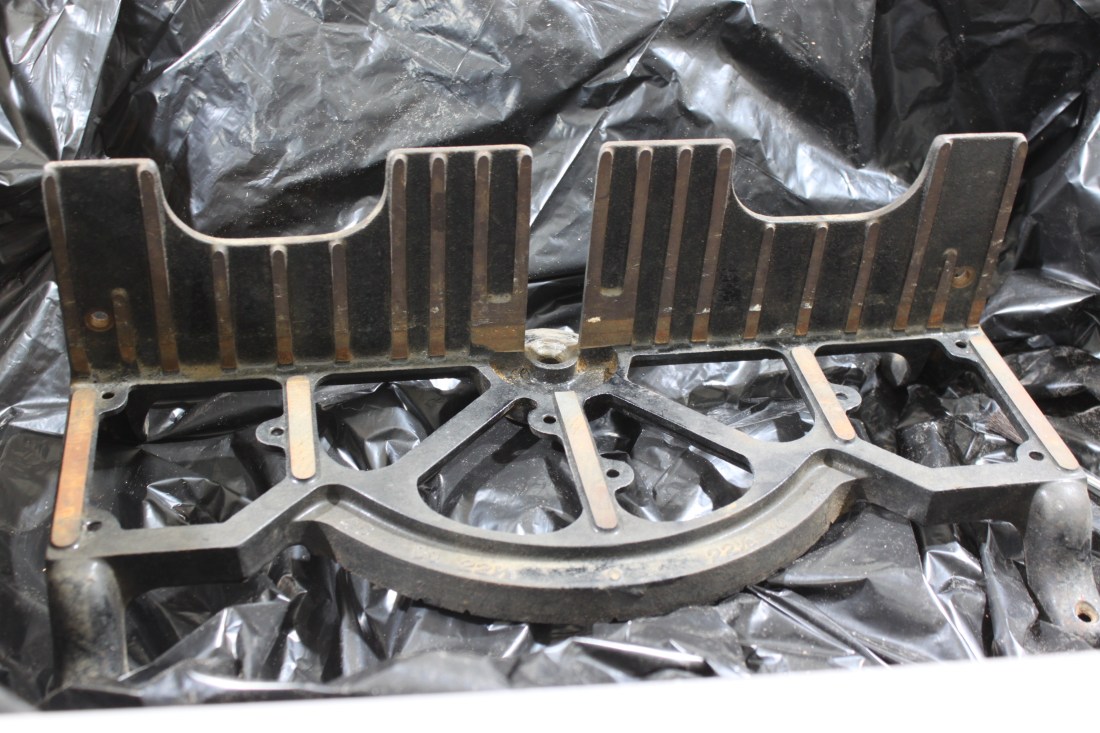
I decided to handle the larger cast iron parts of the miter box differently. I figured I head back to the auto store and try some naval jelly. Something I could wipe on, let sit, and hopefully wipe away the rust and grime. Maybe I didn’t prep it well enough but after the recommended 10 min, it wasn’t doing much. I didn’t want to give up just yet so I figured I’d wrap in in some plastic wrap and let sit over night.
 I’m not lucky enough to own a sand blaster but I am lucky enough to have one at work. I brought it to work and took it out of the plastic wrap and give it a thorough wipe down. Results were not as good as I had hoped but they were a start.
 However, some time in the sand blaster and I was finally seeing the results I wanted.
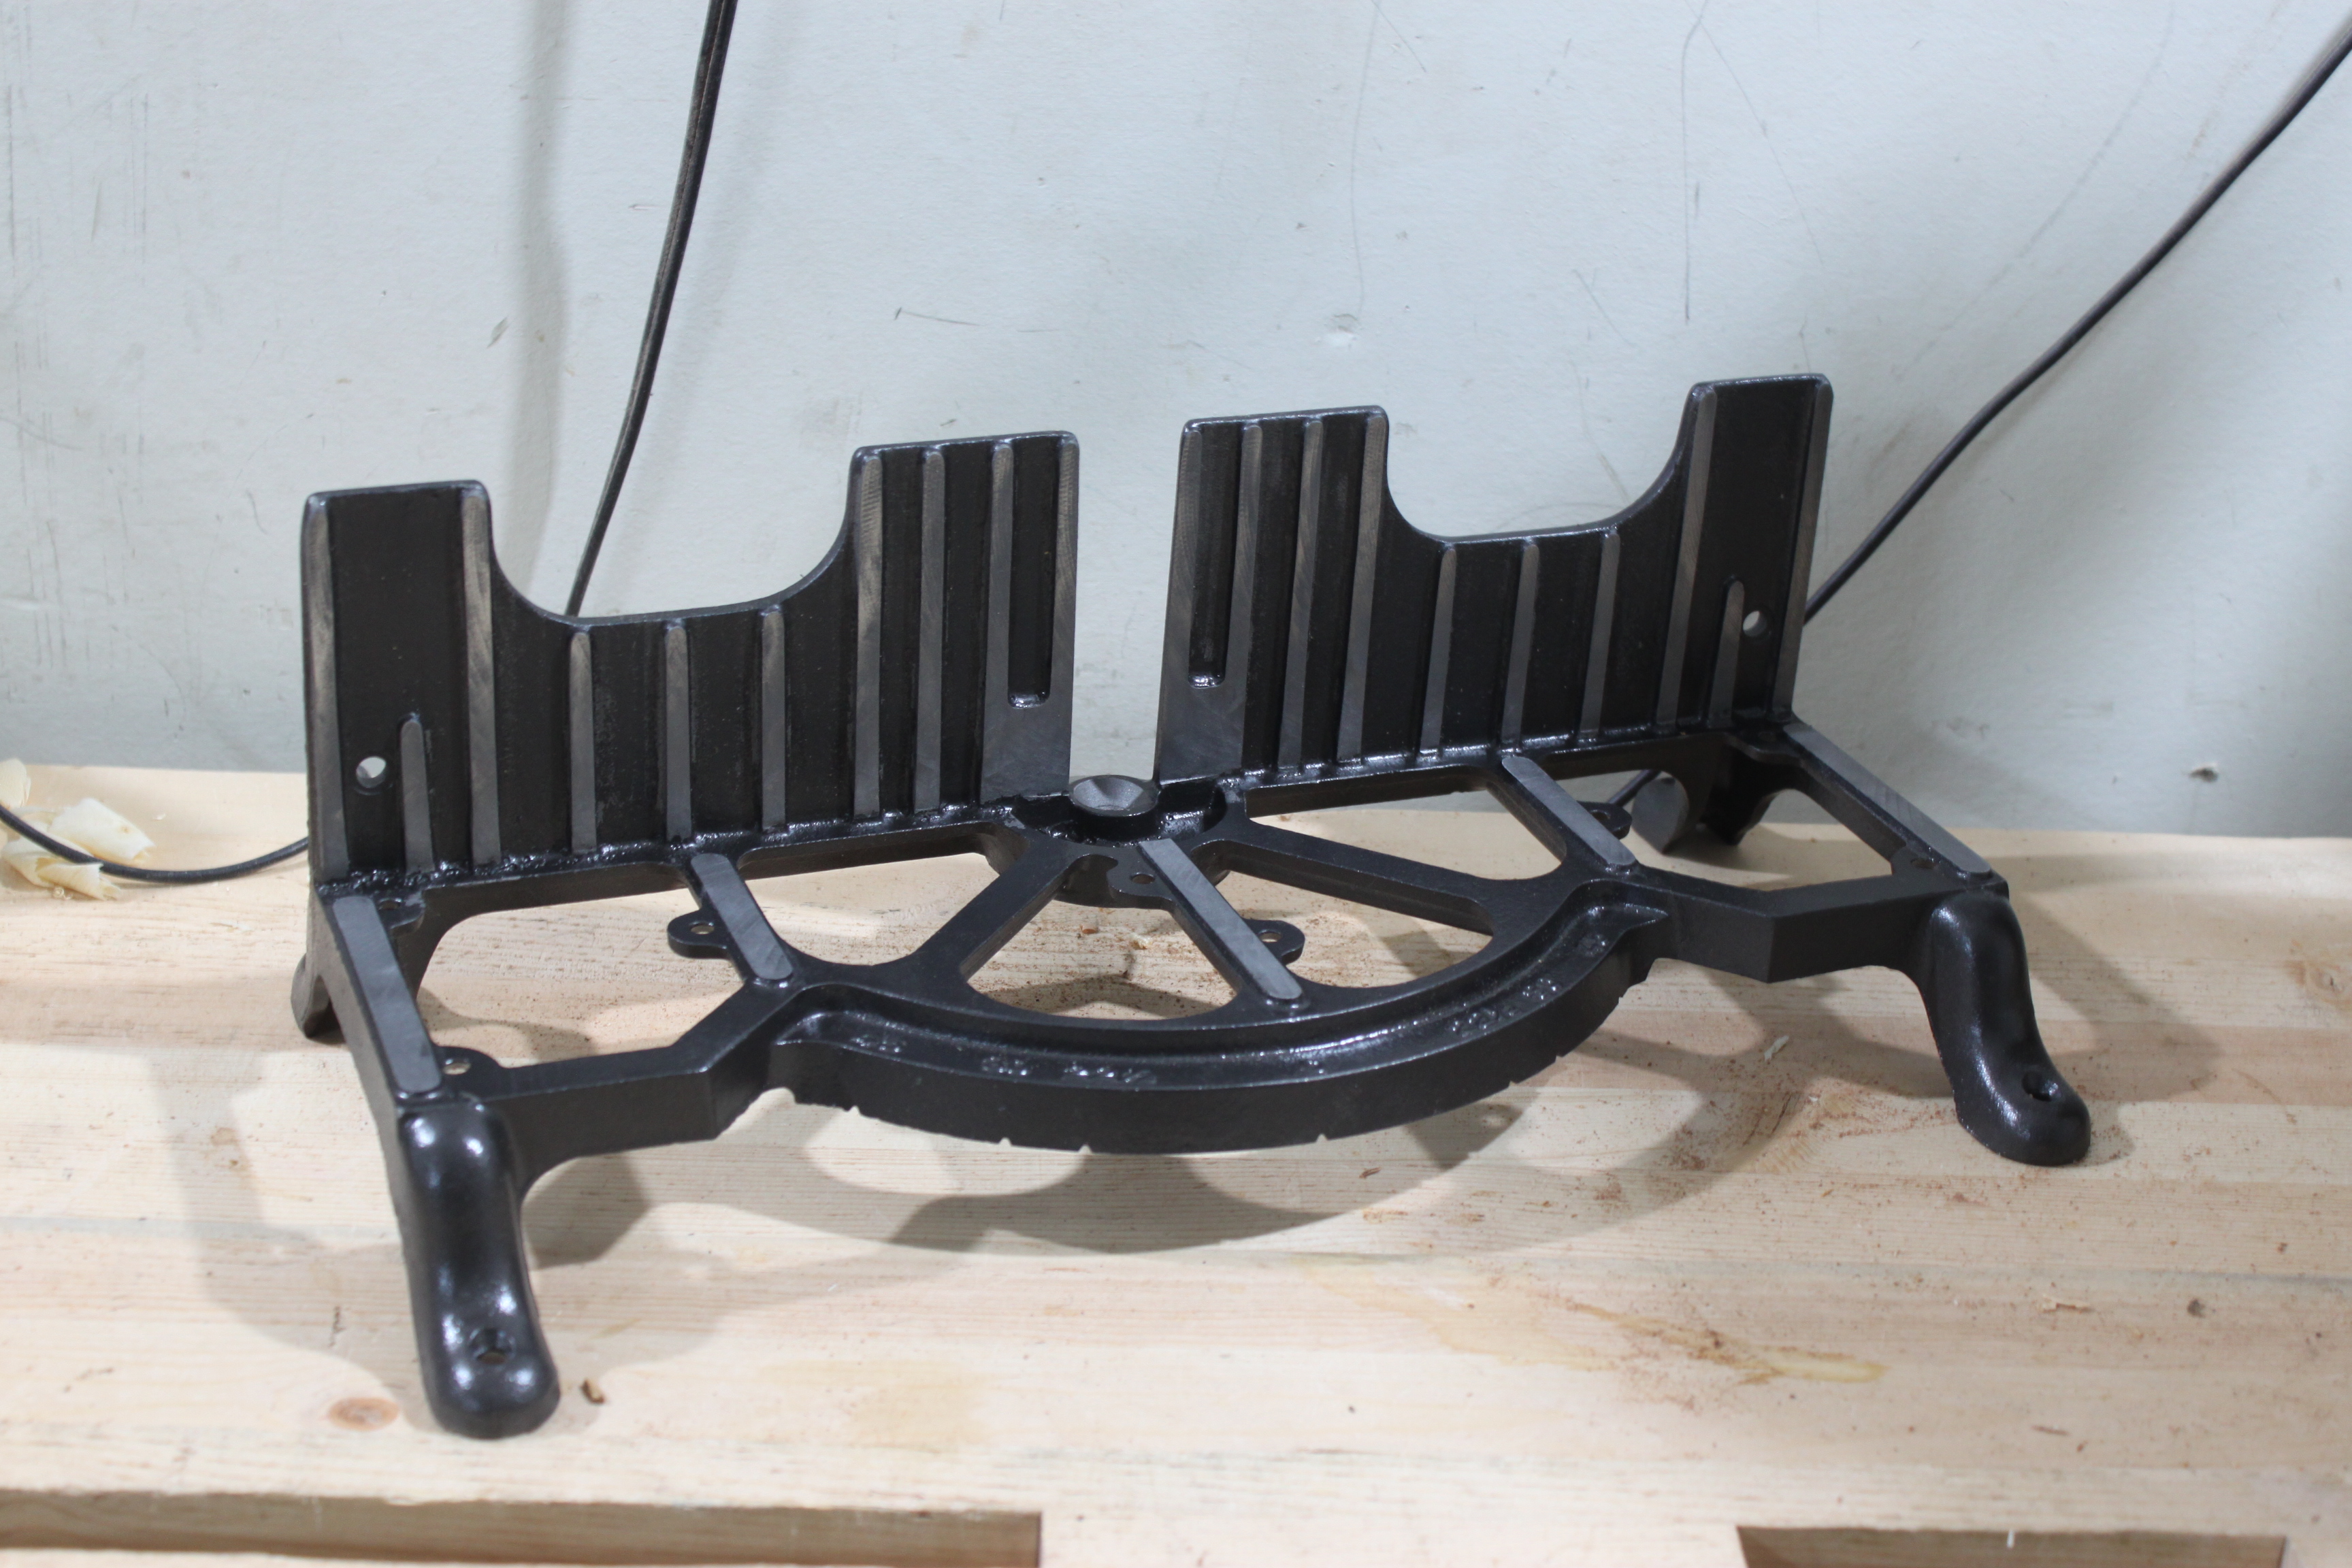
 After I put all the parts I wanted through I prepped for paint. I know the manual states that they are treated with a special japan rust-resistant finish but I’m not trying to restore it to its original state; I just wanted a functional miter box that looked good. I decided to go with Rustoleum hammered black spray paint. Why? I just thought it would look better and it was a pretty good choice if you ask me.
 This was only the first coat and you can see how the Evaporust cleaned the smaller fasteners as well. I left my paint at work but cleaned things up a little and prepped for the second coat. Tomorrow I will take it back in to work and add one, maybe two more coats.
Other than the paint I need to finish the thumb screws and get a new board to attach to the bottom. I’m hoping by Friday to have everything assembled and ready to use so stay tuned!