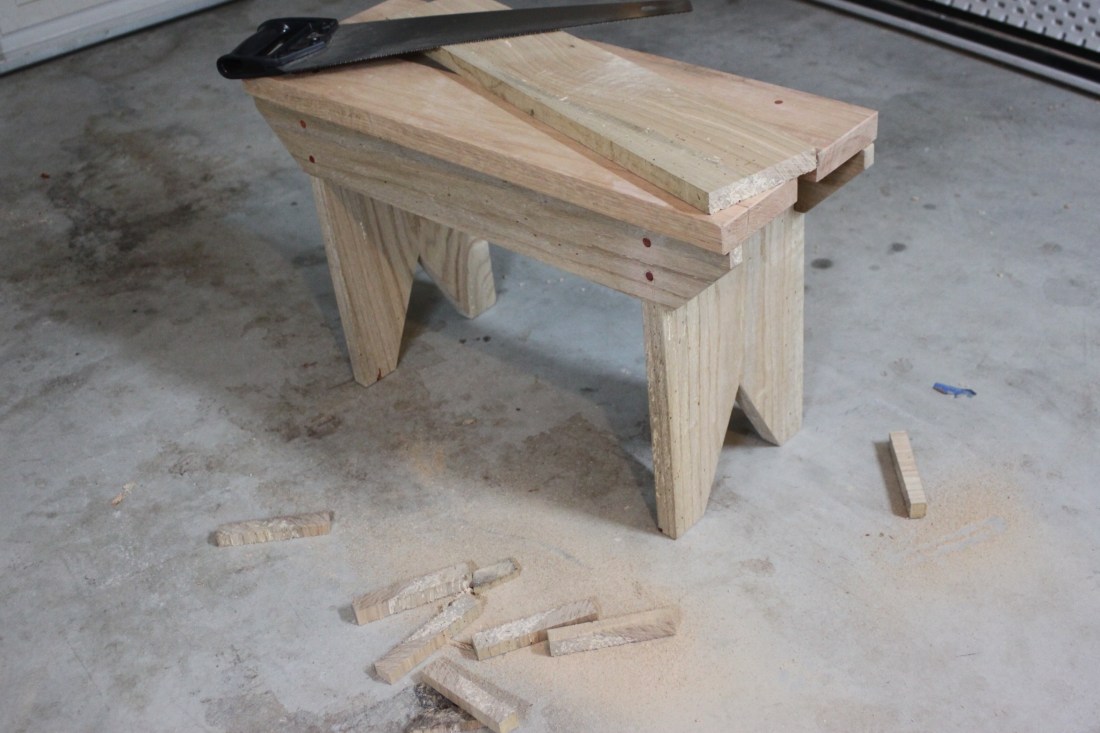
First things first, the saw bench is COMPLETE!
My cheating is not as bad as it sounds. I would have to say that this bench was built 95% by hand. When I decided that I would use dowels for the joinery, in the back of my mind I figured I’d use a drill. I don’t have a brace at the moment and I really wanted this done so I’m completely fine with having used the drill. I did buy a brace and some augers on eBay which will be here this week but like I said, I really wanted to finish this project.
The dowels were made with a Lie-Nielsen dowel plate at 3/8″.
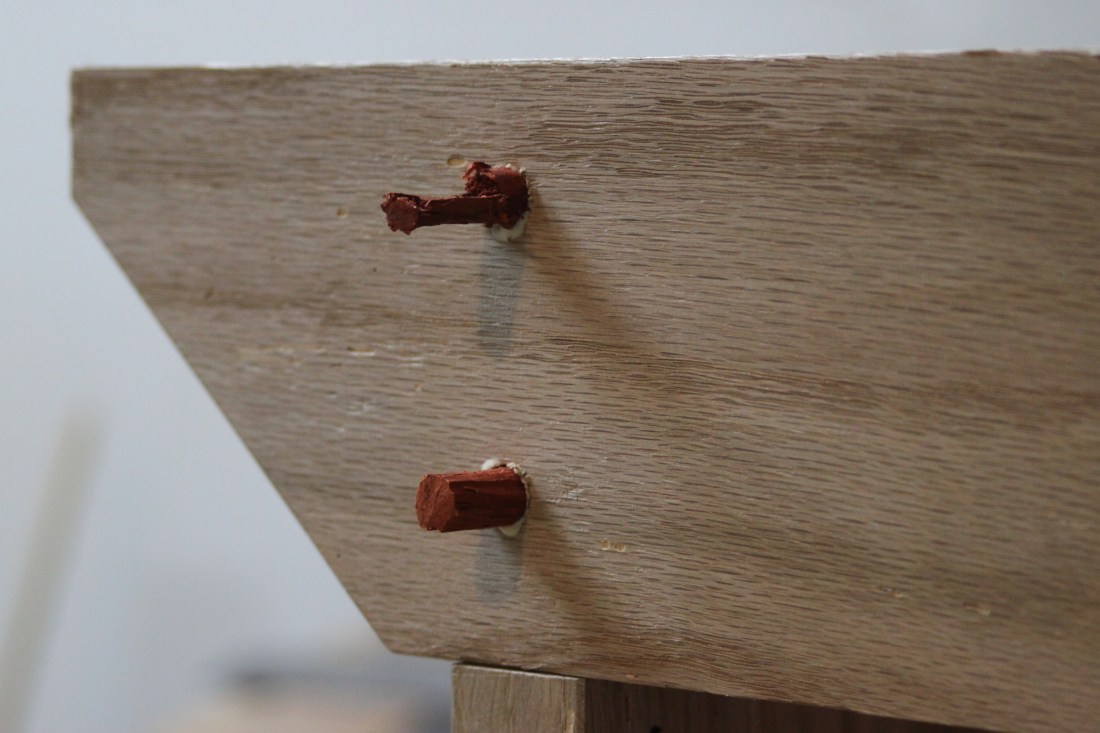
I love this little thing. I have to say that although I enjoy the contrast of red oak and padauk, running the padauk through the dowel plate may not be the best choice of woods. I had about 5 dowels bust on me. I wasn’t really concerned about making everything beautiful and perfect due to the fact that this is just shop gear.
Once the holes were drilled, the dowels were inserted
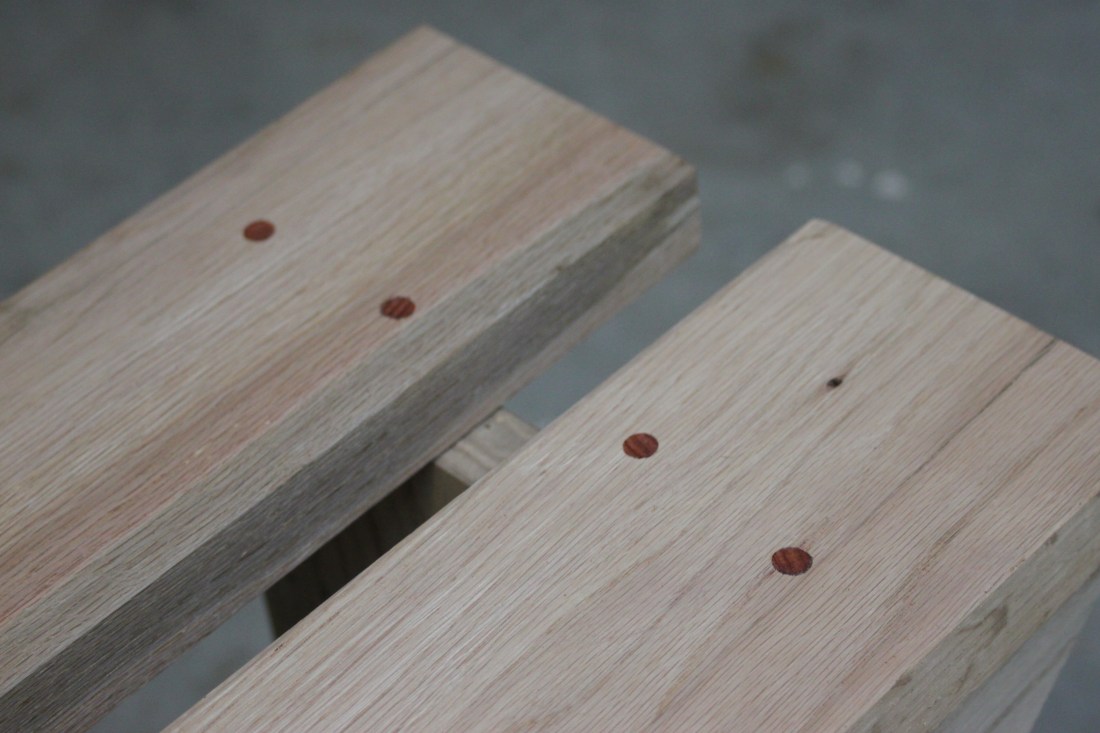
Cut flush
and repeated for all 16 pieces.
Nothing was measured, marked or centered. After they were all set, I did do some spot smoothing with a #4 over the dowels just to clean them up.
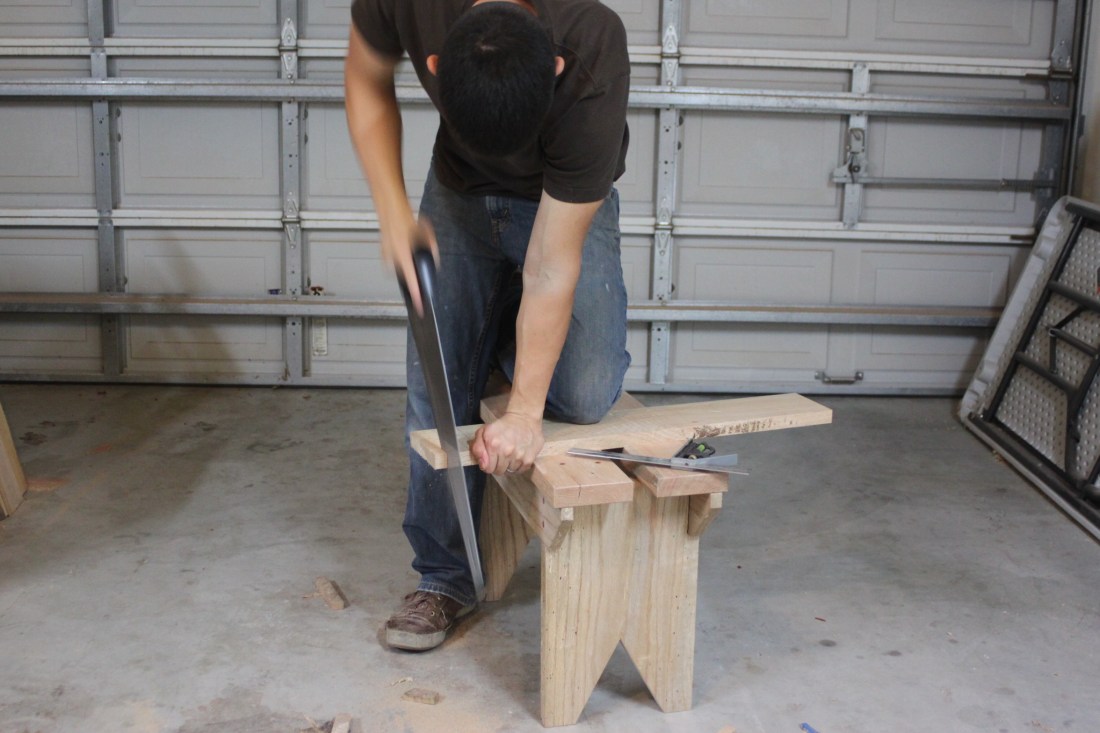
Next was testing it out!
Whether there is a right or wrong way to actually use the bench, I found at the moment, this way was more comfortable. For a longer board, of course I would switch my position 90° but I like hooking my foot to the back of the bench vs letting it hang for this shorter board.
After a few cuts, things were feeling and looking pretty good since I was cutting pretty square
and plumb.
I’m really happy with the way everything turned out and I definitely learned A LOT. Thanks for all the feedback and following along. Next is sharpening my saws so I can get some real use out of this bad boy!
Comments and feedback are more than welcome.


I have been wanting to build one of these myself. Nicely done!
Thanks! I’m glad I built this now at the beginning of my hand tool journey.
Dan, there is never a right or wrong way to do anything in woodworking just as long as you are safe while you do it. Moreover, it’s all about results so if your cut comes out square then don’t worry about how you got there. I will say that running the board along the bench can help with body alignment issues. If you rest your opposite knee (from the sawing arm) on the work and put the saw side knee right behind the board it not only locks the board in place but it positions your shoulders and arm nicely in line with the cut. I did a podcast on this a while back, http://www.renaissancewoodworker.com/crosscut-sawing-tip/, which will probably make more sense than this explanation.
But don’t get me wrong, if it works, it ain’t wrong!
Thanks for the link Shannon. I’ve started getting into the RWW podcasts in between HTS lessons and hadn’t come across that one yet. Definitely helps illustrate your explanation and now I’m looking forward to lesson 6 and the bent project!