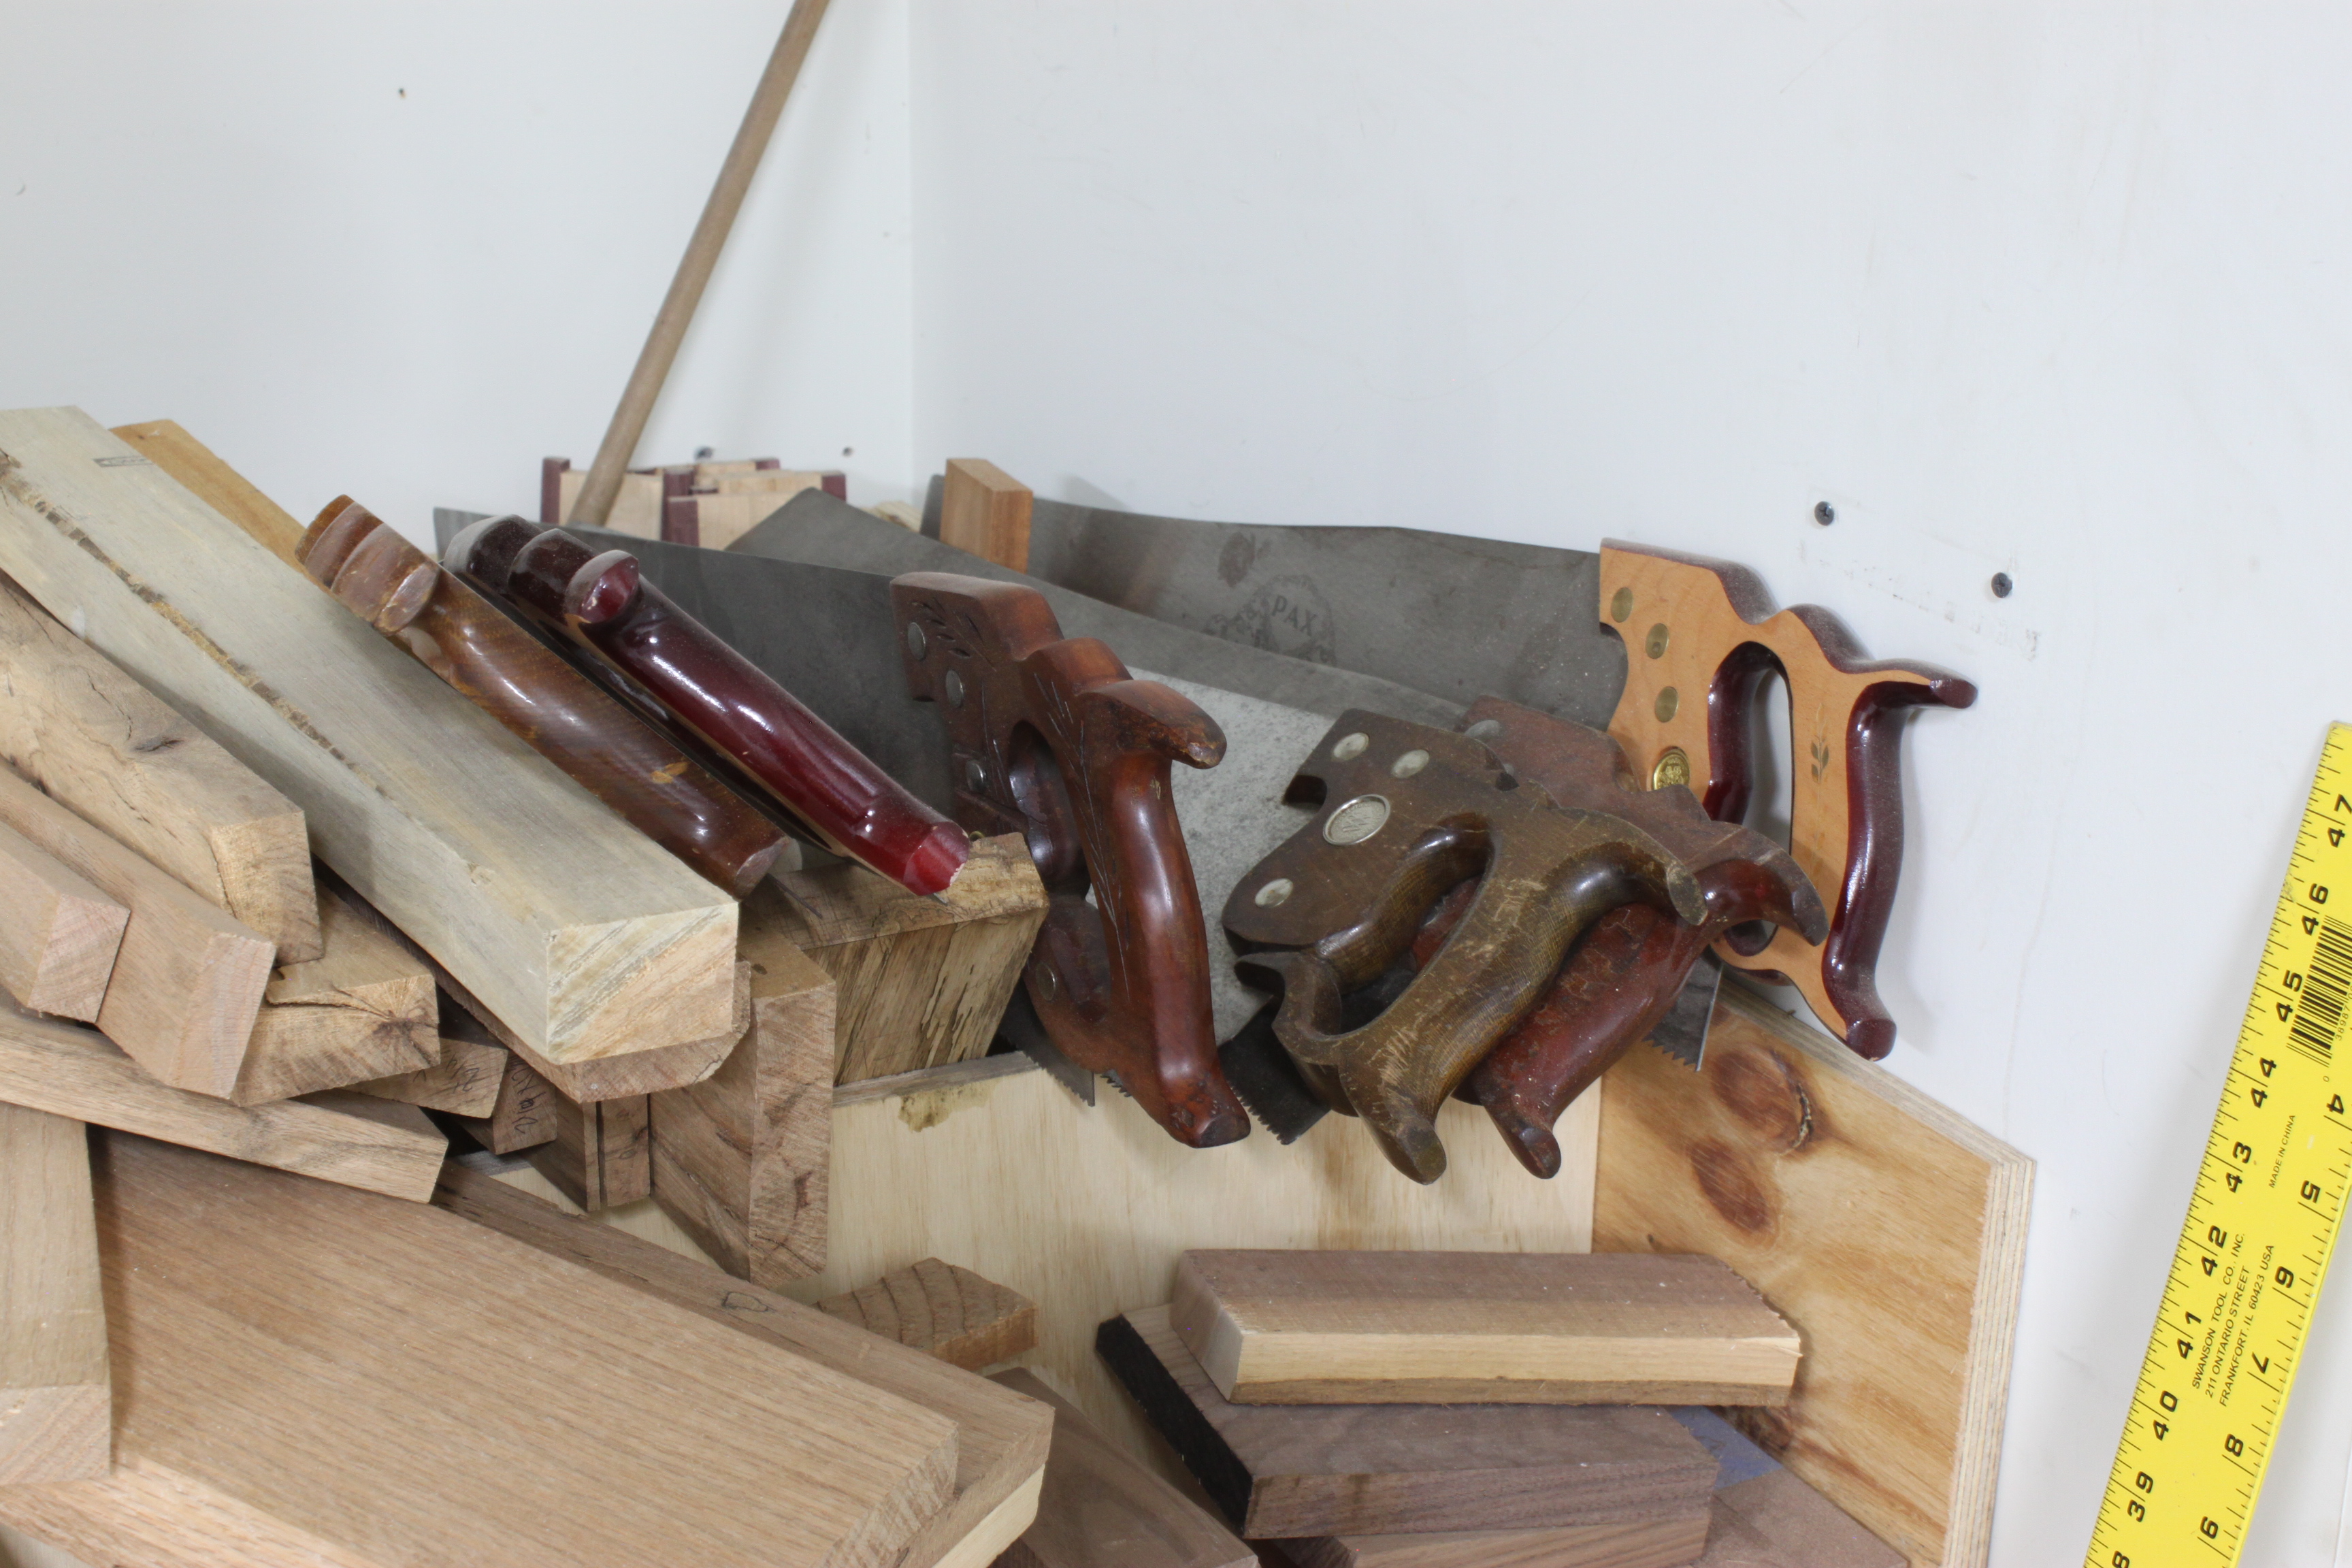
As I’m still in the progress of getting my shop organized there is one thing that I’ve been putting off and on the back burner to other projects; finding a home for my saws. Currently they just sit where ever they fit and that’s usually on top of the cutoff bin.
Even after I used a good portion of the wood from the bed for the assembly table, I still have a lot left so I thought it would be a good project to use a lot of the smaller pieces I have.

I first thing I did was make four panels with three 1×4 pieces. I’m not even sure what the overall length was but I managed to get three panels flattened to 5/8″ and one to 9/16″ thick. Before I moved on I began to think about design. My initial intent was to make a typical saw till. One where you stand the saw on their handle vertically and rest the blade in the kerf of another piece of wood. I had laid out my pieces and used my saws to get an idea of the overall size and shape but my pieces were looking like they might be too short for what I was wanting. I could have made it work but I started looking for other ideas. Long story short I found an old Popular Woodworking article about storing saws. In there I saw this picture and knew where I wanted to take my design. 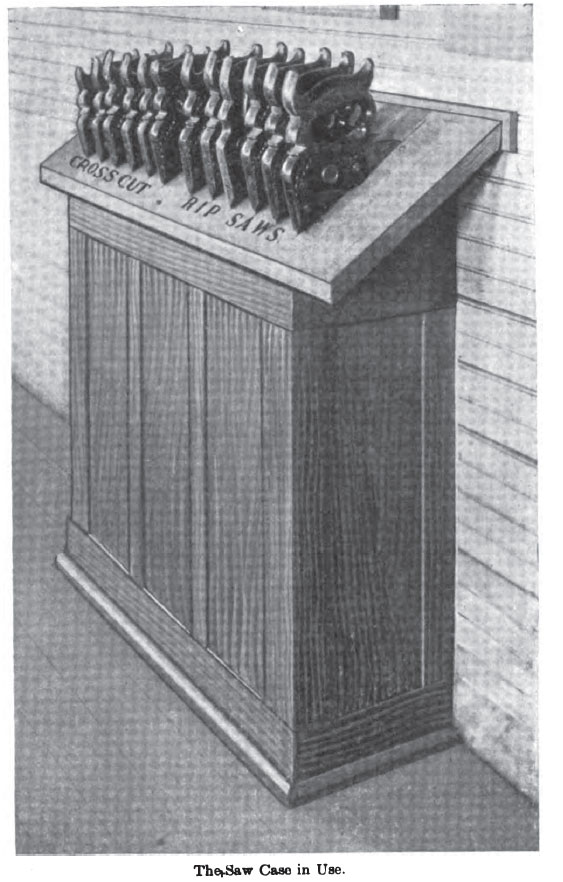 I don’t know why but I just liked this type of stroage better. Following this design the first thing I needed to do was get the angle that would best fit for the saw to hang. The first number to pop into my head was 22°. This was not steep enough for the angle of the handle so I tried again. I used a protractor to best determine the angle and came up with 35°. To test it out I laid a ruler until it made contact along the handle of the saw and lined it up with the 35° line I made on the panel. Looked vertical enough to me.
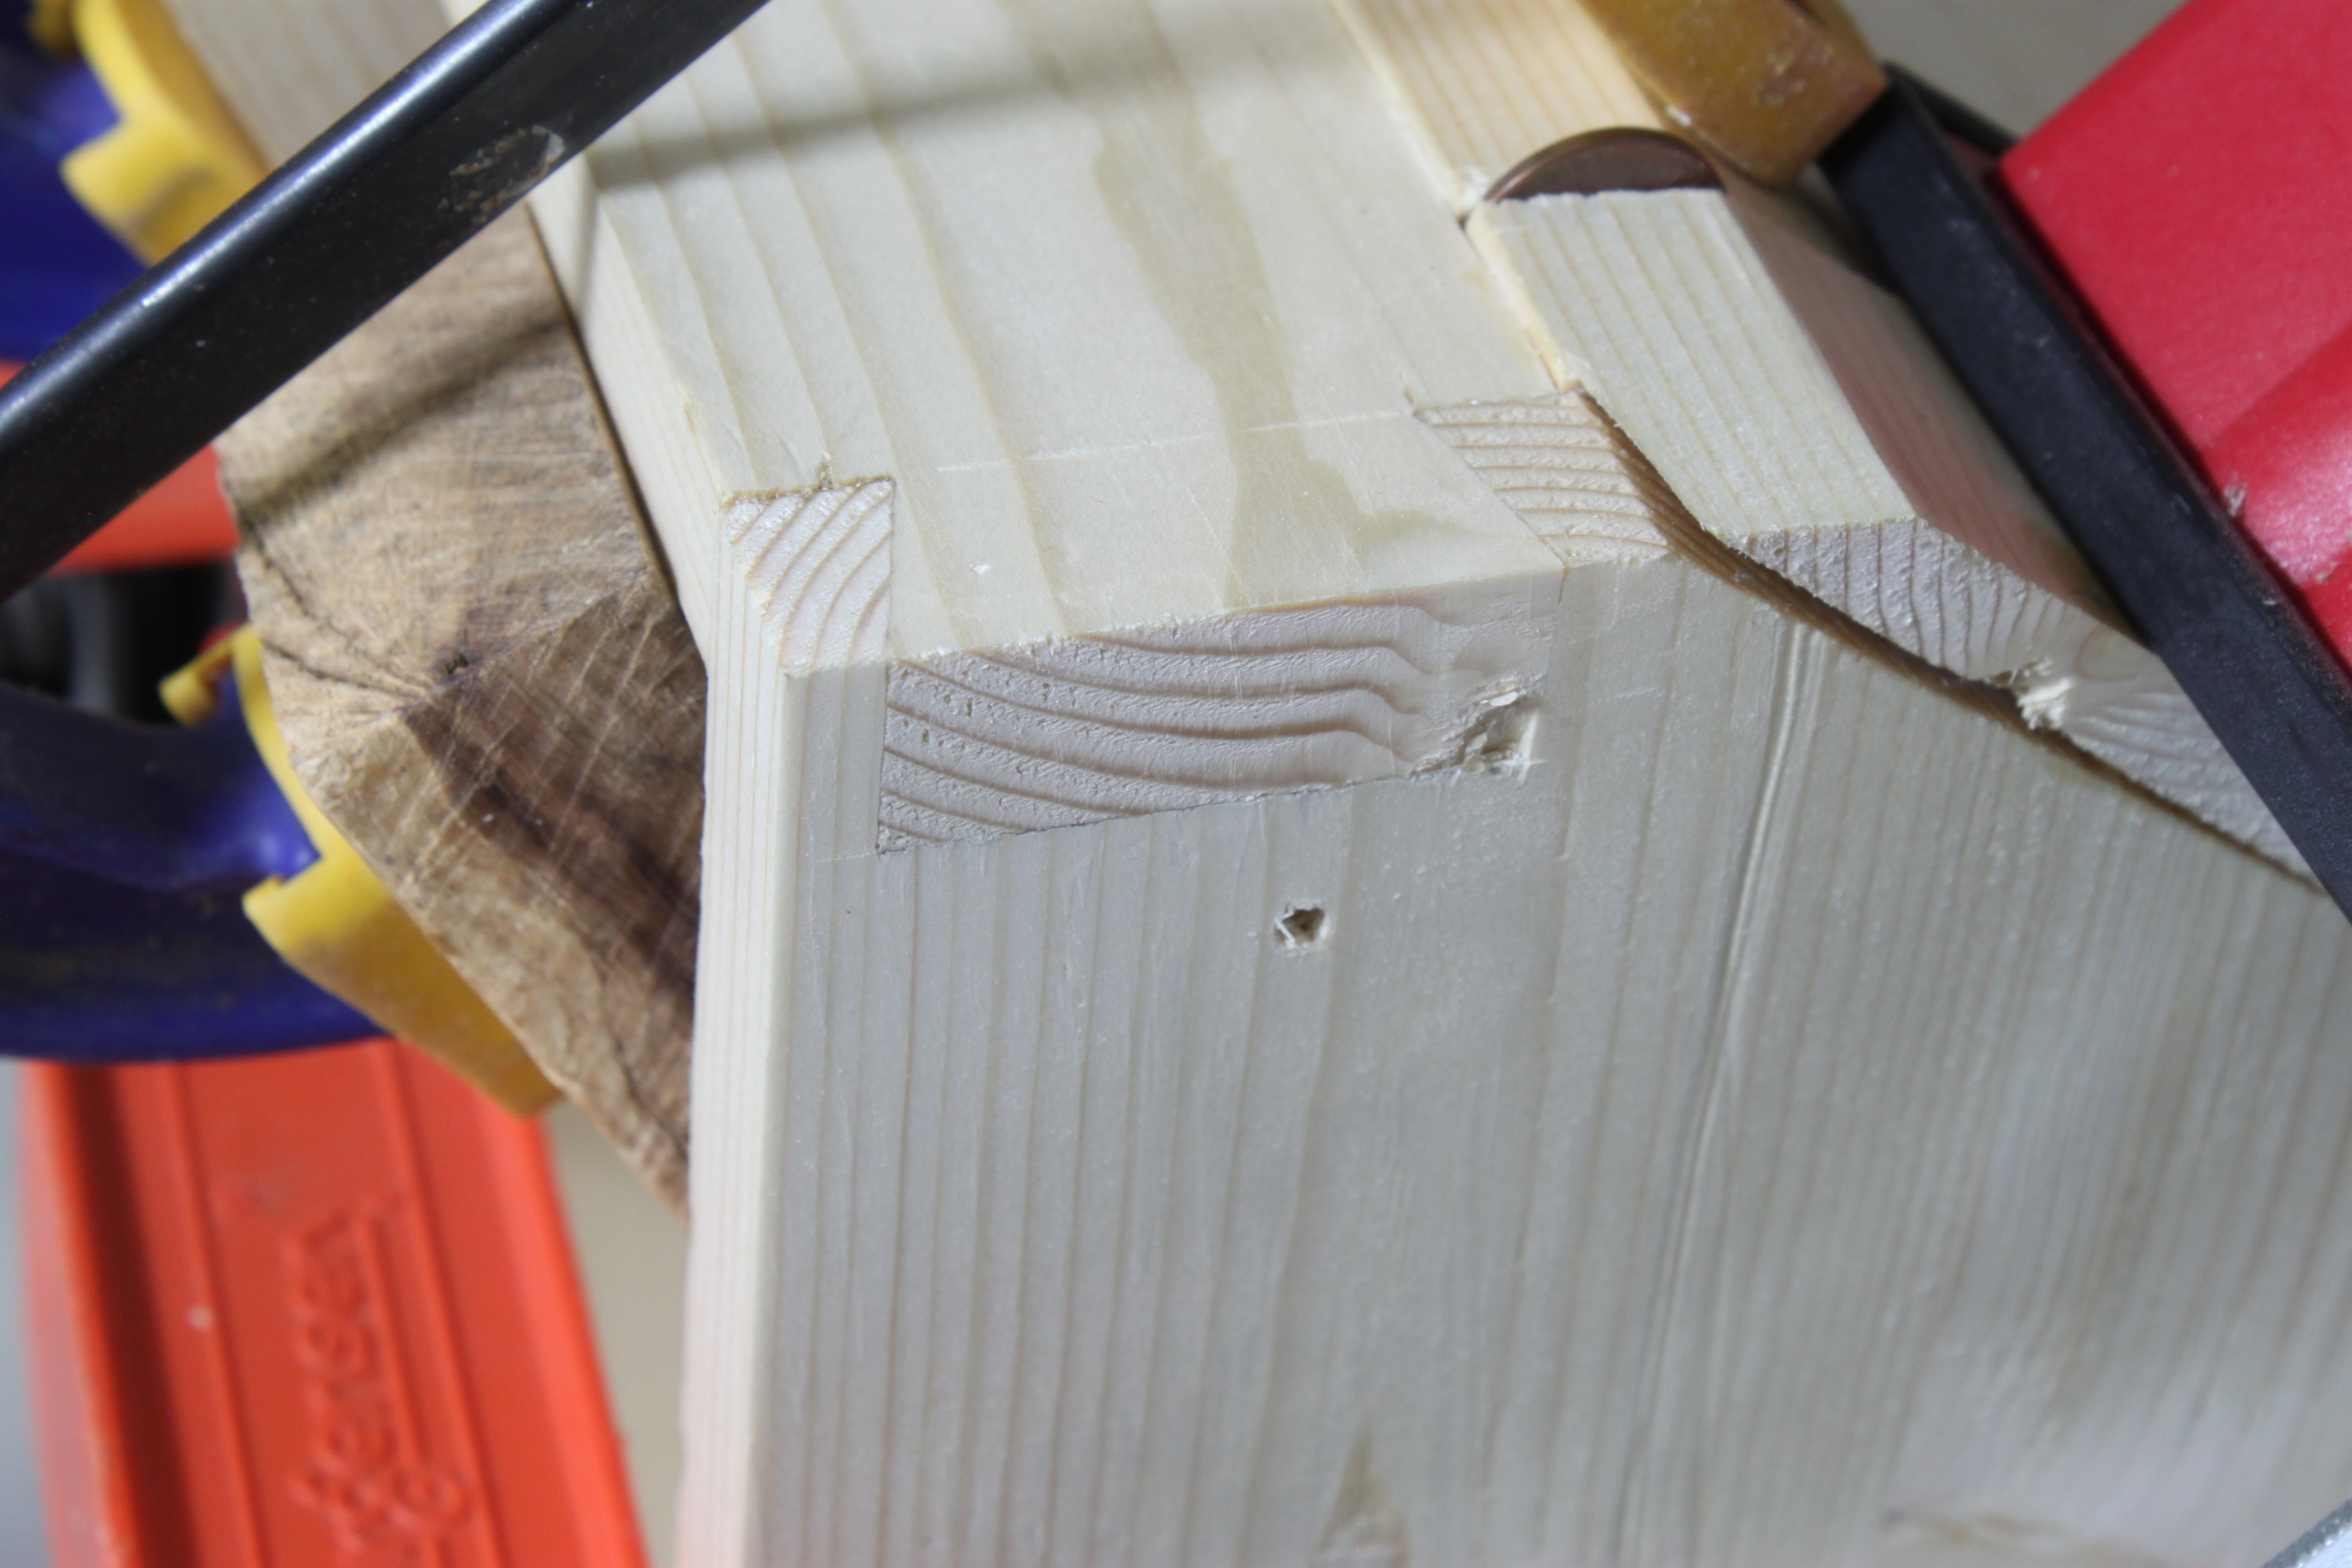
 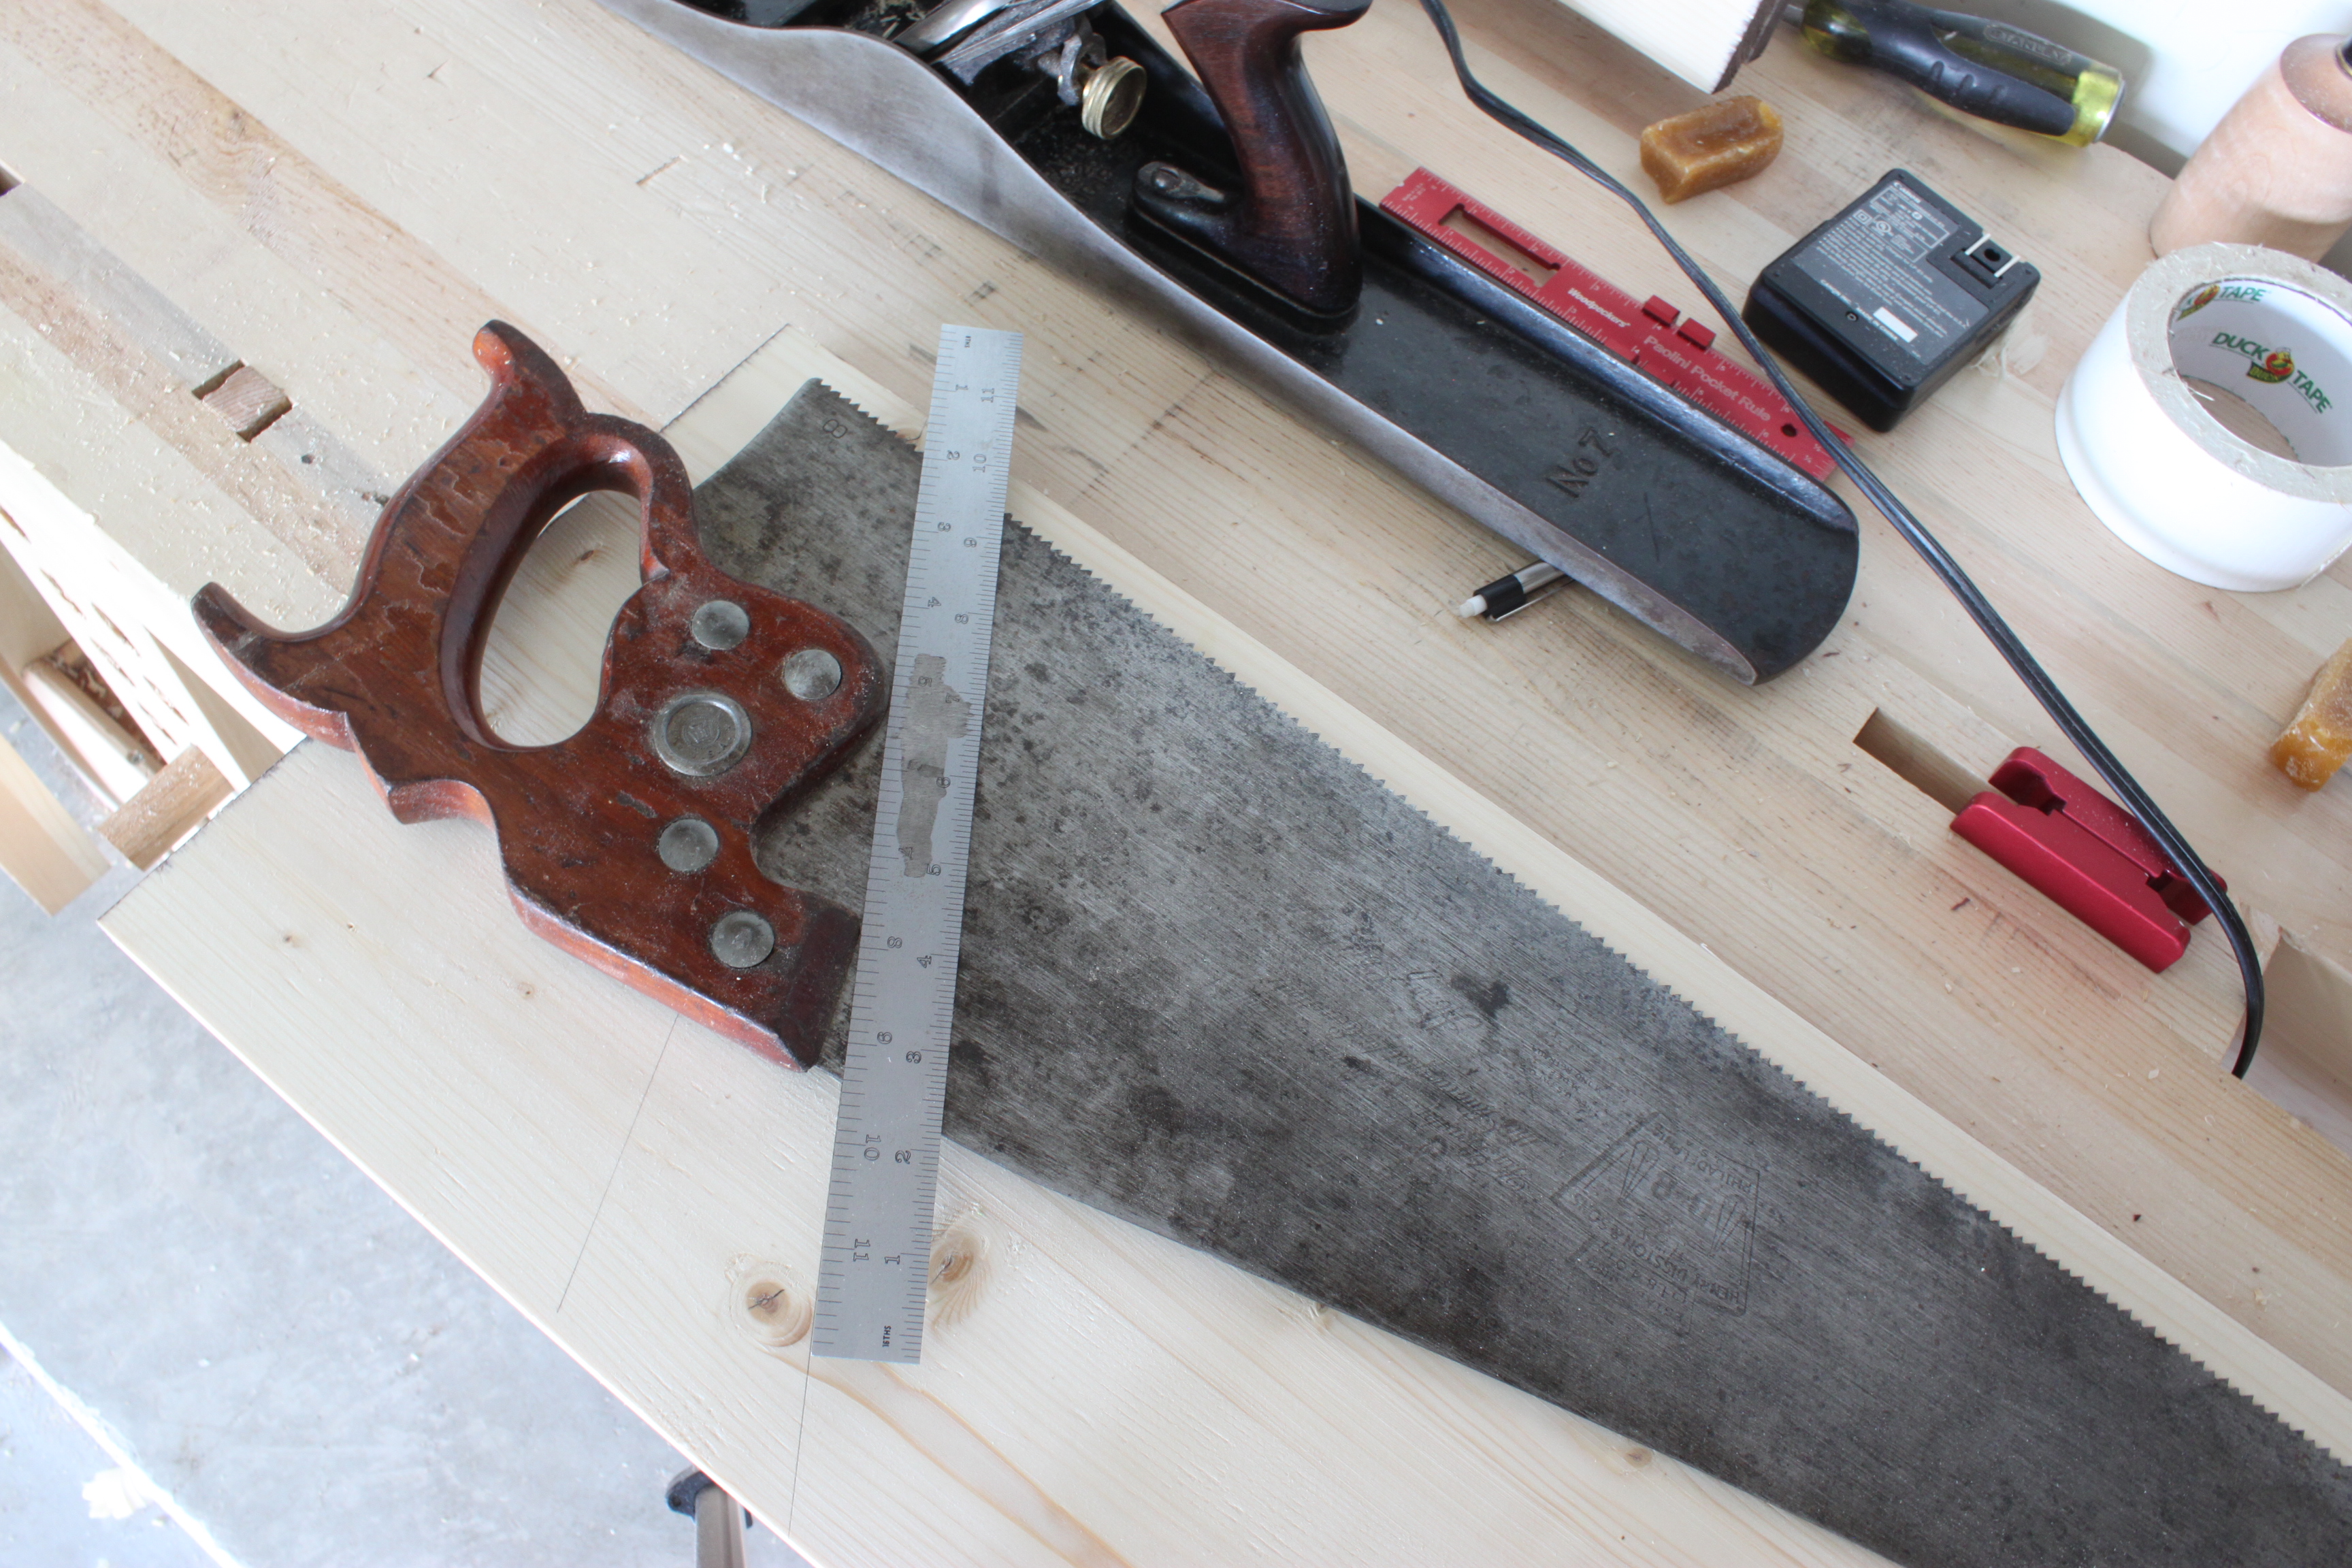 Now that I had my angle set it was just a matter of figuring how I would put it all together. Two of the panels that were 5/8″ think would be used as the side and would be rabbeted into the front 9/16″ panel and the last 5/8″ panel would be the top. I decided not to enclose it completely and leave the back open. Keeping it all together I used a 2″ wide piece and connected the top by dovetail (don’t mind the horrible rabbet)
 And also about midway down the backside.
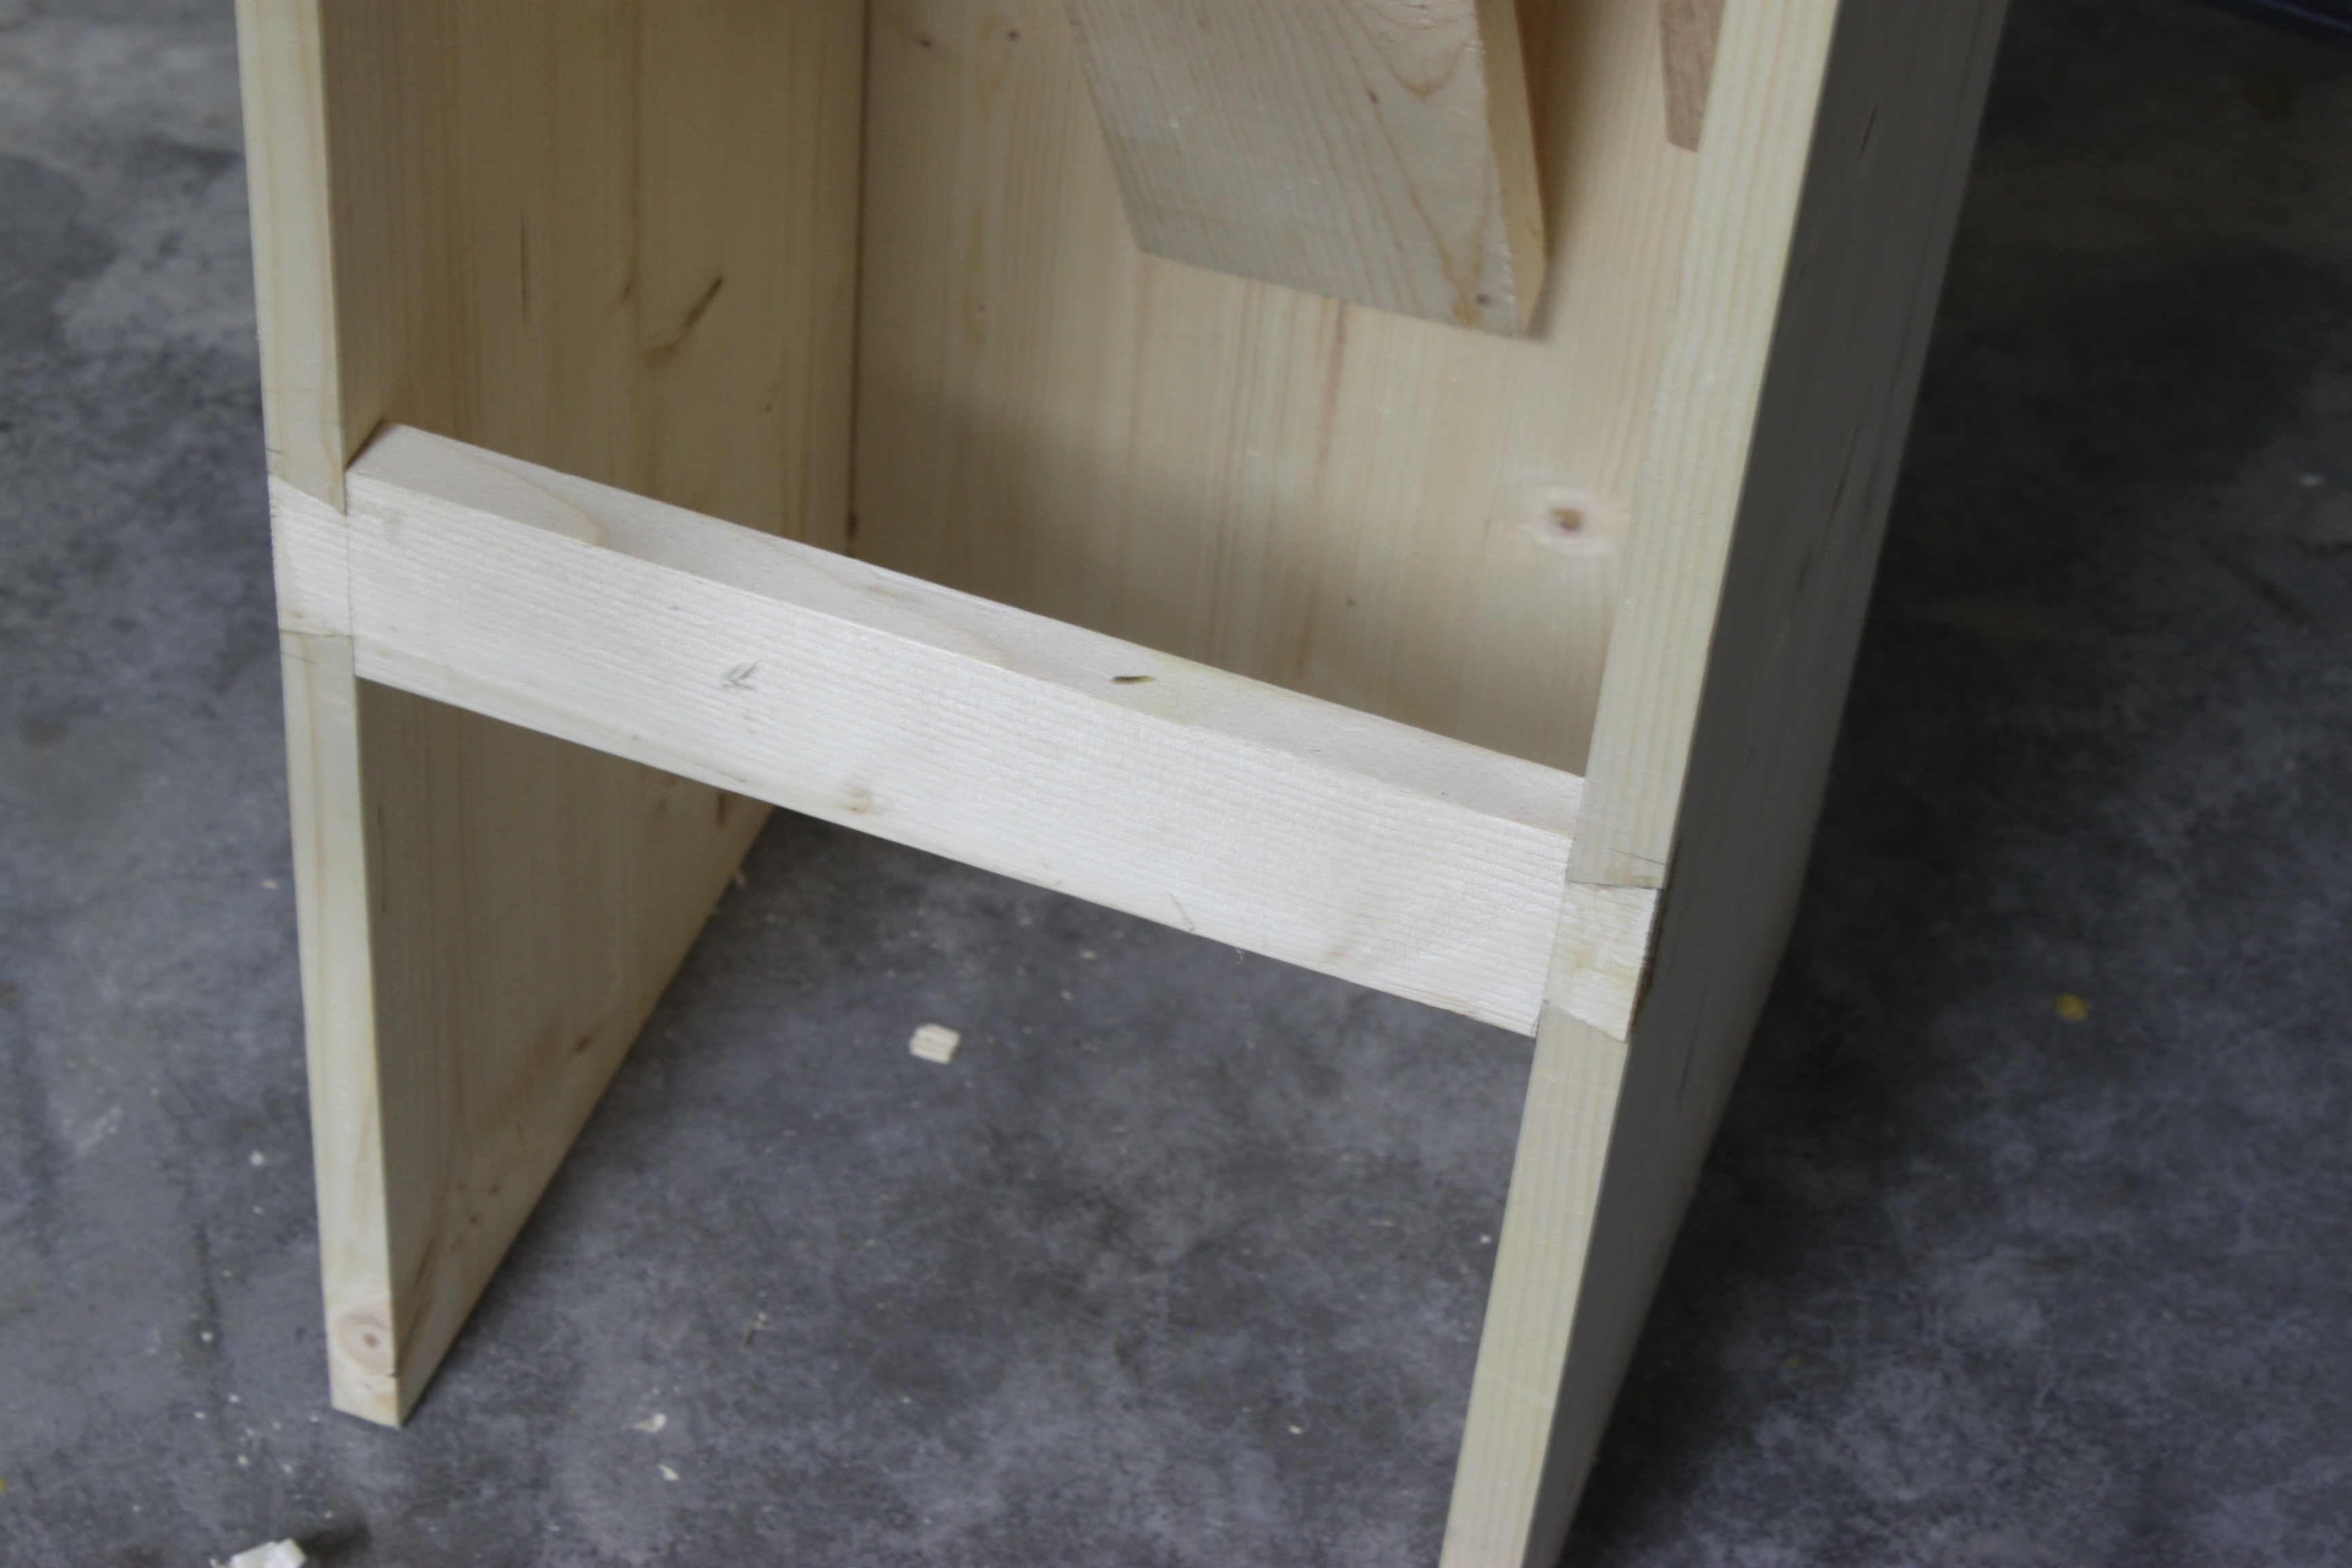 After a couple of dry fits to make sure everything fit together properly it was time for the glue up.
 Fitting the top actually occurred after this even though there is already one picture of it a little bit ago. For this I cut the rabbets and then kept planing away material until everything fit. That probably doesn’t make much sense but it worked for me. Once I had a snug fit I needed to make the kerfs for the saws to rest in. I currently have 6 hand saws that need a home and since the wife told me I was cut off from getting anymore I space everything out evenly for only six and no more.

This was actually perfect because it gave just enough room for each saw without overcrowding. The cutting of the kerf wasn’t wide enough to allow all saws to be seated at once so I used a thin file to widen things a bit until every saw fit without being forced in. 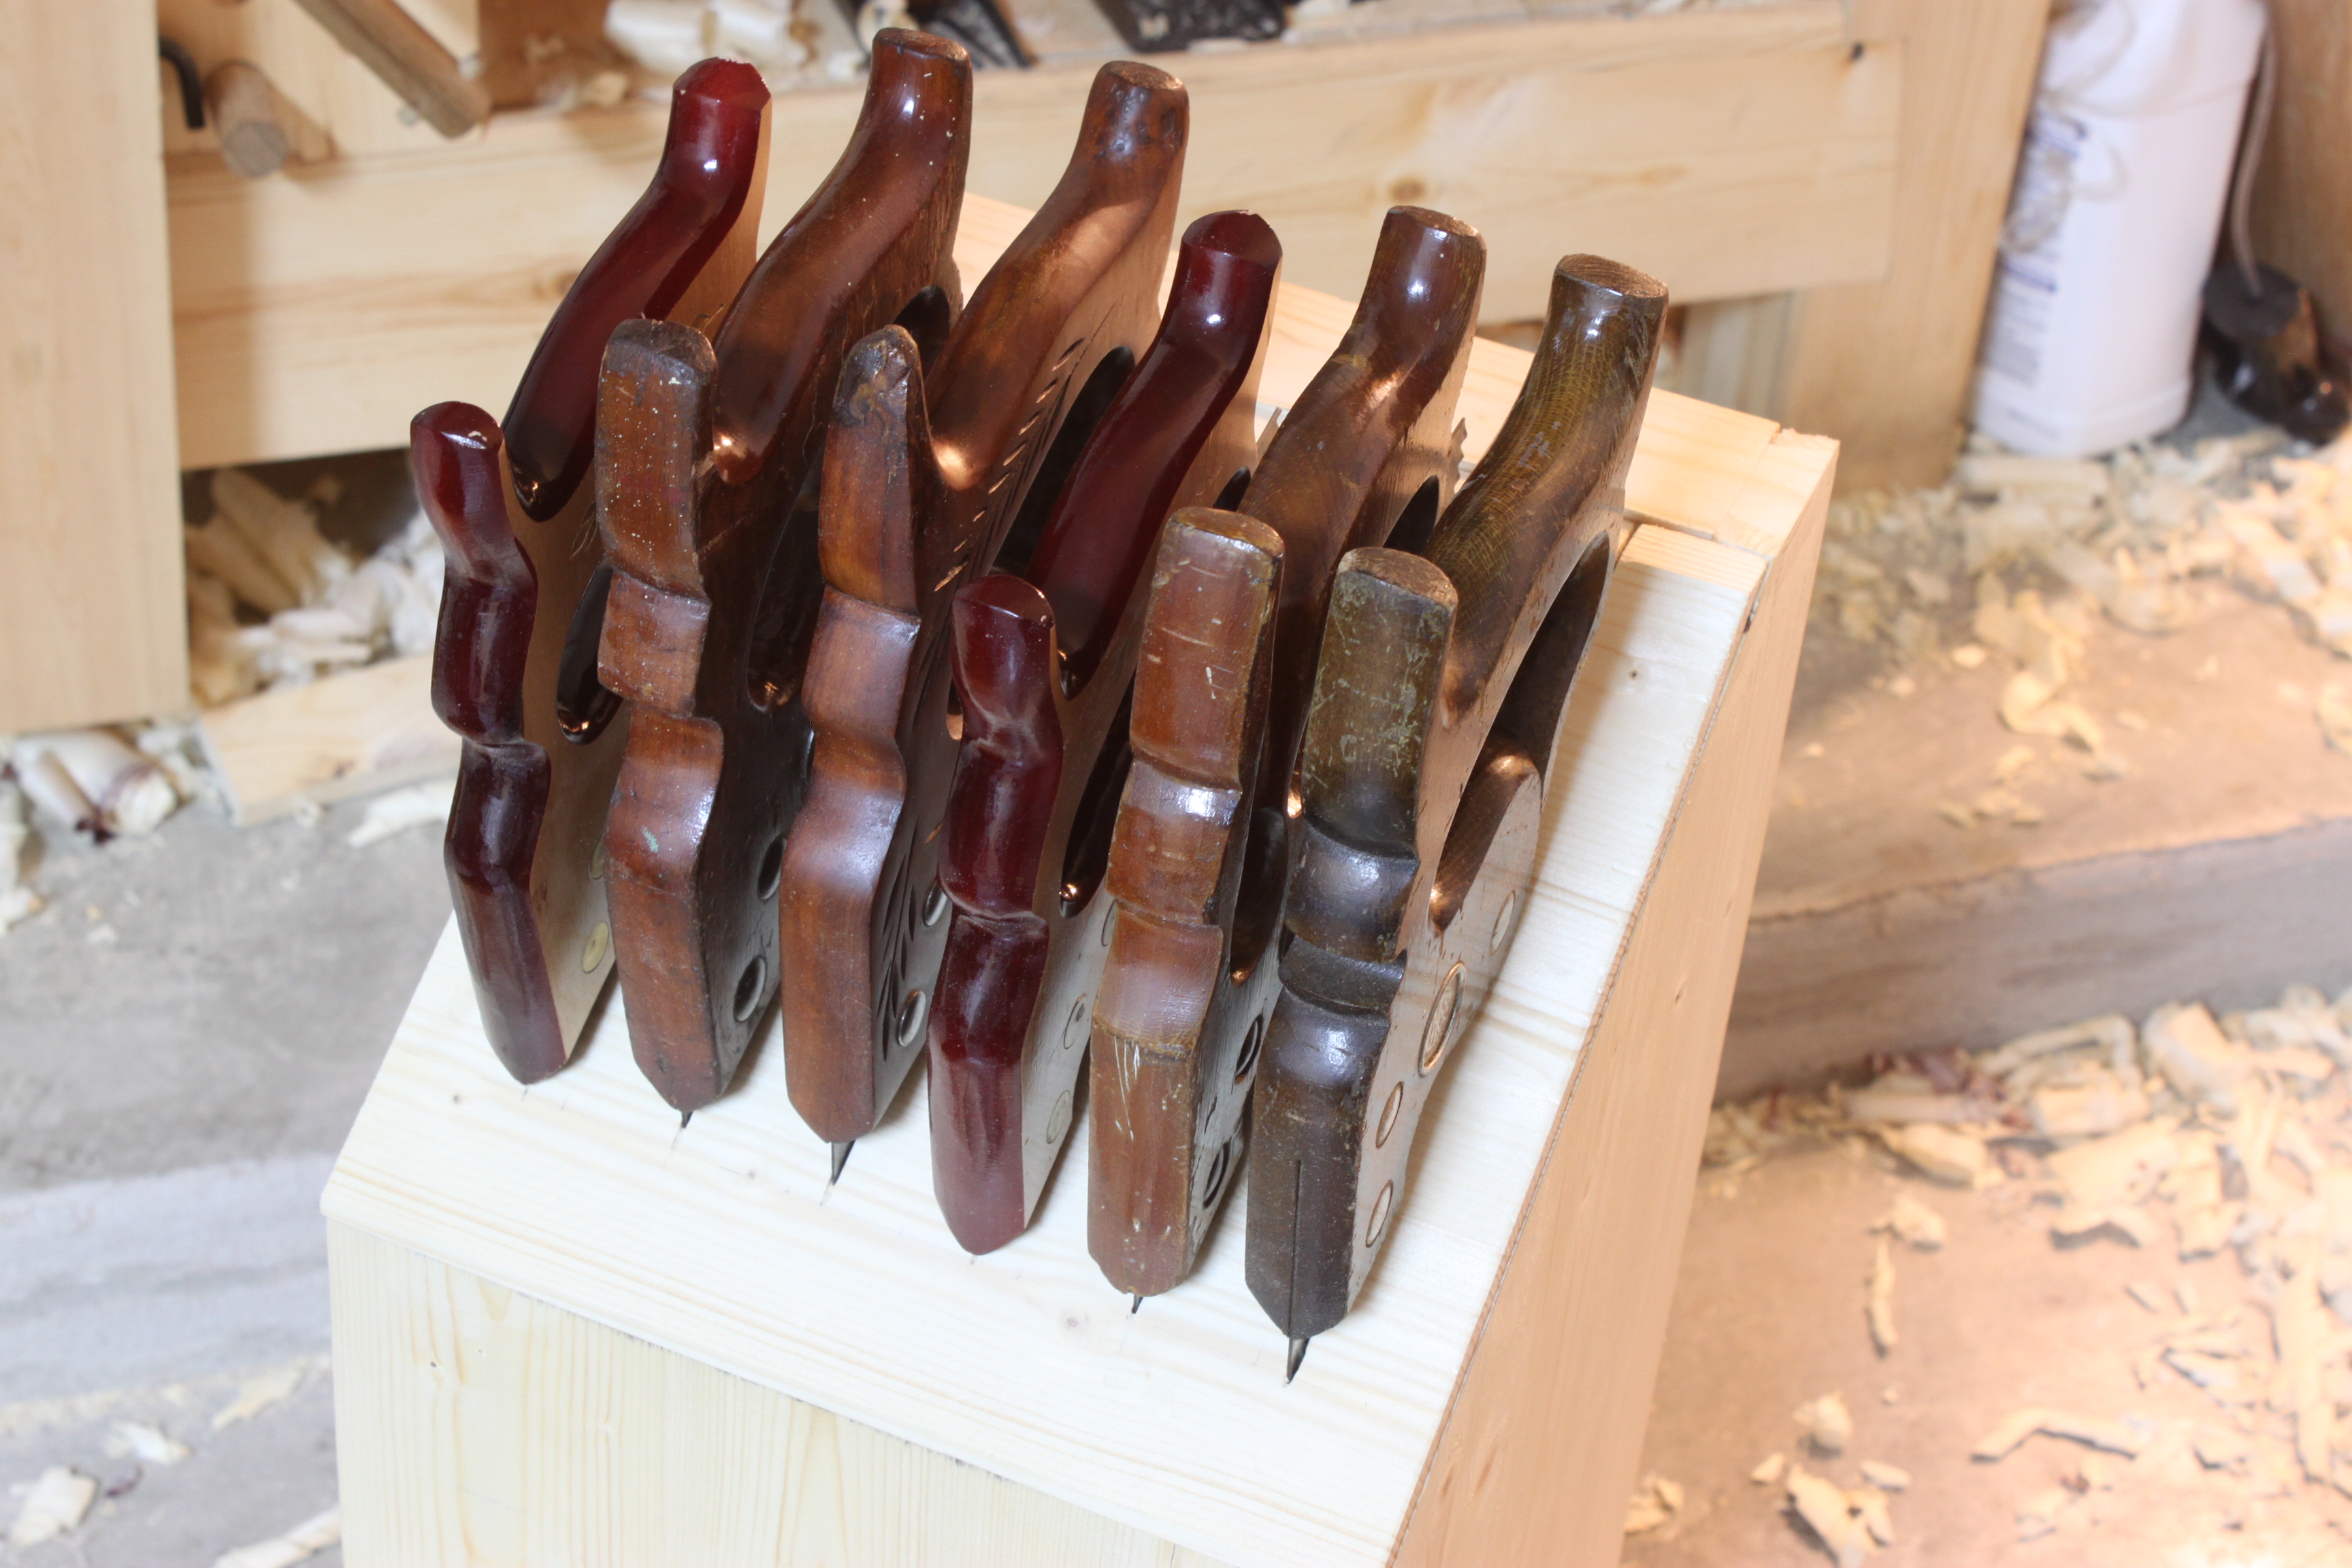 The last thing to do was glue the top on. To keep things evenly spaced I used pennies between each kerf.
 When it was all said and done my saws seem comfortable in their new home.
 Before you ask, yes a couple plates are a little bent but I wanted to try my hand at straightening them (at some point). Like most of my shop gear, she may not be pretty but she gets the job done!

Nice! What a good idea.
I like the design and it turned out great. Funny you mentioned the 35 degree angle because I’ve been working on a toolchest design and of all the angles I drew up and tested the 35 degree-40 degree seemed to be just right, not too steep, not too shallow. The Hand Tool School has a saw till as one of the projects that I am looking forward to making.
Will you finish the till? I’m becoming a big fan of linseed oil for just about everything, and it seems to work great on shop projects.
Bill
I am also considering making the same chest but that’s a few projects away still. I do like the more common saw tills like the one from HTS but material restraints changes my design. As of now I don’t plan to finish it but if I did I would use a ploy/BLO/mineral spirits mix that I threw together for shop projects. I have intentions of making the more traditional design down the road and using better materials and actually finishing it but this project’s focus was to store my saws in a better way than I was.
While I have a saw til in my sawbench chest http://jmawworks.blogspot.com/2013/06/three-birds-with-one-stone.html I really like this design, and even though I recall the PWW post you built this from it had escaped my notice. I don’t have a saw problem, but my dad does and they are everywhere, I think I might knock something like this together for him, so I can sleep easier knowing those saws have a cozy home.
I don’t quite think I have a saw problem but I’ve been banned from buying more by the wife so maybe I do. I really want to try my hand at straightening two of the plates and buying a saw vise so I can properly resharpen them. I first tried my hand at sharpening back in Pensacola using so scrap plywood and clamps; effective but inefficient. Best of luck on the one for your dad.