A Treat in the Mail

Well FedEx really but “in the mail” sounds better than “delivered by FedEx”. Now that I’ve needlessly got that out of the way…

Today during lunch I was in the shop and the FedEx guy stopped by. I’ve been anticipating this package since February 15th when I first contacted Matt. When I unwrapped the Kraft paper I was pleasantly surprised in the box my contents where shipped in.

IMG_0190

Where (or when) the heck does anyone get a VCR box anymore??? Of course it wasn’t an actual VCR so let’s move inside.

IMG_0191

Any guesses?? No? Okay, let dig a little deeper…

IMG_0192

That’s right, today my starter set plus a set of side rounds arrived!! Five months to the date of me sending him an email, Matt had these planes in my hands. If you’re not sure which Matt I’m referring to the please take note of the following:

IMG_0194

Matt Bickford makes the most beautiful moulding planes I’ve put my hands on. Years ago when I first came across his work I knew then and there that I would own a set some day. Well ladies and gents, today is that day. I didn’t get everything unpacked and setup before heading back to work so no other pictures are available at this time.

My main reason for purchase is to expand my picture framing profiles without limitation of a router and bits, which I haven’t owned for quite a few years. If you’re interested in getting into moulding planes than I would suggest his book Mouldings in Practice. Even without having your hands on a set it’s a good read with lots of great info. Looking forward to getting these set up and cutting!

The Split-Top Roubo Update + SketchUp File

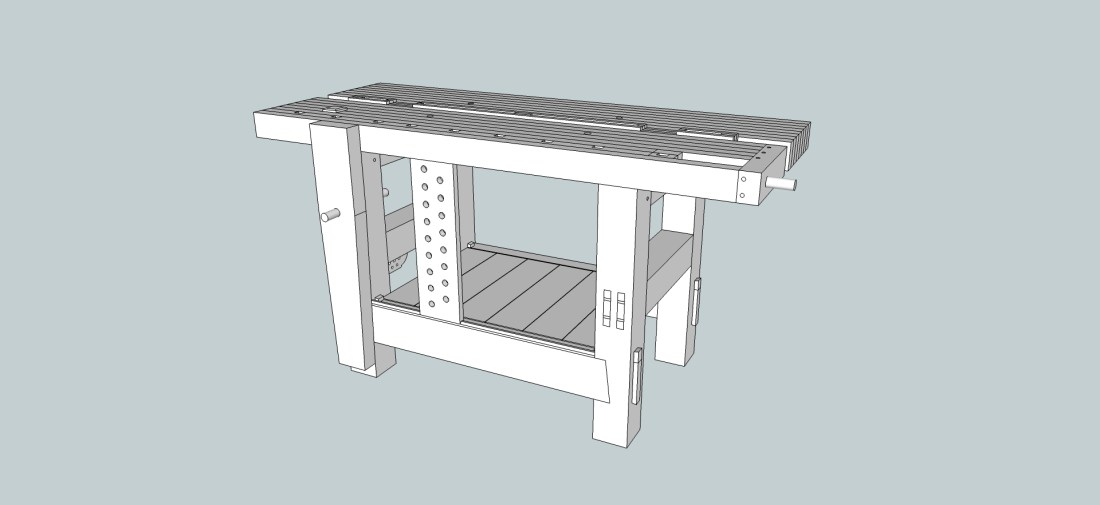
It’s been almost four years since I’ve completed my workbench and I thought it was about time to take a look back and see how things have held up. Since then one of the questions I’ve been asked a few has to do with the SketchUp model I created/modified from the FineWoodworking download. I used their file as a starting point for angles in the joinery but otherwise I created the file from the ground up and I don’t feel like I’m violating any particular copyright issues so here is a link for my file. Please let me know if there are any issues with the link.

Split Top Roubo

This post isn’t really going to be heavy in detail but I wanted to cover a few things and answer a few questions from comments I’ve failed to answer (probably because it’s been two years since my last post). First things first, I abuse my bench. It was never meant to stay pretty which is why it was built from construction grade lumber.

Split Top Roubo Update 01

Before I move on I should mention that I am now in Yuma, AZ and the bench was built in Jacksonville, NC which has caused a good amount wood movement due to the drastic change in climate. Overall the bench has been solid over the past 3+ years. I was specifically asked about how the wedged tenons have held up so here they are.

Split Top Roubo Update 02

I think I may have flushed them up once while still in NC but don’t quote me on that. One of the good things about the dovetailed tenon stretcher or whatever they called it was the wedge that provided the ability to not only easily break down the bench but tighten things up due to moisture loss/gain.

Split Top Roubo Update 03

Yeah, they’re seated pretty deep right now but holding firmly. I’ve had a couple of changes to the bench over the years. First, the sliding deadman broke so I removed all traces of it to include the bottom guide (no direct photo). I also stopped using pins (an allen key) in the leg vise. Currently I just use a boards close the same thickness of whatever is in the vise and clamp down.

Split Top Roubo Update 04

I also removed the tail vise.

Split Top Roubo Update 06

You can see on the left side I drilled the lag bolts way to close to the edge and basically it was starting to fail. Right now I’m just using the planing stop when milling my boards. If/when I build my next bench I’m not 100% sure I would add it again.

As I mentioned above this bench has had a good amount of movement and it is definitely noticeable on the the benchtop.

Split Top Roubo Update 05

This use to be nice and flush but oh well. I’ve flatted the side with the planing stop just once over the years but it can use another go. Honestly I want to just build another bench and re-purpose this one somewhere else in the shop.

My biggest gripe with this bench is the weight. It doesn’t weigh nearly enough and will occasionally move while planing tough woods. The fact that this bad boy has lasted almost four years and honestly is still going strong makes me happy. Still doesn’t change the fact that it may be time for a new one.

If there is anything in particular that you may want to know just leave a comment below.

Save

Save

Turning the Power Back On

Over the past couple of months we’ve had a lot going on. The biggest thing was the purchase of our first home back in March. I never gave the homeowner thing much thought prior to this. Being in the Marine Corps there was always base housing (except Pensacola, Navy base, horrible housing) and my wife and I were perfectly content with that. It wasn’t until my mom finally purchased her first house around the beginning of the year that I began to give it any thought. The wife and I decided that it was time to plant roots.

Long story short, I decided I wanted to be a homeowner by the time I was 30 (this shortly after my 28th b-day). Less than a month later we were closing on our house. We purchased a house in a new development and the selling point on this particular home was it had a three car garage. Even better was that the single garage was separated by a wall and it is furthest away from the entry to the house. I finally had my own four walls without taking space for the cars. So over the past couple of months I’ve been getting things back in order and set up functionally.

During this whole transition I also decided that I wanted to get a couple of power tools. Yes, this is after after selling off everything I had prior to my move from Pensacola to here but there were multiple factors in that decision. After spending the past two years learning a lot about the use of hand tools and what not I felt now was a good time to bring some power back into the shop. After lots of research I opted for the Laguna Fusion. The nearest woodworking store is about 3 hours away and I wasn’t going to make that drive so I did a blind purchase. I ordered it June 30th through Rockler as the saw was 10% off with $49 shipping. It took a full two weeks to get here on the east coast and arrived yesterday.

As you may imagine I was anxious to get home once the wife let me know it was delivered. After unpacking and cleaning I set to attaching the wings. I could not for the life of me get the wings flush with the top. I hate to admit it but it took me about 30-45 minutes to finally decide to look elsewhere to see if there was another issue causing the problem with setting the wings. I could get the front and rear to line up flush but that was it. I was using my large square as my straightedge and ran it over to table top. Yup, a bow. It runs down the length of the saw and peaks about 4″ to the right of the left miter slot.

IMG_7116I wanted to make sure it wasn’t just me or even the square so I laid it down the length of the left wing and it was perfectly flat.

IMG_7115 Another angle of the saw.

IMG_7108Here I am trying to get the gap distance caused by the saw.

IMG_7114 Up close you can see it’s probably close to 3/32″.

IMG_7112As I mentioned earlier, I could only get the front a rear flush and even though in this picture the wings are not flush you can see there is no bow in that area.

IMG_7119During my research I only came across one review of someone mentioning something similar with their saw. Knowing there was nothing I could do at this point other than contact Laguna, I headed in for the night. This morning I did contact Laguna via email with all the details and within an hour of their opening business hours I received a call from their rep, Brian. He was more than helpful and gave me two options. New top or new saw. I asked what would be quickest and he said their tops are backlogged and I wouldn’t get one until late July, early August so he said they’d send a new saw out. He said I could either swap the top or swap the whole saw out. All they requested was pictures of the issue (which are the same pictures in this post) and that’s pretty much it. I’ve even already received a copy of the sales order for them to ship the new saw.

So although this is not an actual review of the saw, I would say it is a review of their customer service. Every company has things get by their quality control and I don’t blame them. What matters to me at this point is the fact they are more than willing to correct the situation. As long as there are no other issues with the next saw I’ll continue to be one happy camper. I’ve gone the past two years without a table saw, I guess another week or two of waiting won’t matter too much.

Save

The Sawyer’s Bench

A couple of months ago I was using my saw bench as a step stool when it collapsed under me. It didn’t surprise me as it was getting rickety due to the fact that it was only secured with dowels. Looking back on my post when finishing the bench I can’t say why I didn’t at least glue the joints if I wasn’t going to use screws to fasten everything together. Live and learn, right? So in the meantime I’ve resorted to using my bench for most crosscutting operations. IMG_6827But when it comes to larger pieces I have to improvise a little bit and use whatever is in the shop at the time. IMG_6822All ripping as of late has just been at the bench using the leg vise. IMG_6835I was in definite need of a new saw bench. As I was getting ready to build one from Popular Woodworking’s website I happened to be browsing the interwebs and ended up on the Taunton Store. Somehow this reminded of Tom Fidgen’s new book The Unplugged Woodshop so I looked it up. Just my luck that there was a free preview at the bottom of the webpage and it happened to be the Sawyer’s Bench.
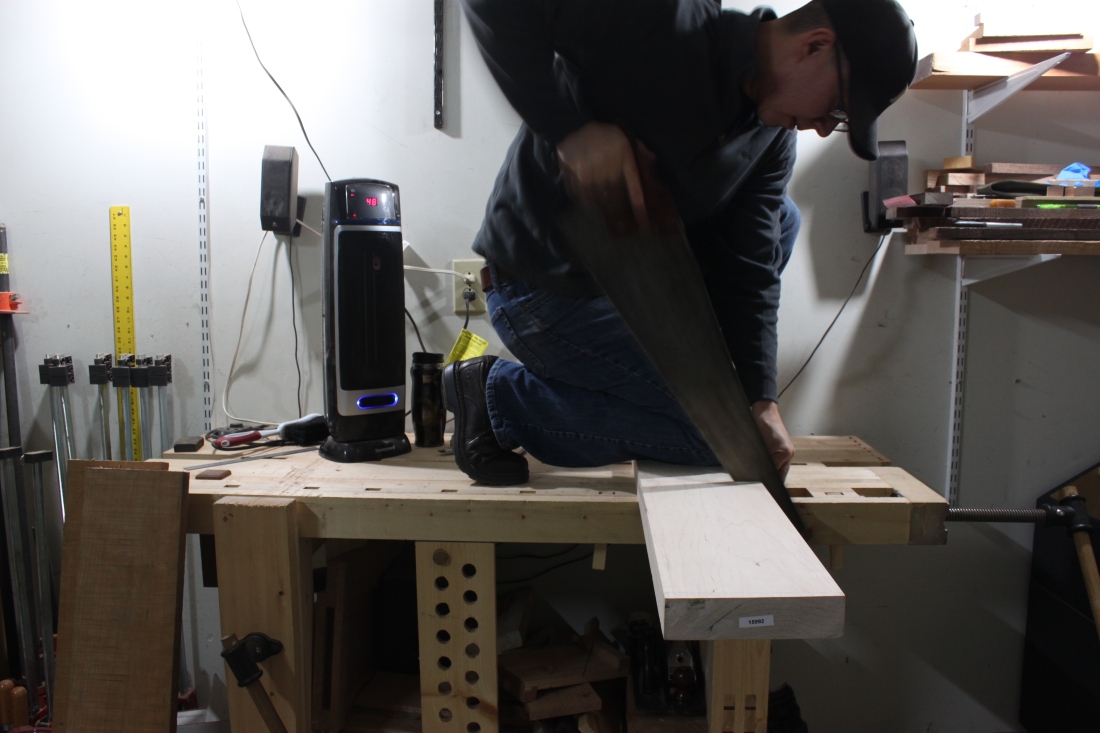
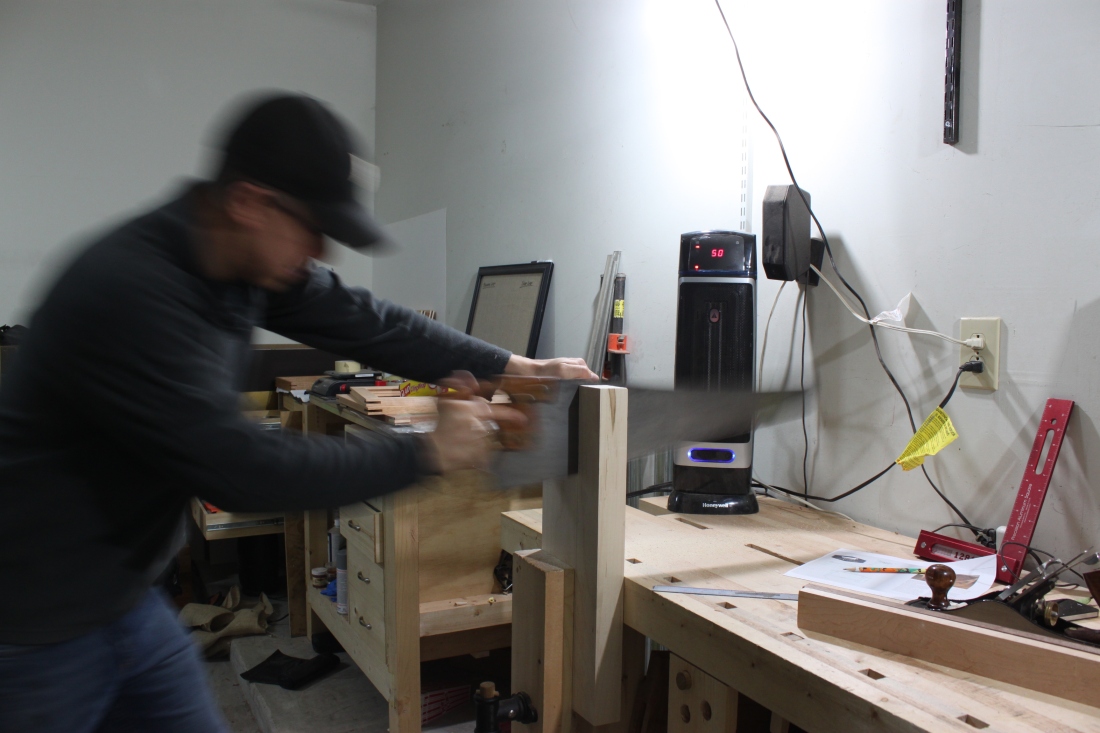
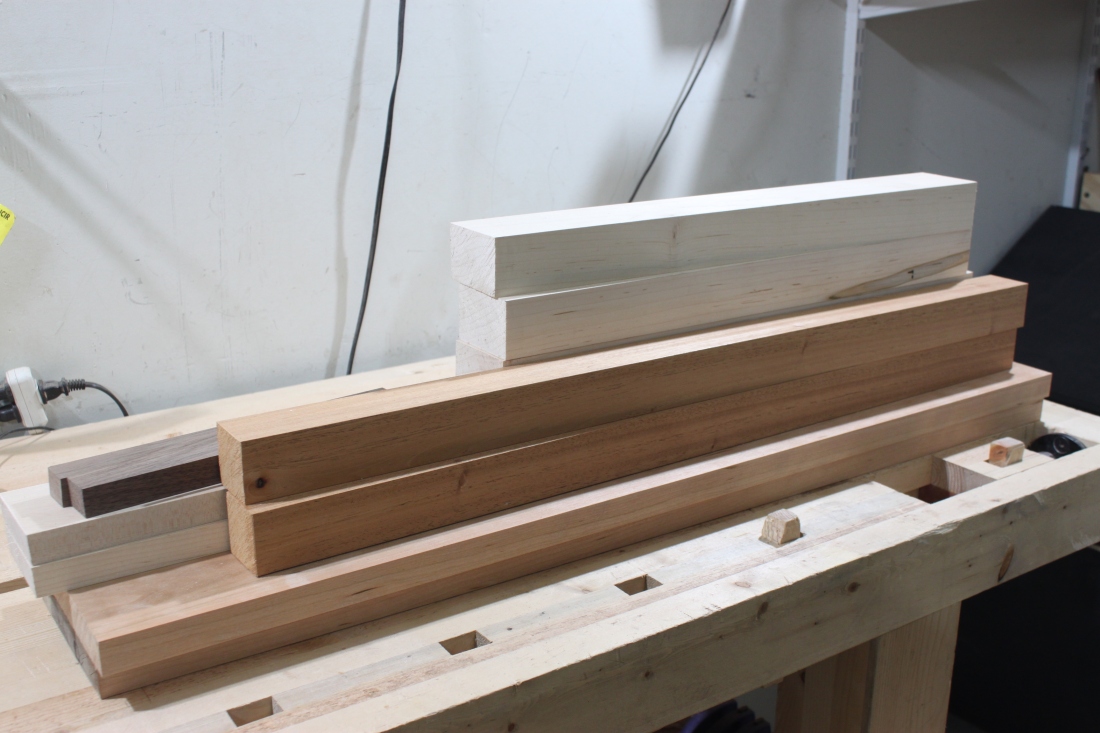
Looking over the dimensions I headed out to the shop to see if I could make this without buying any new lumber. I had a 4/4 cherry board that would serve as the two tops, an 8/4 maple board for the legs, an 8/4 mahogany board for the stretchers and some misc 4/4 walnut and maple for the aprons and cleats. I really didn’t want to use the mahogany for the stretchers but my inclination to not use any laminated boards was stronger so I dealt with it.

It took me about a full Saturday to get all the boards milled.
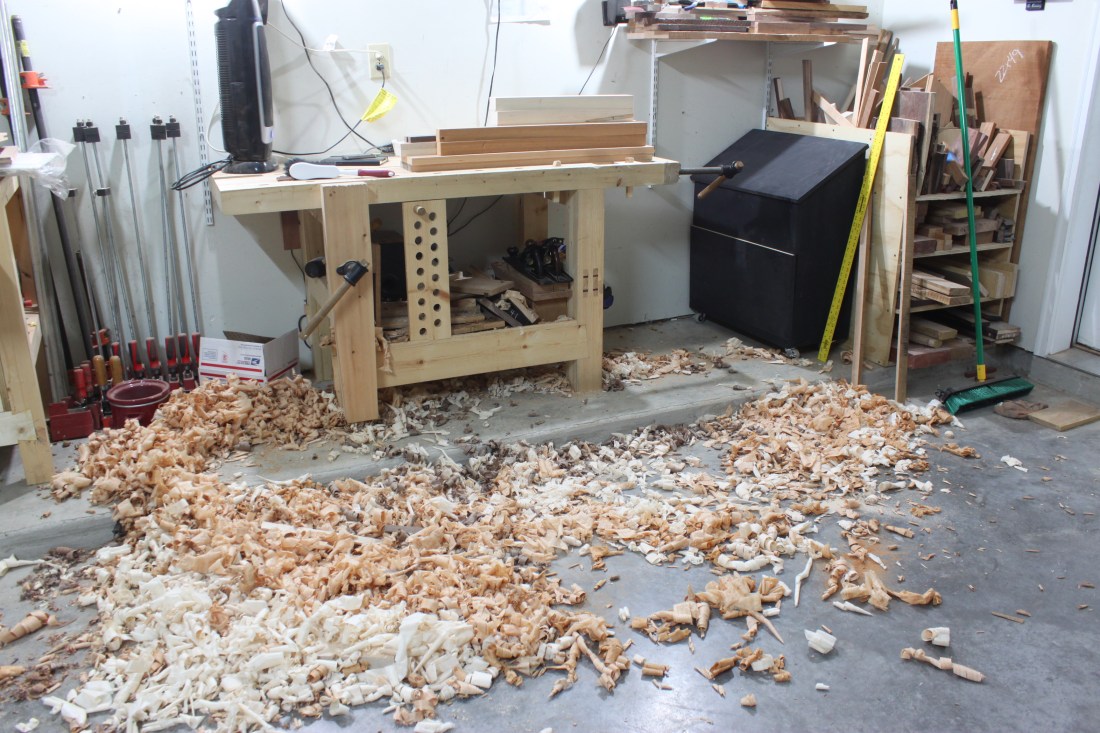
IMG_6836

IMG_6837The joinery was pretty straight forward as it was mostly lap joints. I almost made a huge mistake while laying out the splaying side of the bench when I marked the 10° angle in the wrong direction. Luckily I was able to catch it before I made my cuts.
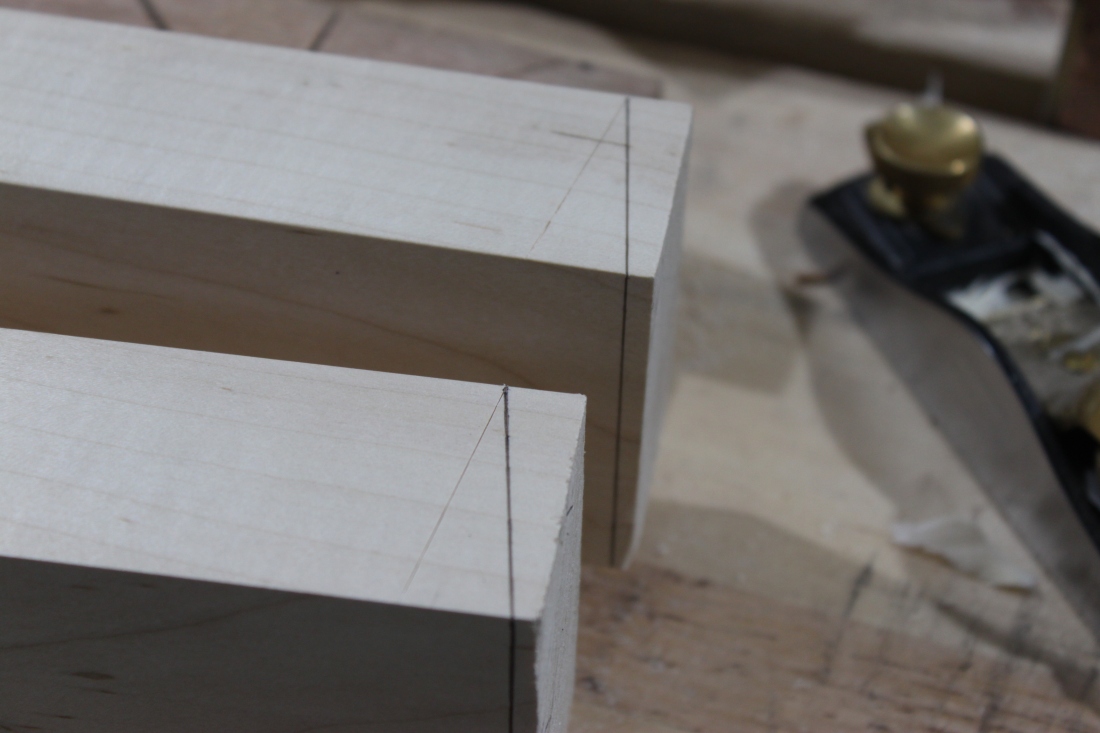
IMG_6845For this reason I laid out all my lower joints before I made any cuts just to be safe.

IMG_6846My first glue up was the stretchers and legs. I used Titebone III and making sure everything was square I let it set for a night. The next day it was time to layout the joints in the bench tops. To do this I lay the leg and stretcher assemblies flush with the opposing edge of where the lap joints needed to be an just marked the edges of where each leg lay.

IMG_6849After those joints were cut I did a dry fit to see how everything was holding up.
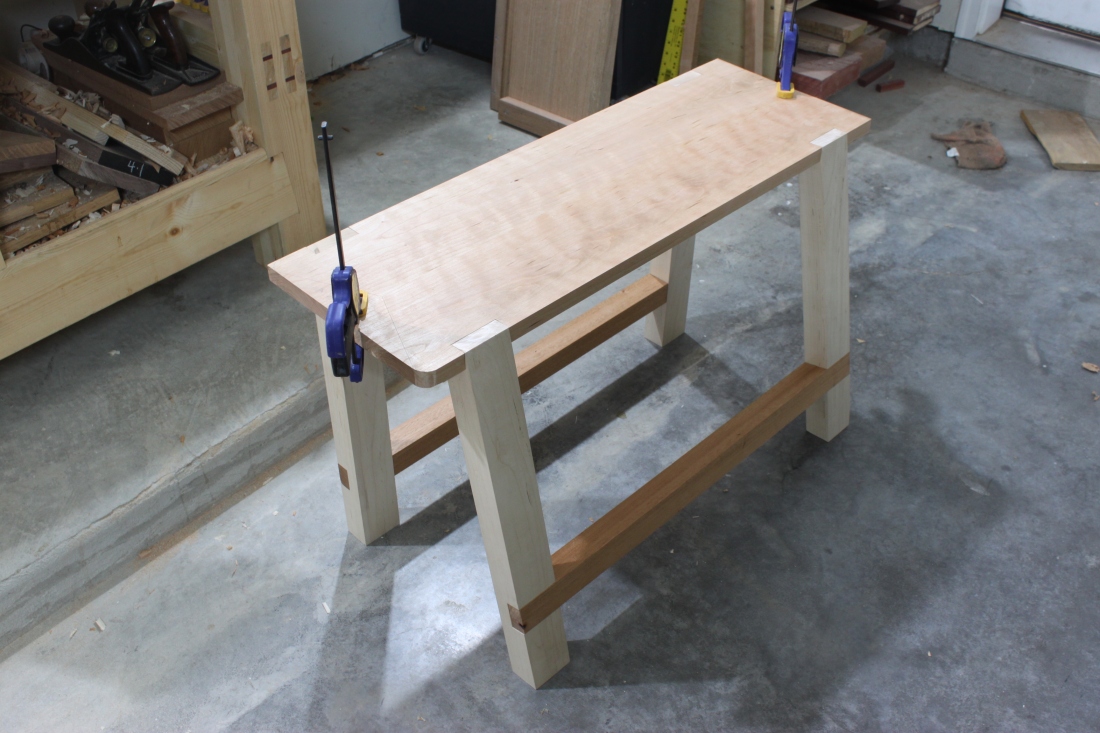
IMG_6850The last bit was getting the apron cut to size as well as the cleats. I did this before gluing the tops to the legs so I could use the aprons as a reference to make sure everything was sitting properly. The first step was getting the legs square on the 90° side of the bench and lining up the apron flush with the outside and marking the inside.
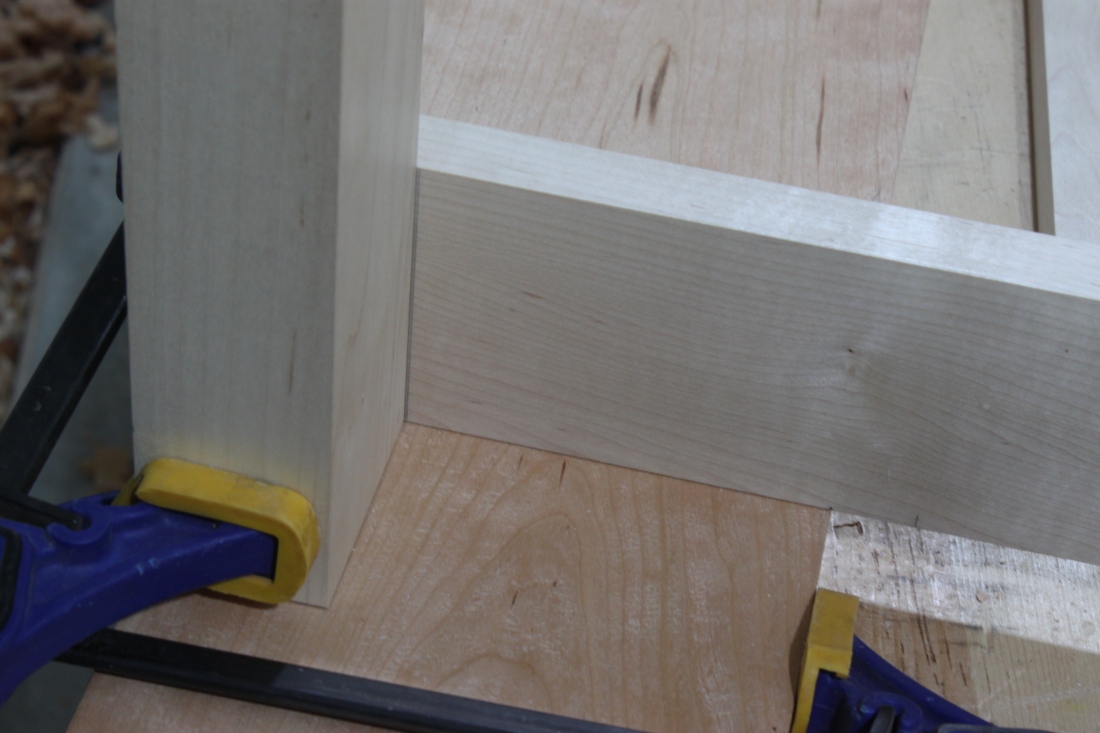
IMG_6855The gap between the tops is supposed to be 7/8″ with each top being 6″ wide but due to human error mine ended up at 5-29/32″. I had a ruler that was 13/16″ wide so I use this as my gap to mark away from the edge of the top as you may see above as well.

Next I lined up the other top with the outside marked line and clamped everything in place. Once I was able to determine where the leg on the splayed side began and ended I made my marks and used a protractor to set the proper angles.
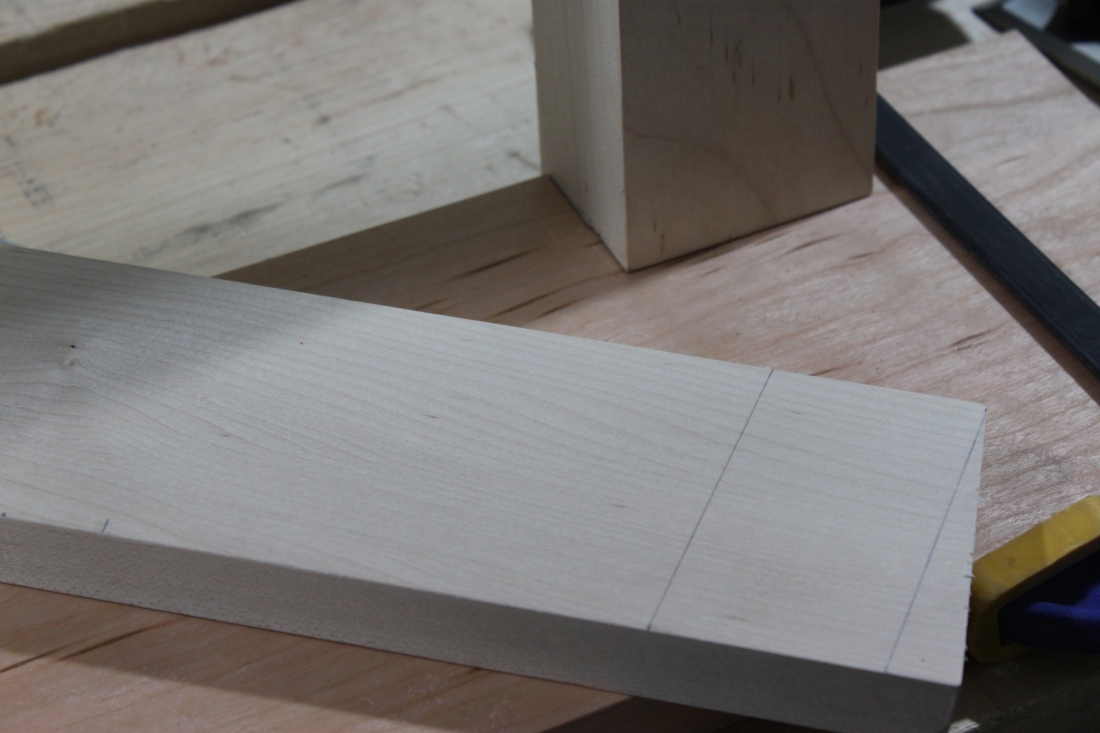
IMG_6857I used the marks to get the dimensions of the cleats as well. With everything ready to go it was time for the final glue up.
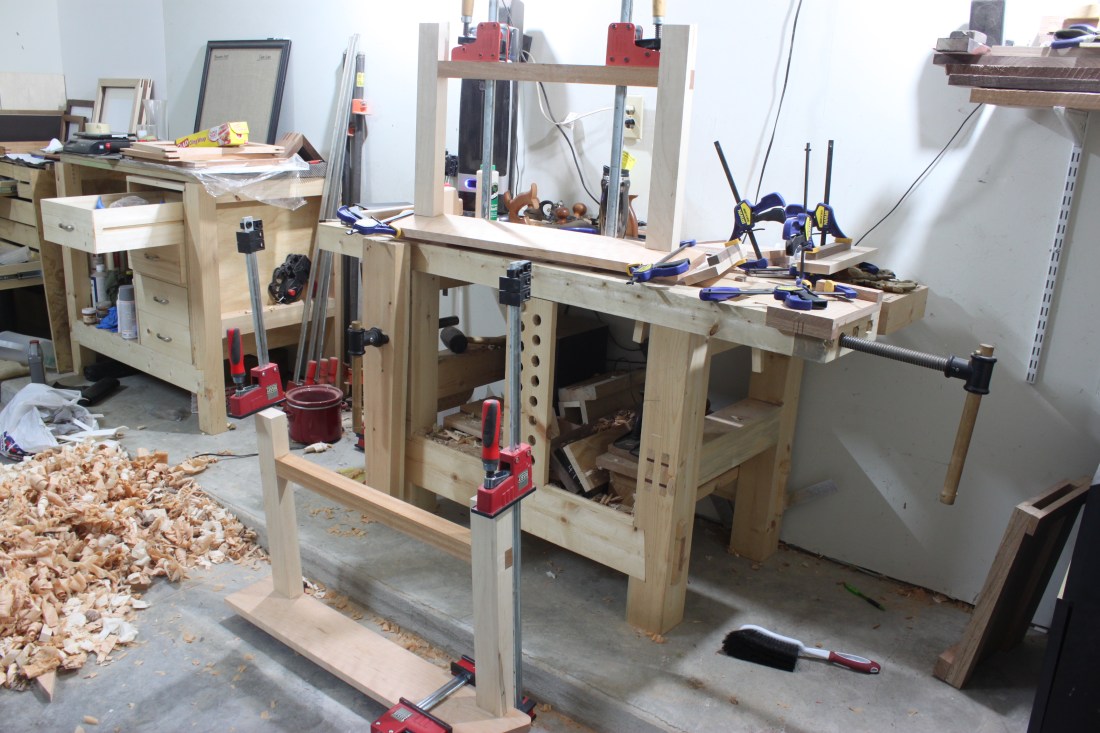
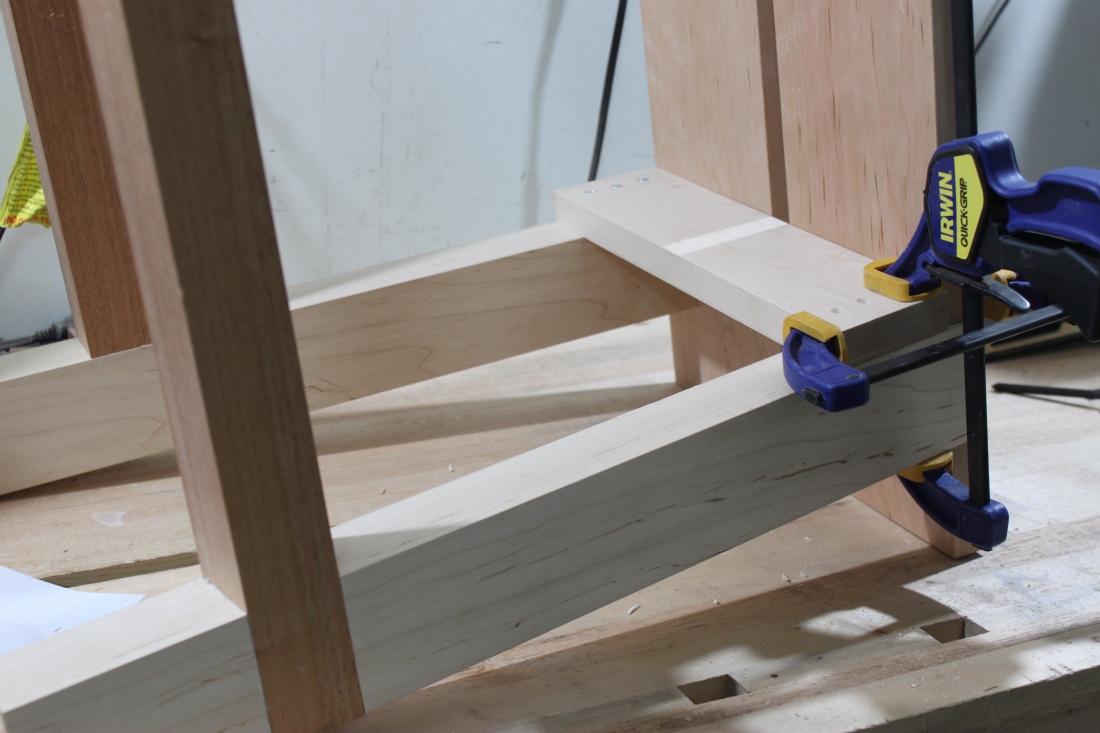
IMG_6859 A bit messy but it did the job. The last thing I needed to do was get the two pieces attached. Following the plans I decided to screw the aprons rather than glue. This was much more of a PITA than I anticipated.
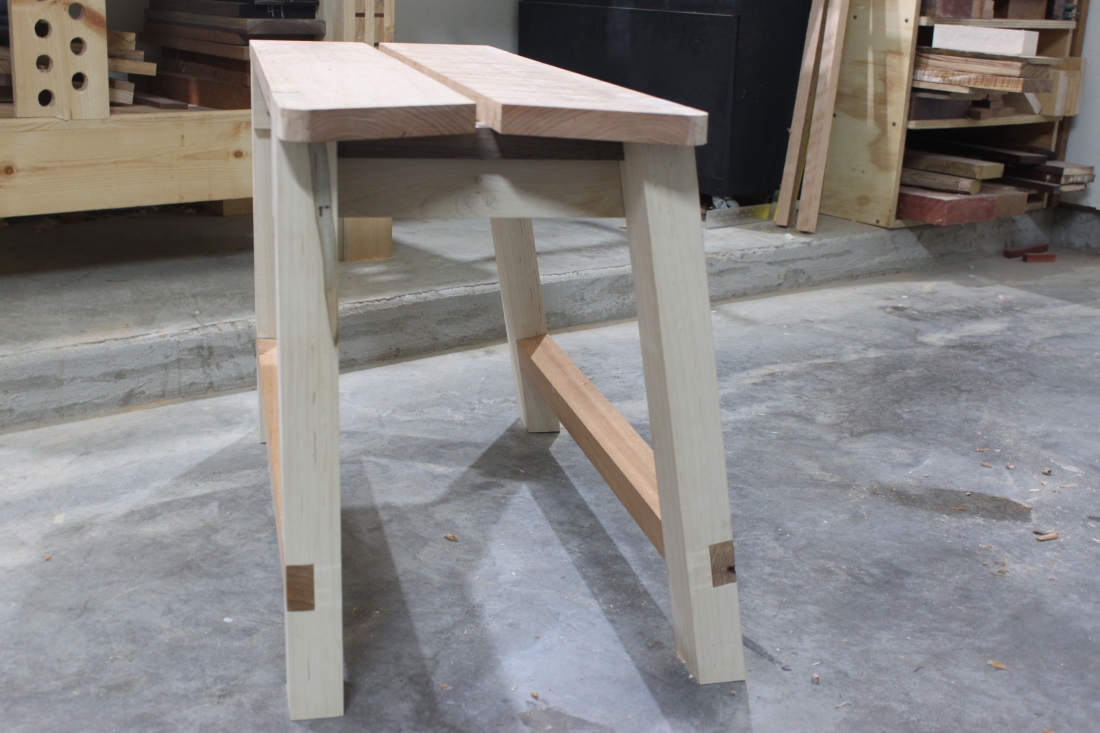
IMG_6860After everything was said and done I now have an awesome saw bench!
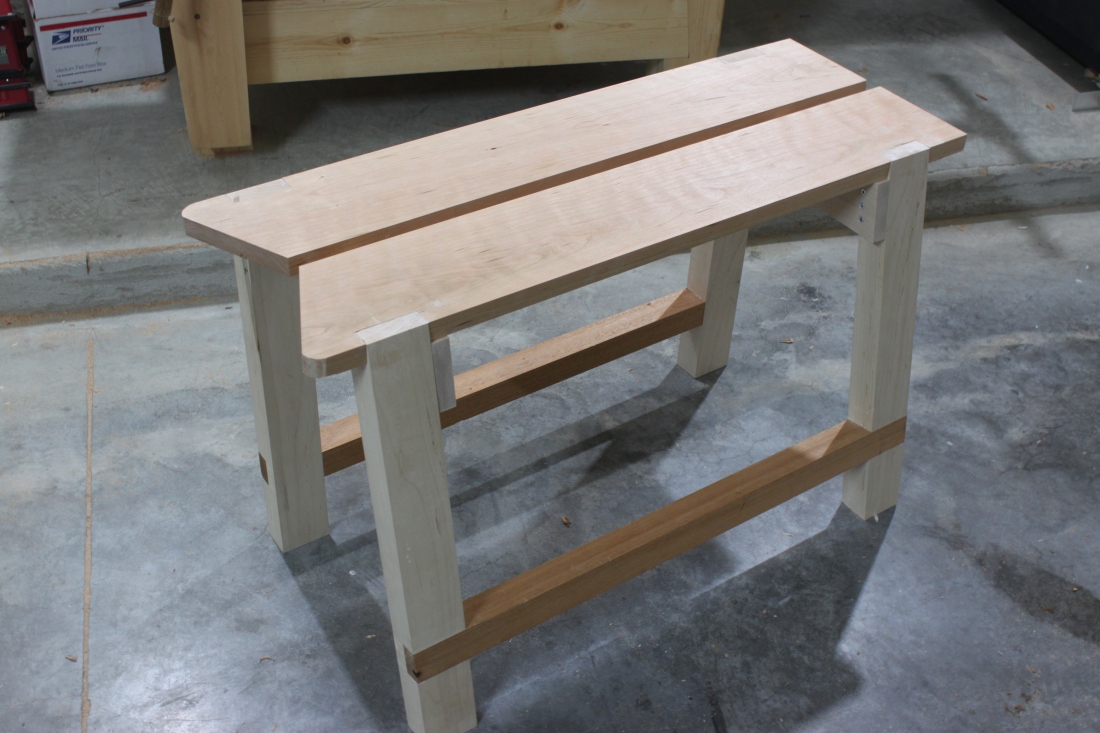
IMG_6862IMG_6864

The only things I deviated from at this time are pegging the joints (which I may do at a later time), adding the crosscutting fence, and making any holes for any holdfasts or other items as he did. With my last saw bench I never saw the need for them so I figured that if I hadn’t needed them then than I could do without them for now. That could change later but for now I like it just the way it is.

During this build I also decided to purchase The Unplugged Woodshop ebook. I already own the Made By Hand ebook as well and cannot speak more highly of either. I do have to say that the projects in his second book are worth the price alone and if you are on the fence you need to just purchase it and I’m sure you will not be disappointed.

This is the first project I’ve built from either book but my next will either be the Cabinetmaker’s Tool Chest or the Funeral Chair (each is just a awesome). Non book projects I would like to tackle is his Dedicated Sharpening Bench. This would definitely help with certain sharpening issues I may be having as of late.

That’s all for now. Thanks for stopping by.

Restoring a Stanley No. 150 – Pt 2

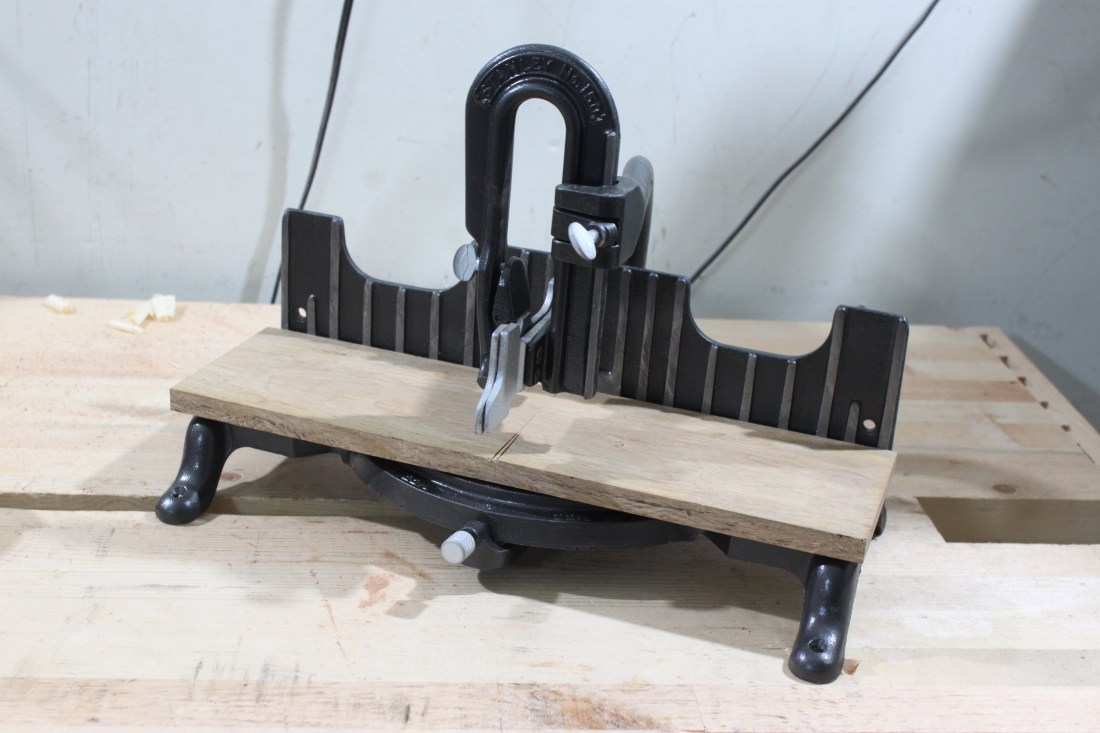
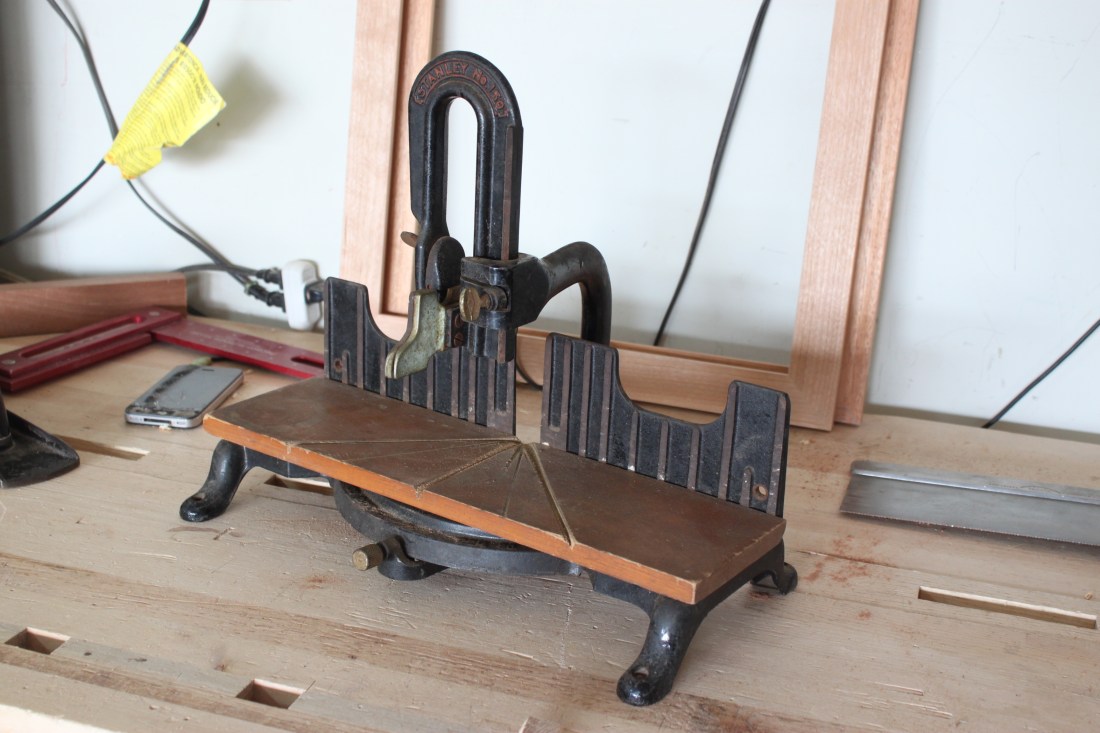
While not 100% finished I was able to get everything painted and put back together. IMG_6813And in case you haven’t seen the previous post or forgot, here is what I started with.

IMG_6791Not sure if I’m gonna paint the “Stanley No. 150″ on the top of the arm. I really like the way it looks just solid black (well more charcoal grey). The thumb screws and clamps were primed and painted with a metallic paint. Looking at it I think a chrome type paint would have looked better but maybe next time.

The last bit is to make a bench appliance to fasten this to so I can set it in the leg vise while using so I limit movement. It’s been adjusted square and plumb and after a few passes on the shooting boards, everything comes out perfect.

I enjoyed this so much that I have another No. 150 ready to go. I also have my eye on a 26″ miter saw that I hope to get because my 14” Disston saw just doesn’t cut it… I’ll leave that one alone.


Restoring a Stanley No. 150 – Pt 1

Over the past couple of weeks I’ve gotten the itch to purchase a miter box. I do have a shop made one but I’m not happy with it. Yes, I could make another one and take more time in the construction of it but I really don’t want to. So while the weather has been crappy lately (winter storm Leon), I spent a good amount of time on eBay searching for a model that caught my attention. There were some decent deals I came across; some with saws, some without but nothing really caught my attention.

I came across a Miller Falls Acme Langdon miter box without a saw. The price was decent and looked in fair shape so I began looking for a saw to go with. There was nothing that really stood out to me in the vintage market at the time so I headed over to Bad Axe Tool Works to check out Mark’s 20” Miter Saw. It was on his page that I came across the Stanley No. 150. It immediately caught my eye. The size and look of it called my name. I read his take on the 150 compared to the larger boxes such as the Miller Falls I was currently looking at and made my mind that I would get the Stanley.
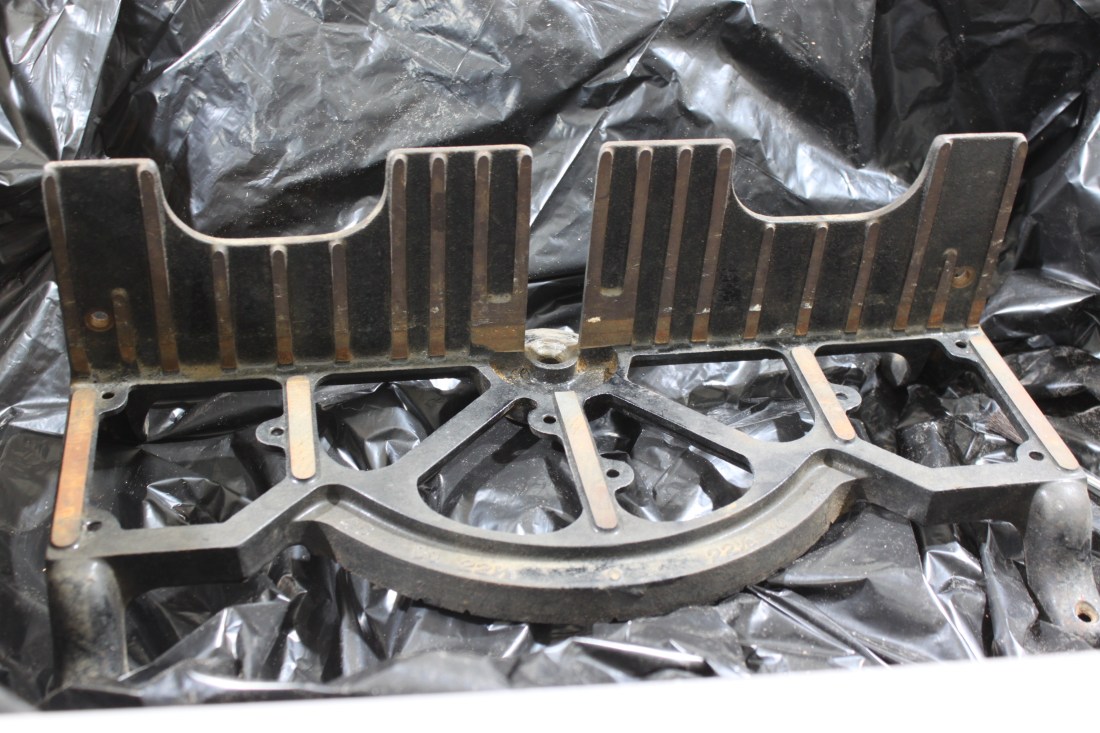
There was only one problem; none on eBay. I headed over to Jim Bode Tools; none. I didn’t give up though. After a couple of days I finally came across a fair looking No. 150 and placed my max bid. To my surprise I won the auction and about $10 under my max bid. Not even a week later I had the Stanley in my possession.

IMG_6791

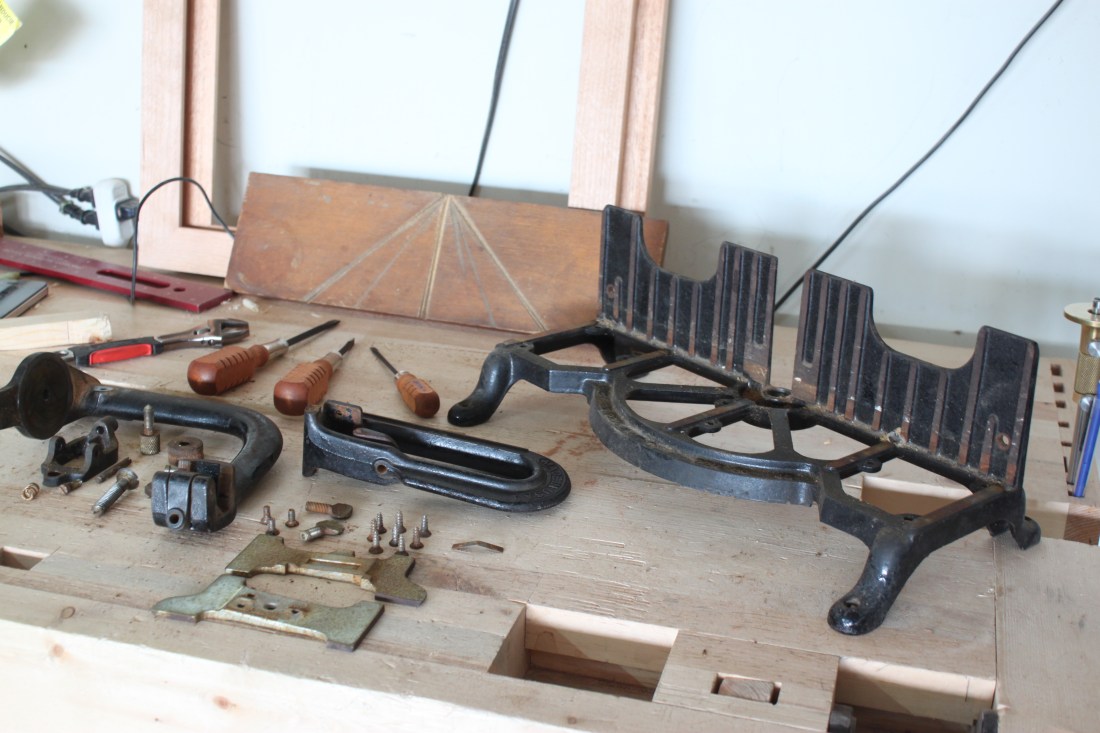
Upon my initial inspection everything was in working order. There was some surface rust but there seemed to be no pitting or chips at all. I began to disassemble it and it all came apart with ease.

IMG_6792

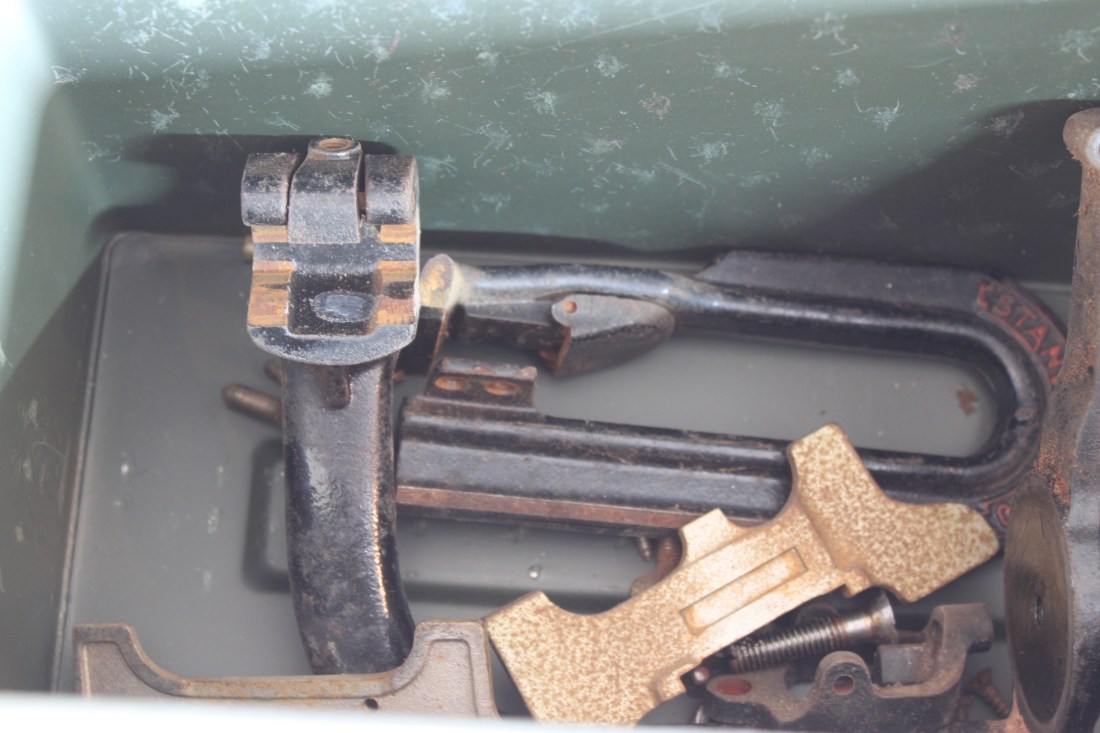
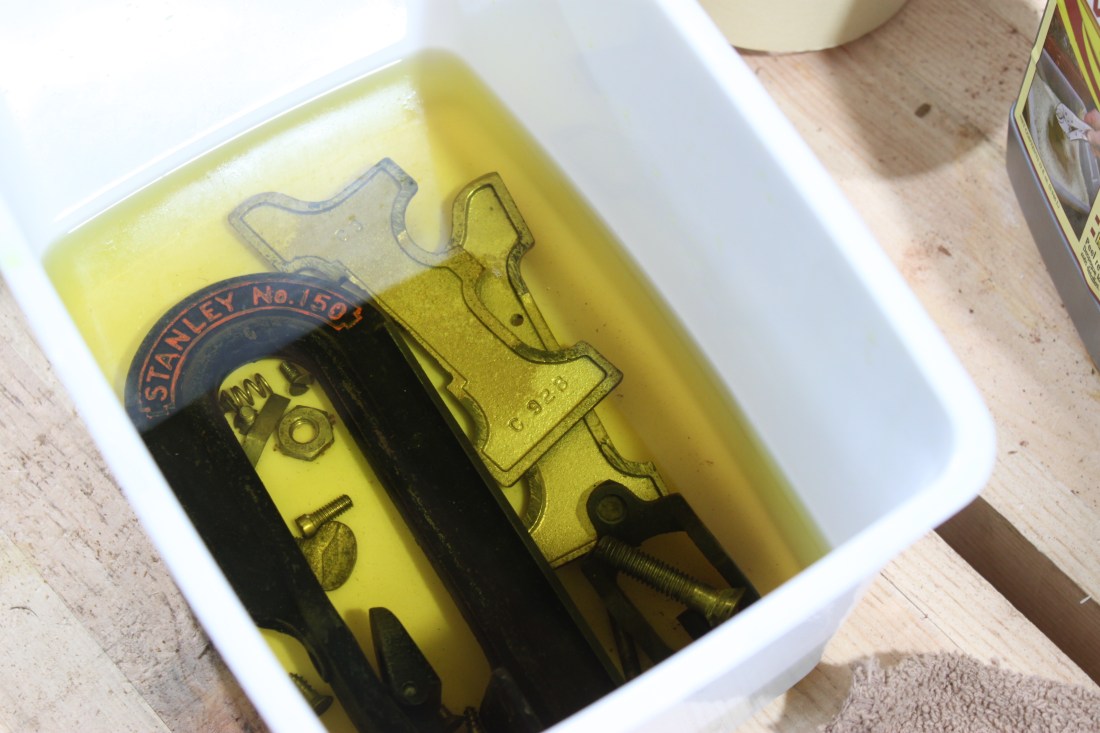
The first thing I wanted to do was take care of all the rust on the smaller components. The wife needed a new battery in the minivan so I headed over to Auto Zone and picked up some Evaporust while I was there. I initially put everything in an ammo can but transferred it all into a small container for easier submerging.

IMG_6796IMG_6797

I let everything soak about 36 hours only because I had put it in the night before I had a 24 hour duty. I was finally able to get to it after I crashed a few hours when I got home and I was pleased with the results. After a wipe down and letting them dry a bit I put everything in a zip lock and set aside. Time to turn attention to the elsewhere.

IMG_6799

I decided to handle the larger cast iron parts of the miter box differently. I figured I head back to the auto store and try some naval jelly. Something I could wipe on, let sit, and hopefully wipe away the rust and grime. Maybe I didn’t prep it well enough but after the recommended 10 min, it wasn’t doing much. I didn’t want to give up just yet so I figured I’d wrap in in some plastic wrap and let sit over night.

IMG_6800I’m not lucky enough to own a sand blaster but I am lucky enough to have one at work. I brought it to work and took it out of the plastic wrap and give it a thorough wipe down. Results were not as good as I had hoped but they were a start.

IMG_0042However, some time in the sand blaster and I was finally seeing the results I wanted.

IMG_0043After I put all the parts I wanted through I prepped for paint. I know the manual states that they are treated with a special japan rust-resistant finish but I’m not trying to restore it to its original state; I just wanted a functional miter box that looked good. I decided to go with Rustoleum hammered black spray paint. Why? I just thought it would look better and it was a pretty good choice if you ask me.IMG_6810

IMG_6811This was only the first coat and you can see how the Evaporust cleaned the smaller fasteners as well. I left my paint at work but cleaned things up a little and prepped for the second coat. Tomorrow I will take it back in to work and add one, maybe two more coats.

Other than the paint I need to finish the thumb screws and get a new board to attach to the bottom. I’m hoping by Friday to have everything assembled and ready to use so stay tuned!


I Can’t be the Only One

A couple of nights ago I was out in the shop going about my normal business when a thought occurred to me. I’ve been working wood for the better part of four years now and I still suck at sharpening. Let me rephrase that; I made myself suck at sharpening.

IMG_6789

I know that it takes a sharp edge to make a cutting tool effectively work. I know this. Yet time and time again I will push my blades beyond dull and make myself work harder. Why? Because I don’t want to take apart my tool, lug it across the room and spend what little time I have in the shop doing something that frustrates me more than when someone says fustrates.

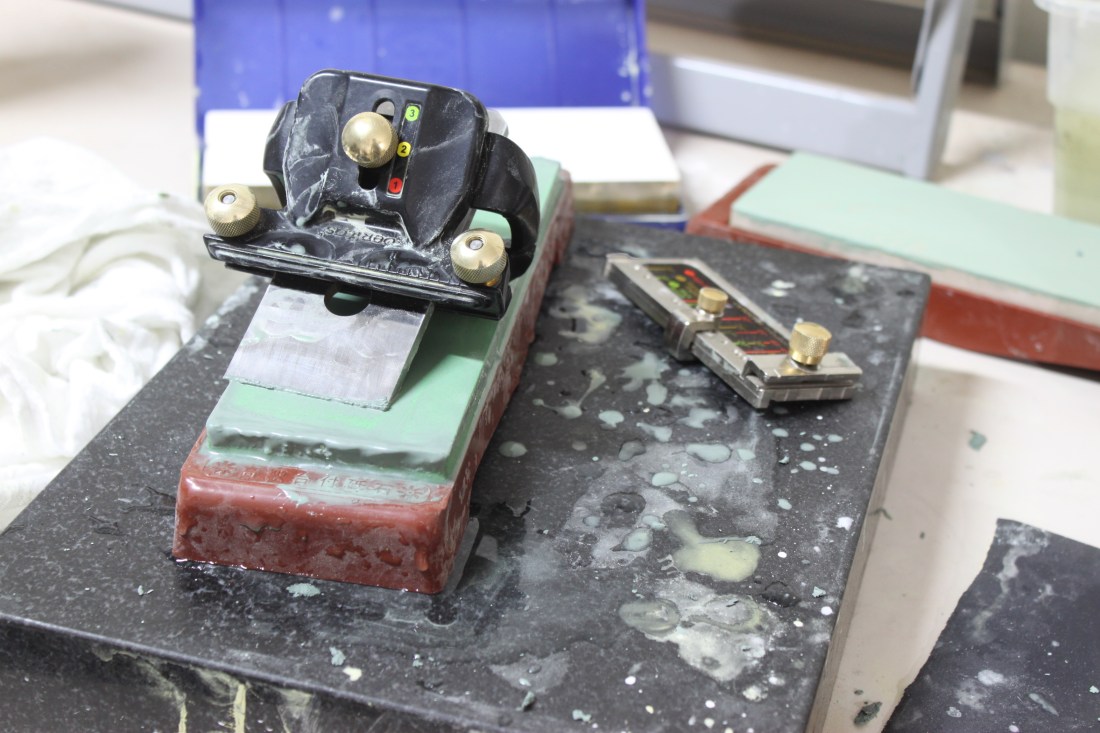
My evolution through sharpening started with the scary sharp method and progressed through water stones and then ceramic (sort of). I loved the scary sharp method but I felt like I was always buying sheets and wanted something a little more lasting. Since my highest grit was 2000 I opted for the 4000/8000 Norton water stone. Here is where I went wrong. I used my stone without making sure it was flat. Yes, rookie mistake but at the time I was (and still am but just a little bit less now) a rookie.

I let it soak, sharpen via scary sharp and took it to the stone. Meh… I felt the sandpaper did a better job. I didn’t toss it in the drawer for the next year and a half just yet but it’s fate was already sealed and I felt that $80 went down the drain.

Later in life I saw some ceramic stones on TFWW that were on clearance. I purchased the 220 and 400 grits so I could regrind the primary bevels on some blades. It was around this time that I brought back out my Norton for a second chance at life. I hadn’t reground any bevels yet but I did start using my Norton more often as I let my sandpaper supply run out. Still hadn’t done any maintenance to the stone yet either and was still getting sub par results. Go figure right?

It was about a month ago that I finally decided enough was enough. My blades seemed to be getting dull faster no matter how much time I spent sharping. I had to get a better set up but I didn’t want to spend any more money on equipment. I let the gears in my head turn and when I smelled smoke I knew what to do. I stuck a piece of 220 grit to my granite plate and took my stones to town. Yes, it would seem it was that easy. I went to what I thought was enough which was until it seemed I rubbed all the grit off but when I took a blade to it I saw there was still a hollow in the center. Curse you Perry the Platypus.

My great epiphany came the other night. I should use my 220 grit ceramic stone as a flattening stone! This time I made sure to flatten it before I took anything across the surface. After about a minute or two on the Norton, it would seem all was well. I took a blade across the stones and after a few dozen strokes… no burr? What the??

In my quest of laziness I created a hump on my blades from the hollow of the stone. Even though I thought I used my stone evenly, that was not the case. Remember my original purpose of the ceramic stones? Time to regrind some primary bevels! I want to keep the 220 for flattening so after making sure the 400 was good I took a few blades I noticed needing the attention and brought them back flat.

Lesson learned boys and girls. Sometimes it seems to be in our nature to make things more difficult on ourselves for no apparent reason. Sometimes it’s ignorance, sometimes refusal to listen to logic or even turning an eye to something that is staring you in the face. I don’t enjoy working harder that I have to but sometime it sure looks like I do. Surely I can’t be the only one though?

What Have You Been Up to in the Last 4 Months?

Me? Not too much. I’ve been around but not active here at all. No particular reason even though I have been staying busy working on a couple of projects since the tool chest but nothing big. Nothing to write about.

Even though I have this blog I’m not good at writing just to write. I don’t make new year resolutions and I know due to the timing this is going to sound like one but I really want to get on here more often. Not only to write about projects I’m working on but just to write.

So what has really happened here in the past four months? Well in a personal and career aspect I have job security for the next four years so that’s always a good thing. Back in September (around the time I last wrote) the Staff Sergeant selection board had adjourned and the promotion message was released. Low and behold I was number 968. The first couple of months of promotions were slow but I got to kick my new year off with a bang. January 1st was my promotion date but as it was a holiday I had to wait until the 3rd to pin on. warrantFirst new year project will be making a nice new frame and I’ll have plenty of time to do so in the next month since I’m pretty much taking all of January off from work. I do have a few other projects lined up as well including finally getting started on the “shadow chest” I designed while at WTI last year. I think I’m going to go more in the direction of fancy footlocker so I have to do a few mods to the design but I did buy about 25 bdft or so of poplar to a month or two ago to begin so what better time than now.


The Final Details

I can finally call this project complete!

painted dutch chestIt took just as long to add all the details as it did to build the entire chest. I did give it my own personal touch that I haven’t seen elsewhere yet.

open dutch chestThe front-fall kept getting in my way if I didn’t have it sitting on my bench. I had it leaning against the chest but kept knocking it over so I wanted to come up with a way to store it. Initially I thought of just attaching it to the back but as I was brainstorming I came up with an even better idea. Use that prime real estate for more tool holding.

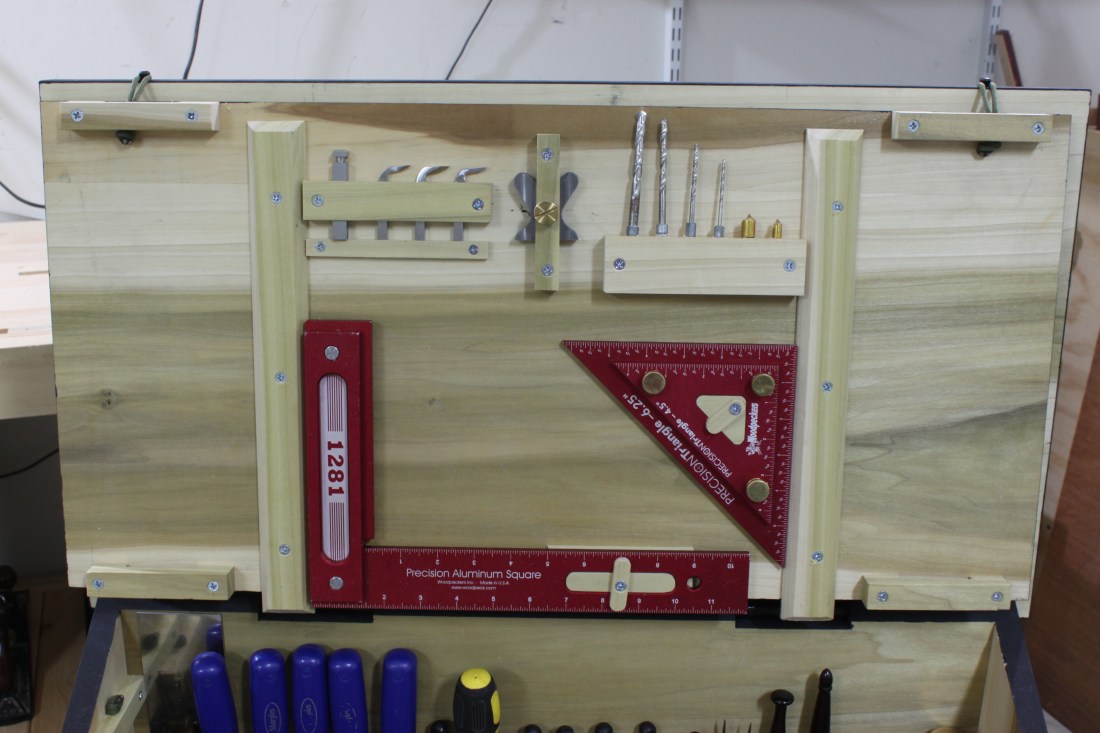
dutch chest front fall lidOther than the square I consider these my lesser used tools. I didn’t want them in the bottom of a drawer somewhere so what better place to store them. I used some 550 cord threaded through the catches and hanging on a screw in the lid.

dutch chest lid detailIt holds steady but I wouldn’t move the chest without taking it off or at least holding it during the move. Now for the best part; the interior.

dutch chest interior 1

And from the other side…

dutch chest interior 2Before you mention it, yes I know I have a saw problem. I blame Mark Harrell.

The mistake that I made in making the top compartment deeper by making the upper shelf shorter worked out perfect for me. I really used that extra 1-1/2″ in the top area to maximize storage.

Last but not least the bottom.

dutch chest bottomNotice I had to extend the notch next to where the right batten rests. This was to make room for the square. There wasn’t enough vertical clearance even after I dropped the square below the bottom of the front-fall.

I’d have to say that this project was more rewarding to finish than my bench. All my tools now have a home and are protected. Total time was about two weeks of nights and Sunday’s and cost was in the ballpark of $200 all from Home Depot.

Most surprising is how much it holds. Here’s s a rundown:

FRONT FALL

  • router plane adapter
  • 3 small router plane blades
  • router plane fence
  • 4 drill bits
  • 2 counter sinks
  • 12″ square
  • triangle set

TOOL RACK

  • 2 mechanical pencils
  • card scraper (behind pencils)
  • 5 bench chisels
  • 3 phillips screw drivers
  • 3 slotted screw drivers
  • 12″ ruler (behind screw drivers)
  • dividers
  • awl
  • making knife
  • marking gauge

TOP COMPARTMENT

  • low angle block plane
  • rabbet block plane
  • mallet
  • leatherman knife
  • 12″ measuring tape
  • pocket rule
  • mallet
  • 6″ combo square
  • 16″ tenon saw
  • 14″ sash saw
  • 10″ carcase saw
  • 12″ hybrid dovetail saw
  • 10″ dovetail saw
  • #4 plane
  • low angle jack plane
  • #7 plane
  • another mallet
  • bevel gauge
  • protractor
  • low angle toothed blade
  • low angle blade (higher angle)
  • 3″ t square
  • 6″ t square

BOTTOM COMPARTMENT

  • auger bit set
  • brace
  • coping saw
  • hand drill
  • router plane
  • skewed rabbet plance
  • half set even hollows and rounds

I think that about covers it. Thanks for following along.

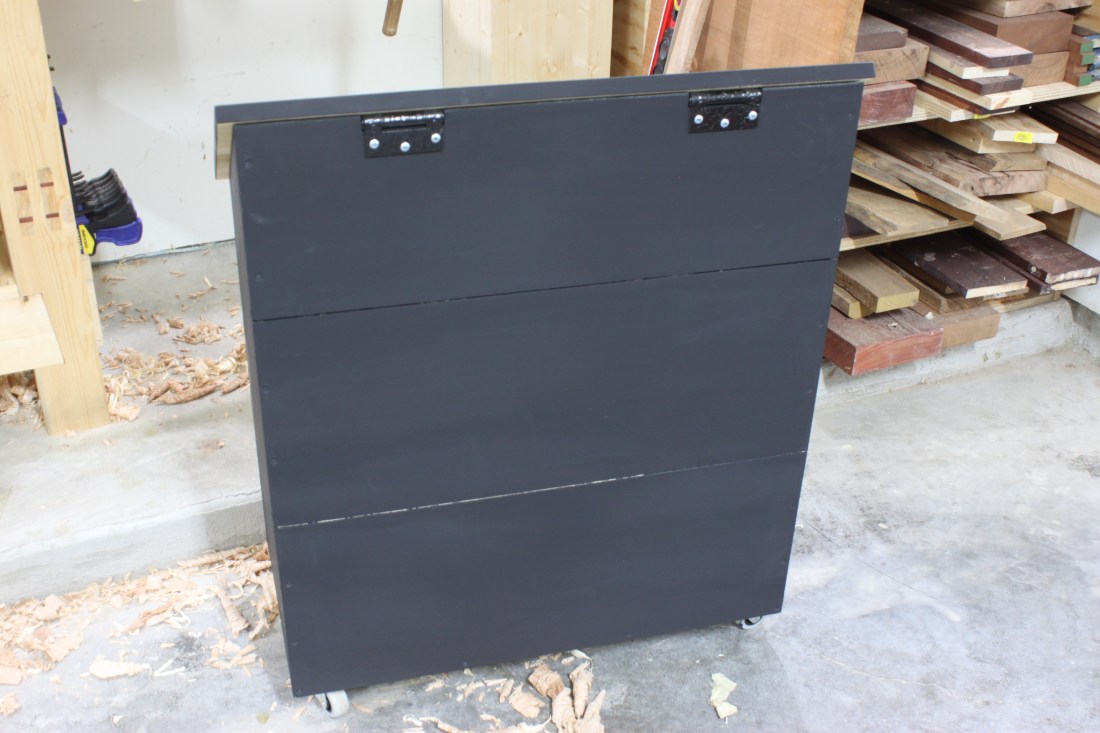
(edit) As requested, here is a picture of the rear of the chest.

dutch tool chest rear