
A couple of months ago I was using my saw bench as a step stool when it collapsed under me. It didn’t surprise me as it was getting rickety due to the fact that it was only secured with dowels. Looking back on my post when finishing the bench I can’t say why I didn’t at least glue the joints if I wasn’t going to use screws to fasten everything together. Live and learn, right? So in the meantime I’ve resorted to using my bench for most crosscutting operations.  But when it comes to larger pieces I have to improvise a little bit and use whatever is in the shop at the time.
  All ripping as of late has just been at the bench using the leg vise.
 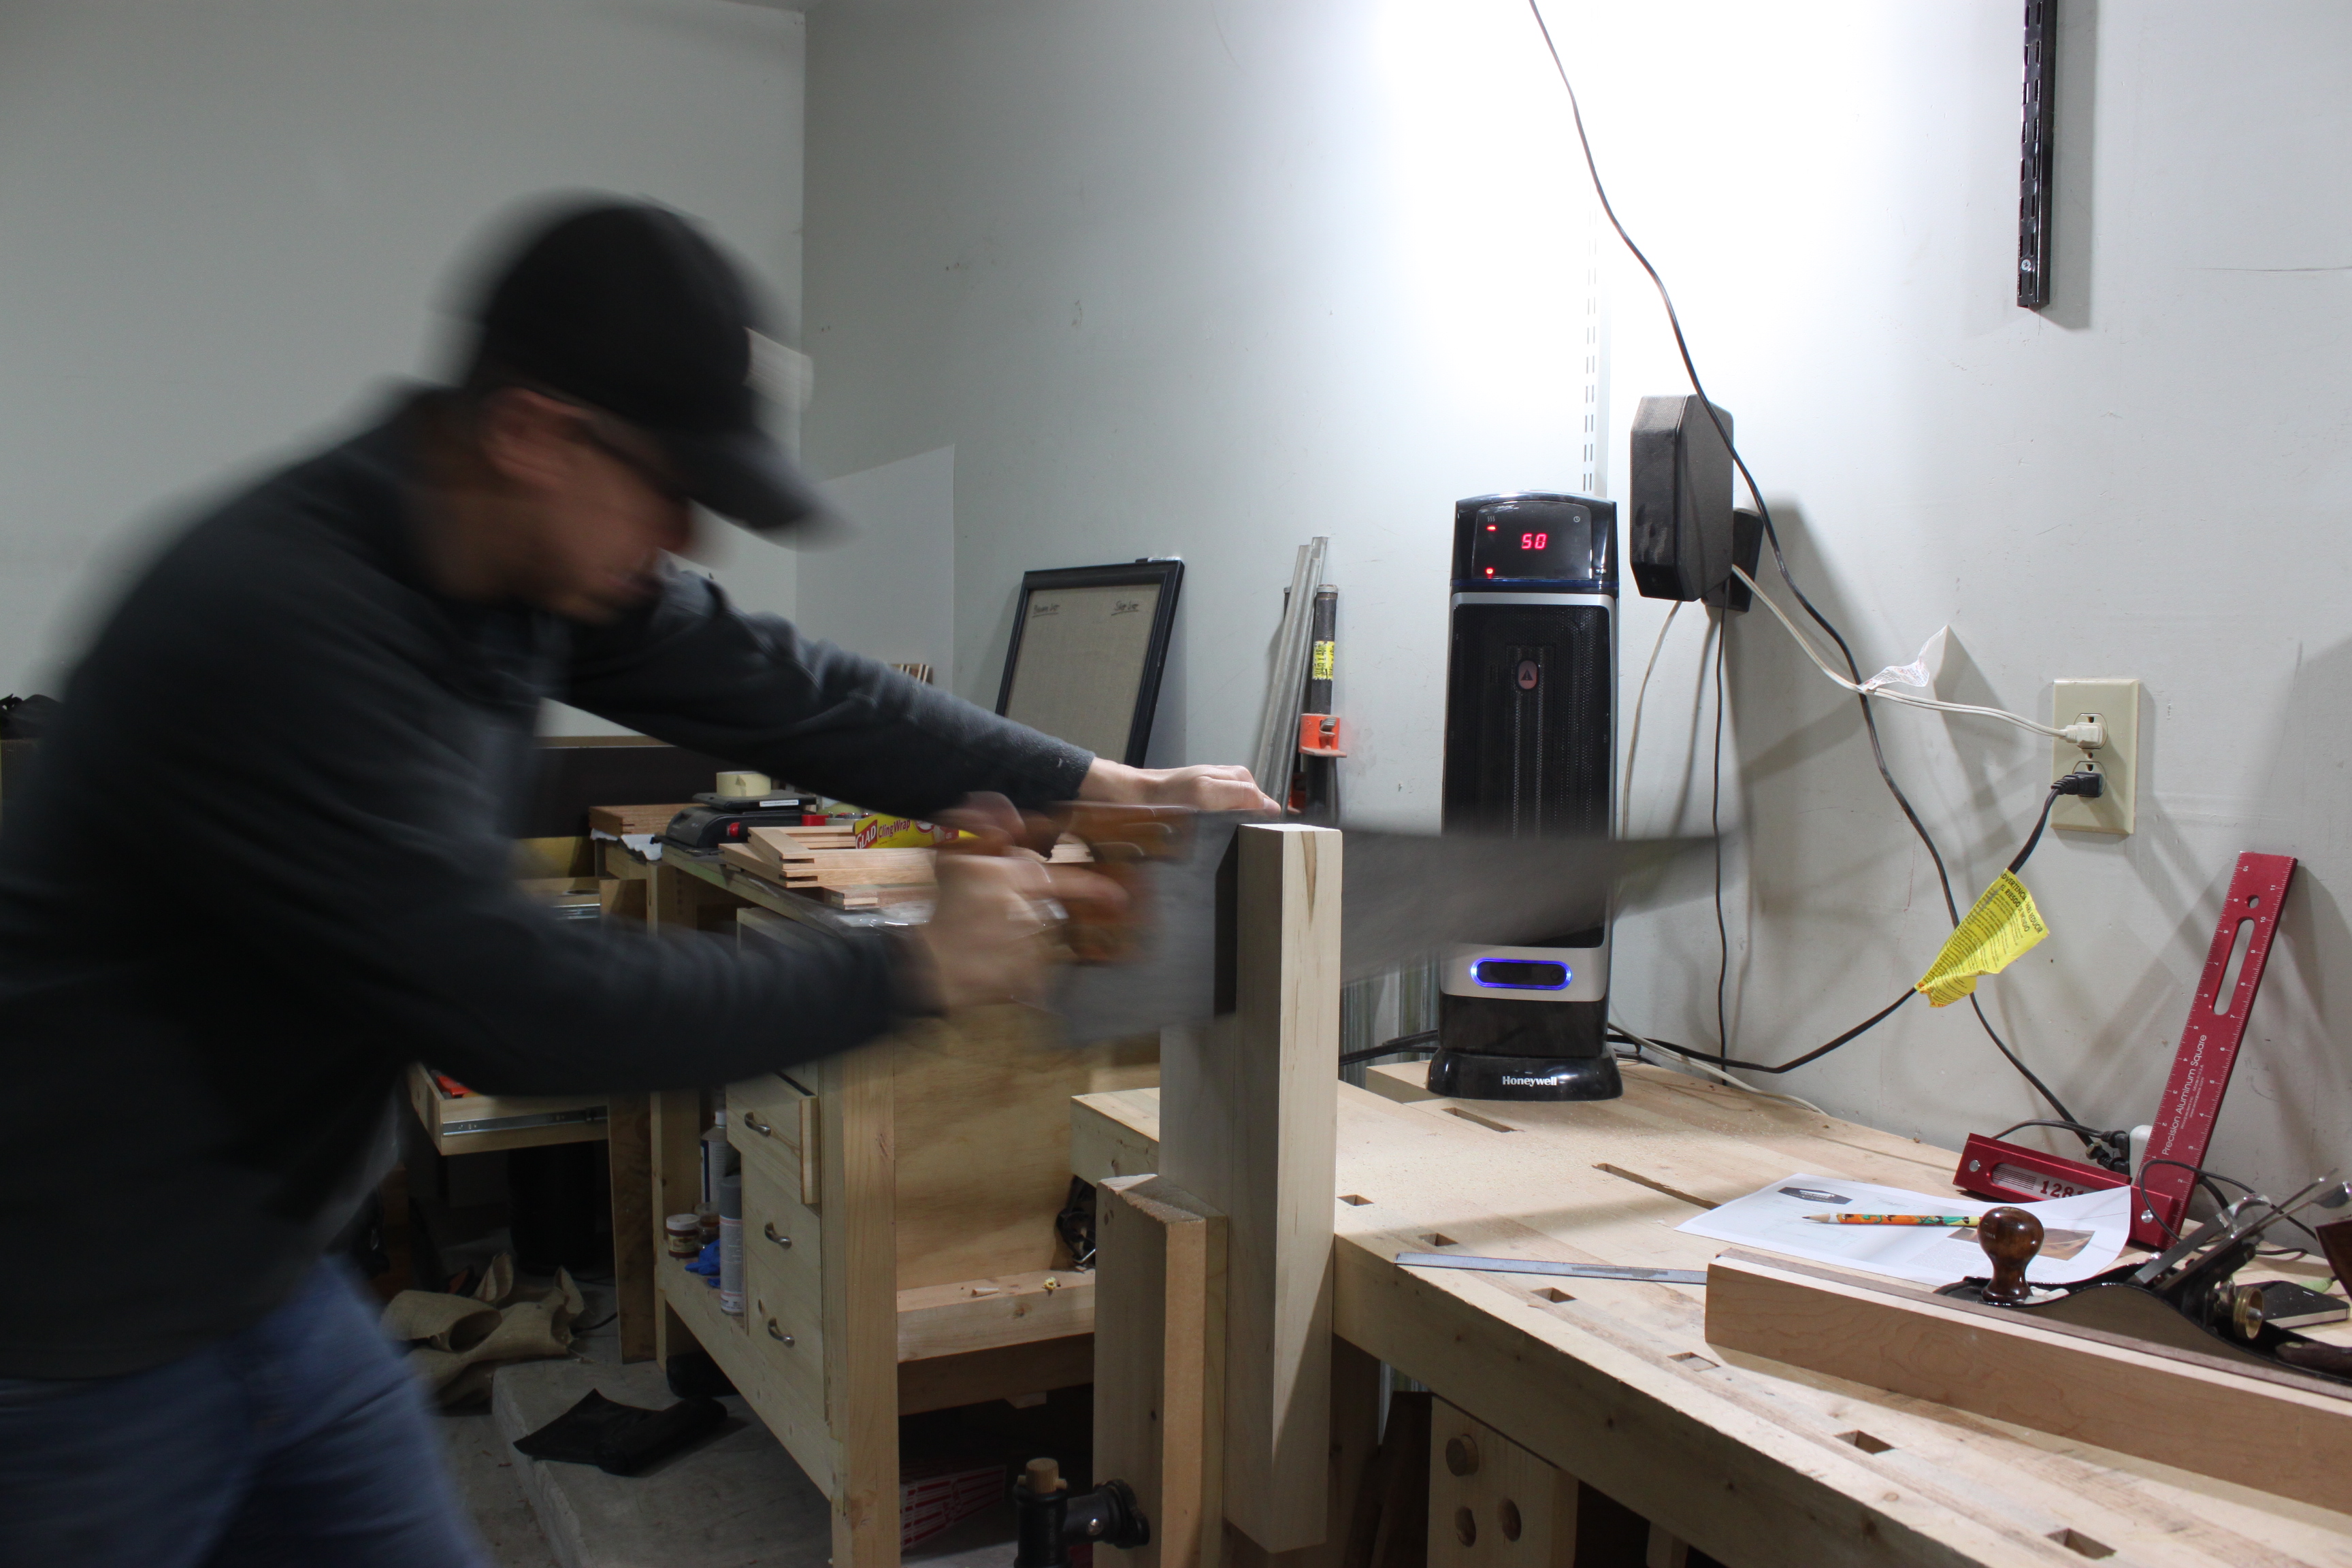 I was in definite need of a new saw bench. As I was getting ready to build one from Popular Woodworking’s website I happened to be browsing the interwebs and ended up on the Taunton Store. Somehow this reminded of Tom Fidgen’s new book The Unplugged Woodshop so I looked it up. Just my luck that there was a free preview at the bottom of the webpage and it happened to be the Sawyer’s Bench.
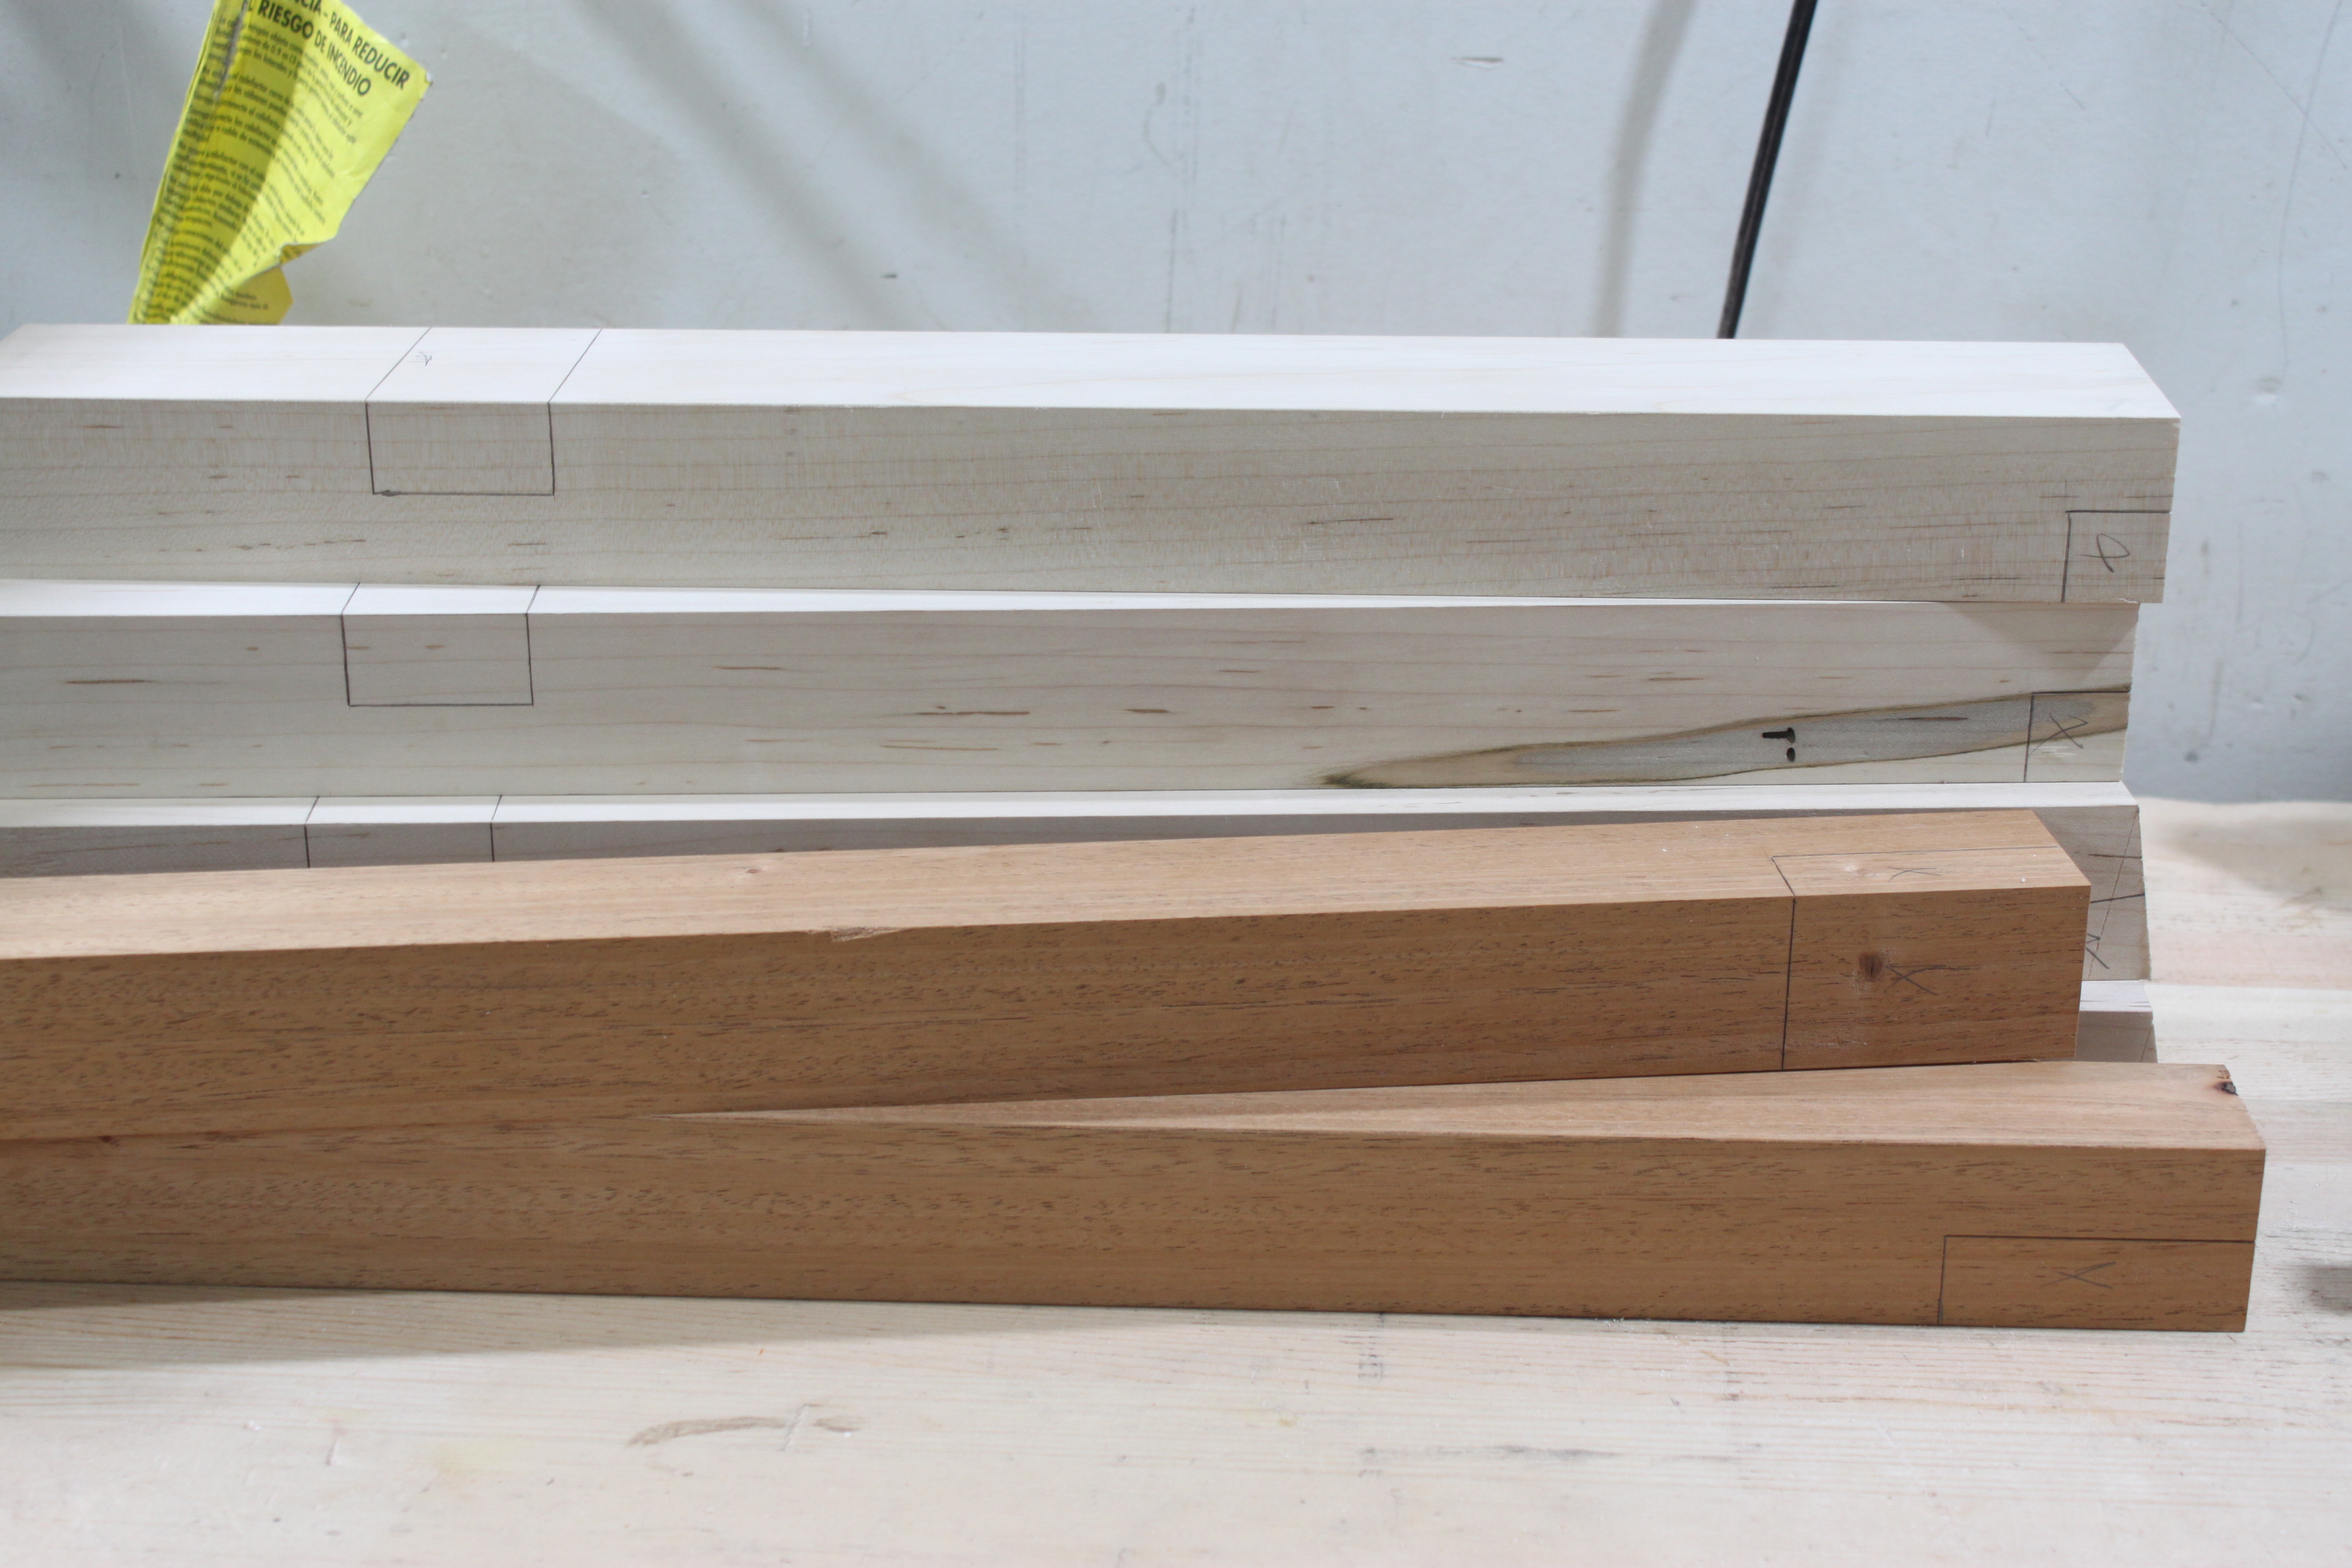
Looking over the dimensions I headed out to the shop to see if I could make this without buying any new lumber. I had a 4/4 cherry board that would serve as the two tops, an 8/4 maple board for the legs, an 8/4 mahogany board for the stretchers and some misc 4/4 walnut and maple for the aprons and cleats. I really didn’t want to use the mahogany for the stretchers but my inclination to not use any laminated boards was stronger so I dealt with it.
It took me about a full Saturday to get all the boards milled.

 The joinery was pretty straight forward as it was mostly lap joints. I almost made a huge mistake while laying out the splaying side of the bench when I marked the 10° angle in the wrong direction. Luckily I was able to catch it before I made my cuts.
 For this reason I laid out all my lower joints before I made any cuts just to be safe.
 My first glue up was the stretchers and legs. I used Titebone III and making sure everything was square I let it set for a night. The next day it was time to layout the joints in the bench tops. To do this I lay the leg and stretcher assemblies flush with the opposing edge of where the lap joints needed to be an just marked the edges of where each leg lay.
 After those joints were cut I did a dry fit to see how everything was holding up.
 The last bit was getting the apron cut to size as well as the cleats. I did this before gluing the tops to the legs so I could use the aprons as a reference to make sure everything was sitting properly. The first step was getting the legs square on the 90° side of the bench and lining up the apron flush with the outside and marking the inside.
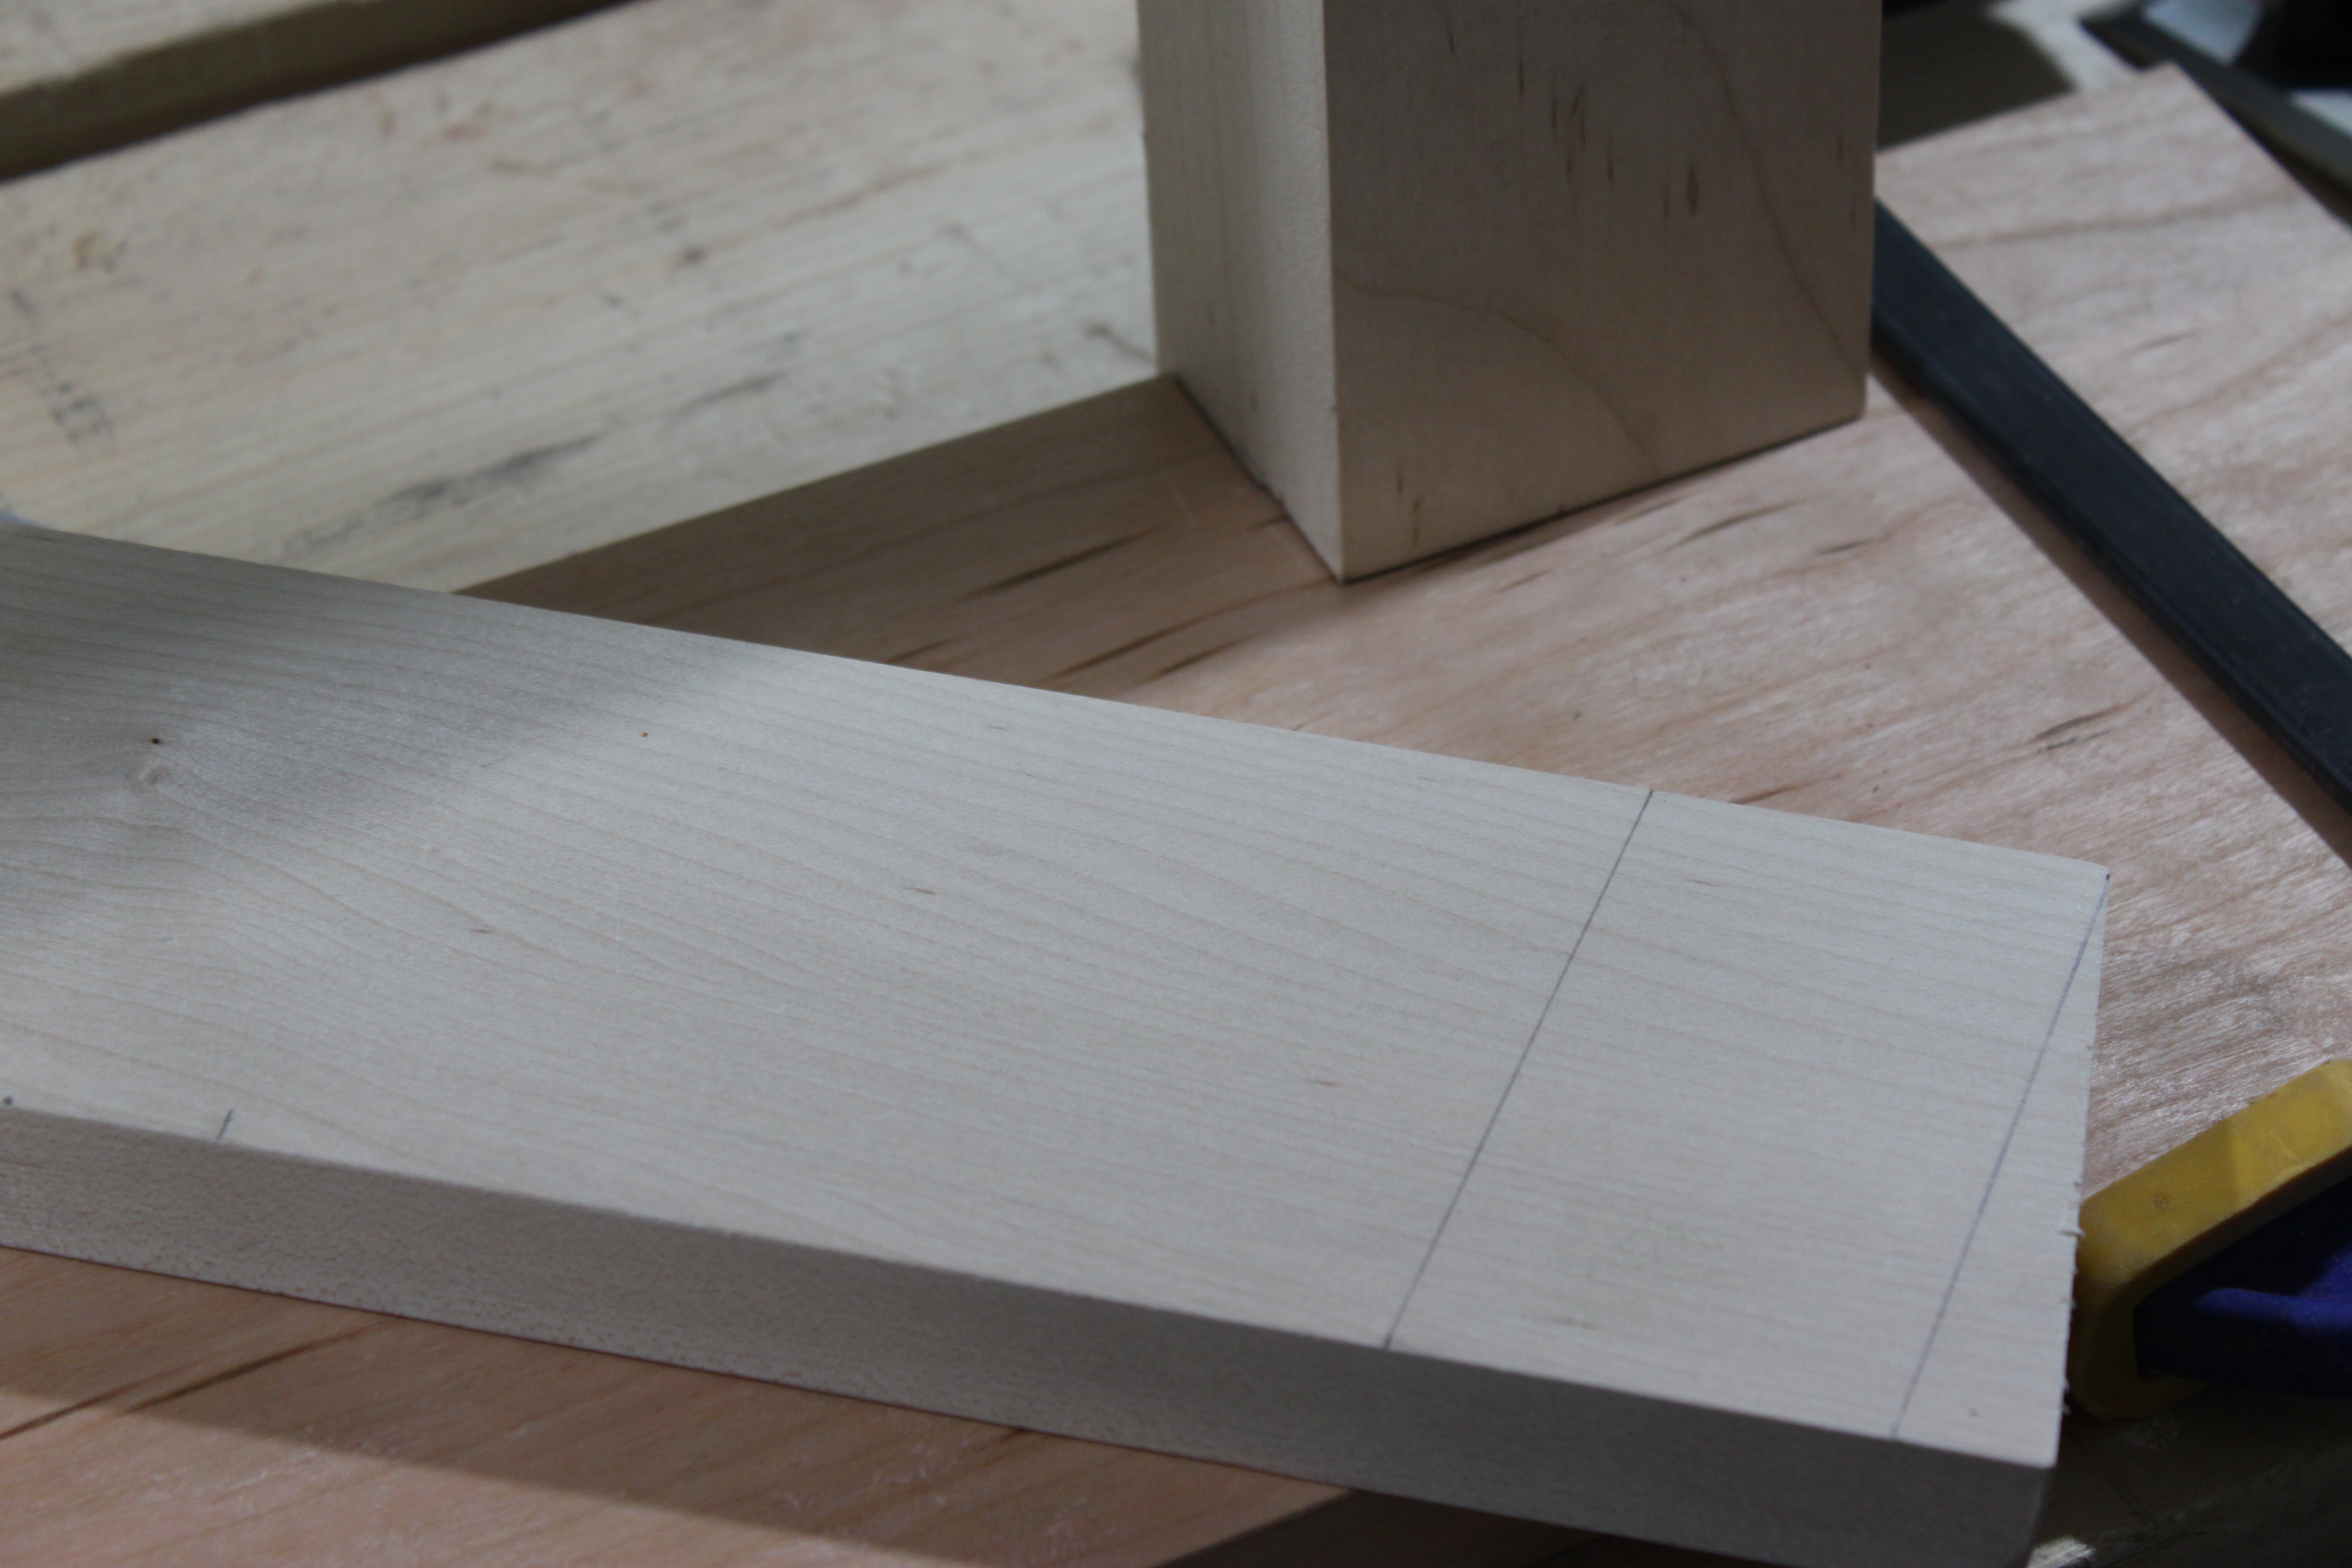
 The gap between the tops is supposed to be 7/8″ with each top being 6″ wide but due to human error mine ended up at 5-29/32″. I had a ruler that was 13/16″ wide so I use this as my gap to mark away from the edge of the top as you may see above as well.
Next I lined up the other top with the outside marked line and clamped everything in place. Once I was able to determine where the leg on the splayed side began and ended I made my marks and used a protractor to set the proper angles.
 I used the marks to get the dimensions of the cleats as well. With everything ready to go it was time for the final glue up.
 A bit messy but it did the job. The last thing I needed to do was get the two pieces attached. Following the plans I decided to screw the aprons rather than glue. This was much more of a PITA than I anticipated.
 After everything was said and done I now have an awesome saw bench!


The only things I deviated from at this time are pegging the joints (which I may do at a later time), adding the crosscutting fence, and making any holes for any holdfasts or other items as he did. With my last saw bench I never saw the need for them so I figured that if I hadn’t needed them then than I could do without them for now. That could change later but for now I like it just the way it is.
During this build I also decided to purchase The Unplugged Woodshop ebook. I already own the Made By Hand ebook as well and cannot speak more highly of either. I do have to say that the projects in his second book are worth the price alone and if you are on the fence you need to just purchase it and I’m sure you will not be disappointed.
This is the first project I’ve built from either book but my next will either be the Cabinetmaker’s Tool Chest or the Funeral Chair (each is just a awesome). Non book projects I would like to tackle is his Dedicated Sharpening Bench. This would definitely help with certain sharpening issues I may be having as of late.
That’s all for now. Thanks for stopping by.
